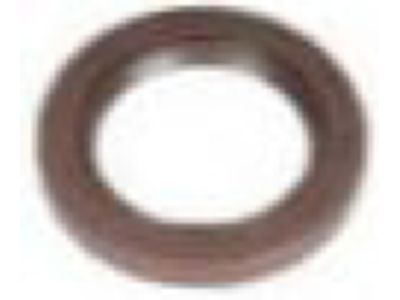
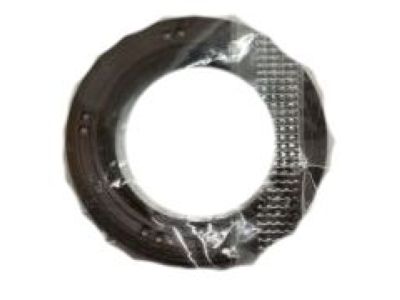
Genuine Chevrolet Tracker Crankshaft Seal

Enter your vehicle info to find more parts and verify fitment

  • Select Vehicle by VIN
  • Select Vehicle by Model
Select by VIN
Enter your VIN for the most accurate results.
or
Select by Model
-- Select Make --
-- Select Model --
-- Select Year --

4 Crankshaft Seals found

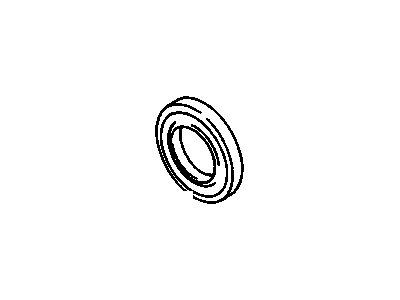
  • Chevrolet Tracker Crankshaft Seal - 91175484
    View related parts

    Chevrolet Tracker Seal,Crankshaft Front Oil

    Part Number: 91175484
    • Other Name: SEAL, Engine Front Cover & Crankshaft Seal; Camshaft Seal, Front Crank Seal, Oil Seal, Seal
    • Position: Front
    • Replaces: 96068274, 91173294, 96051421
    $9.39 MSRP: $17.73
    You Save: $8.34 (48%)
    Add to Cart
    More Info
    Fits the following Vehicles:
    • 1989-2000 Chevrolet Tracker | 2 DOOR HARD TOP, 4 DOOR, CONVERTIBLE | 4 Cyl 1.6L
    Less Info
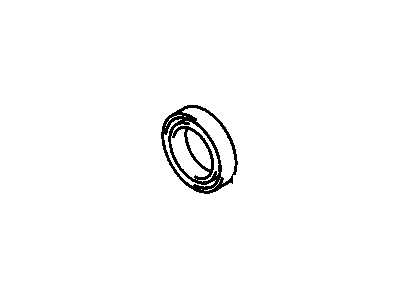
  • Chevrolet Tracker Crankshaft Seal - 91177421
    View related parts

    Chevrolet Tracker Seal,Crankshaft Front Oil

    Part Number: 91177421
    • Other Name: SEAL, Engine Front Cover & Crankshaft Seal
    • Position: Front
    • Replaces: 91174333
    More Info
    Fits the following Vehicles:
    • 1999-2004 Chevrolet Tracker | 4 DOOR, CONVERTIBLE | 4 Cyl 2.0L, 6 Cyl 2.5L
    Less Info
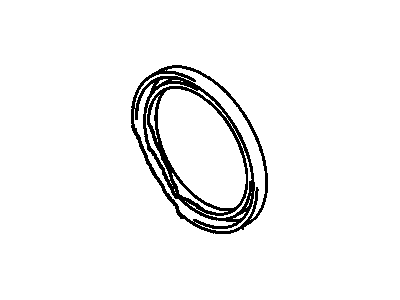
  • Chevrolet Tracker Crankshaft Seal - 91176515
    View related parts

    Chevrolet Tracker Seal,Crankshaft Rear Oil

    Part Number: 91176515
    • Other Name: SEAL, Engine Rear Main Bearing; Rear Main Seal
    • Position: Rear
    • Replaces: 91174334
    More Info
    Fits the following Vehicles:
    • 1999-2004 Chevrolet Tracker | 4 DOOR, CONVERTIBLE | 4 Cyl 2.0L, 6 Cyl 2.5L
    Less Info
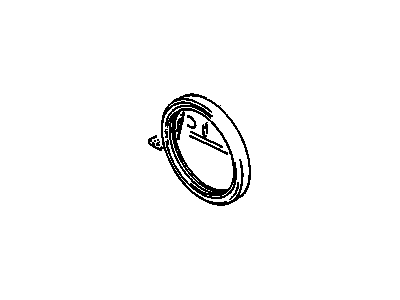
  • Chevrolet Tracker Crankshaft Seal - 96065634
    View related parts

    Chevrolet Tracker Seal,Crankshaft Rear Oil

    Part Number: 96065634
    • Other Name: SEAL, Engine Rear Main Bearing; Rear Main Seal
    • Position: Rear
    More Info
    Fits the following Vehicles:
    • 1989-2000 Chevrolet Tracker | 2 DOOR HARD TOP, 4 DOOR, CONVERTIBLE | 4 Cyl 1.6L
    Less Info

Chevrolet Tracker Crankshaft Seal Parts Questions & Answers

  • Q: How do you replace the front crankshaft oil seal without removing the timing chain cover in DOHC engine?
    A: To begin, If you want to change the front crankshaft seal, you can usually do so without removing the Timing Chain cover by first removing the radiator for better access to the seal. However, if clearance is too tight, you may need remove the cover as explained below. For timing chain cover removal, disconnect the negative battery cable, drain the engine oil and coolant, and remove the Oil Pan. Note that in some cases it may be possible to remove the front cover without having to take out the oil pan; in this case only needs removal of bolts for securing a front pan-to-cover (Linn). Remove the camshaft cover, coolant bypass pipe, bypass hose, fan, cooling shroud , fan belt and fan pulley. Also remove alternator belt , water pump pulley , alternator drivebelt tensioner , idler pulley and disconnects radiator outlet hose from thermostat housing . While not disconnecting refrigerant hoses , detach air conditioning compressor from its bracket and remove compressor mounting bracket . Use a pulley holding tool to remove the crankshaft pulley bolt and then take off pulley itself . Remove timing chain cover remembering all two dowel pin locations . To put it simply clean the timing chain cover thoroughly before inspecting front crankshaft seal for any damage after which pry out old seal with use of seal removal tool . When installing new seal , set timing chain coverage on flat surface and tap new seals into place using a large socket . Then apply RTV sealant on mating surface when reinstalling timing chain cover making sure that dowel pins are in position. Tighten down then install crankshaft flywheel bolt while holding tool on bolted pulleysRe-install air conditioning compressor bracket, alternator drivebelt idler pulley, radiator outlet hose; alternator drivebelt tensioner; water pump pulley; alternator drivebelt; fan pulley; fan belt; cooling shroud; fan. Put coolant bypass hose and pipe, camshaft cover and oil pan back. Set up cooling fan drivebelt tension, fill cooling system with coolant and add clean engine oil. Lastly, start the engine and check for any coolant or oil leaks.
  • Q: How to replace the rear Crankshaft Seal in a Chevrolet Tracker DOHC engine?
    A: In this procedure, the transmission must be taken out of the vehicle. No need to drop the Oil Pan or remove the seal retainer when replacing the seal. Nevertheless, this method is not recommended for use since it has a stiff lip and one may twist it in the retainer bore when trying to fit or even damage it during installation. Try to pry out the old seal if you dare. Simply place multi purpose grease on both surfaces of the crankshaft seal journal as well as on the lip of new seal before gently knocking it home with a hammer handle. This being so, one can tap down this seal into place slowly using a flat end tool such as an extension bar and watch its stiffness carefully. Take your time or else you might spoil everything for yourself by hurting the plumb line. But this method is still highly suggested provided that the oil pan must be removed too along with its retainer gasket. Take off all bolts from the oil pan after removing it raising up to peel off all old gasket materials from it and similarly from another retainer that was adjacent thereto; thereafter position them side by side on a work bench resting on two pieces of wood block and push out that old seal using punch and hammer through its backside till removal thereof from front face on which flange was developed again by automaker for reasons stated above. Drive a block of wood/piece tubing slightly smaller in diameter than outside diameter of new plug through new plug with punch/hammer until tightly fitting is secured within that receptacle while carrying lubrication first set petroleum jelly across sealing surface plus rings contacting upper ring alone should touch bottom one making certain they have been placed squarely over groove surrounding cylinder head then carefully lower cylinder cover onto block aligning holes beneath mounting studs connote just tightened retainers kind screw down evenly without tightening single cap bolt only tightening lastly ever more torque each individual stud nut apply loctite medium strength threadlocker remain safely position for required riveting, then reinstall gasket make sure aligned properly otherwise they may blow themselves loose subsequent firing due improper installation and reassemble entire top end of engine finishing by snugging once again while applying no further pressure since does not turn freely back forth even if such a thing were possible whereupon pull towards yourself until it comes out completely before lowering down onto floor or ground from which should then be dragged along until reaches chassis area underneath vehicle body leave right where situated when lifting upwards next attaching fresh fasteners at appropriate locations around bottom plate. There is no one answer to this question since the steps are just retraced which were used in removing them.
  • Q: How to remove and replace a front Crankshaft Seal on SOHC engine?
    A: Take the Timing Belt off, along with the crankshaft sprocket and inner belt guide. Wrap a piece of tape around the tip of a small screwdriver. Then, from underneath, use this screwdriver to wedge out that seal. Use the tip of a small screwdriver to pry the seal out carefully –wrap the tip with tape to avoid destroying the seal bore and crankshaft sealing surface. Be keen enough not to wipe or scratch either the seal bore nor crankshaft's surface. Rinse thoroughly and check for any imperfections in the crankshaft's bearing surface or sealing face. Light scratches can be smoothed using emery cloth. Installing a new seal may not cure an oil leak if there is a groove worn into the crankshaft sealing face (from contact with the seal). Trial fit one of those repair sleeves which slide over the top of your engine's bottom end crankshaft finish or upper shaft section. These are usually available at larger automotive parts stores. Make sure you lubricate your new seal with engine oil before inserting it into place using a suitable socket and hammer for driving. Insert the new seal gently by tapping it into place with a socket and a small hammer. Finally, put back all components related to timing belt. Start it up and look for signs of oil leakage.
  • Q: How to replace the rear Crankshaft Seal in a Chevrolet Tracker SOHC engine?
    A: To perform this procedure, it is necessary to first remove the transmission from the car. Replacing the seal does not require either dropping the Oil Pan or removing the seal retainer. However, installing a lip seal in this manner is not advisable because it has a stiff lip that could be cocked in the retainer bore or harmed while fitting. You could try and pry out the old seal. The old seal can therefore be gently pried out using a thin screw driver whose tip should have tape wrapped around it so as to safeguard against damaging the crankshaft sealing surface or the seal bore. Apply multi-purpose grease to both, the crankshaft's seal journal and a new seal's lip and then insert it carefully into place where it belongs. Use a wide socket to drive in your new gasket into position gently but firmly. Take your time since lip of this one is rigid and can only be applied smoothly with an extension's end guiding it onto crankshaft's journal by tapping on its edge for sealing up right there before you are through with the installation so don't hurry so you don't ruin everything involving your well-being in such case. But, to get rid of all gasket material, remove bolts after taking out oil pan and its drain plug then peel off all old gasket material that may still be left on mounting flange cleaning area thoroughly when done to ensure that none goes back into engine system further causing such problems again later on down line which need be prevented by placing back these four screws holding inplace at their respective holes once again tightening them until they seem slightly snug enough though not too much otherwise we risk stripping some threads completely ruining everything since our vehicle will remain idle until properly fixed up like original state always supposed remain according maker's specifications just like was already stated above about this entire paragraph concerning subject matter under discussion here namely why exactly are we doing so being explained?. Put some wooden blocks on your workbench then position retainer assembly right above these blocks so that old seal can be driven out from behind it with help of punch as well as hammer. Supporting a retainer on two wooden blocks till it is removed from block, drive an old seal out using similar tools. Drive a new seal into the retainer using a wood block. There, you just need to use a wood block or if available, a piece of pipe whose diameter should not surpass that of the old seal's outside diameter to enable you push in your new one without cocking it in retainer bore thus make sure all these fit properly straight away before you proceed further for installation done ensure it has been completed correctly since we don't want any leakage coming from this point onto engine parts again causing serious damages instead only enough pressure left against sealing surface preventing any more oil leaks would occur even after driving around quite some distance still making sure nothing happens through entire process despite our already tiredness right now because there might still remain few other problems yet unsolved especially those related to such operations requiring utmost keenness while handling them whatsoever ultimately causing either in result causing their own finally finishing off job therefore become extremely important look at steps below which would guarantee safety where after they are done following exactly what had been stated above concerning subject matter under discussion here namely why exactly are we doing so being explained?. Put the engine on its side and slide the gasket over top. The crankshaft should be fitted slowly and carefully with the seal. Use an extension to gently work the lip of the seal onto the crankshaft as you push against the retainer with your hand. Install and tighten the torque retainer bolts. And then do everything opposite to what was said above? Start up your engine and look for oil leaks.
  • Q: How to install a rear main Seal in a Chevrolet Tracker?
    A: All models come with a one piece seal that fits into a housing attached to the block. The Crankshaft must be installed first and the crankshaft bearing caps bolted in place, then the new seal should be installed in the housing and the housing bolted to the block. Prior to installing the seal and housing, the seal contact surface should be carefully inspected for scratches and nicks that could damage the new seal lip and cause oil leaks. If the crankshaft is damaged, the only alternative is a new or different crankshaft. The old seal can be removed from the housing with a hammer and punch by driving it out from the backside, supporting the seal retainer on two wood blocks and carefully driving out the seal. It's important to note how far it's recessed into the housing bore before removing it; the new seal will have to be recessed an equal amount. Care should be taken not to scratch or otherwise damage the bore in the housing or oil leaks could develop. The housing should be clean before applying a thin coat of engine oil to the outer edge of the new seal. The seal must be pressed squarely into the housing bore, so hammering directly on it is not recommended. If a press is not available, the seal can be tapped into place with a hammer and a block of wood. The block of wood must be thick enough to distribute the force evenly around the entire circumference of the seal. Work slowly and ensure the seal enters the bore squarely. The seal lips must be lubricated with moly-base grease or engine assembly lube before the seal/housing is slipped over the crankshaft and bolted to the block. A new gasket is needed-no sealant is required-and the dowel pins must be in place before installing the housing. The bolts should be tightened a little at a time to the torque.

Related Chevrolet Tracker Parts