×
My Garage
My Account
My Cart
Genuine Saturn Ion Fuel Tank
Gas TankEnter your vehicle info to find more parts and verify fitment
- Select Vehicle by VIN
- Select Vehicle by Model
Select by VIN
orEnter your VIN for the most accurate results.Enter your VIN for the most accurate results.
Select by Model
-- Select Make --
-- Select Model --
-- Select Year --
4 Fuel Tanks found
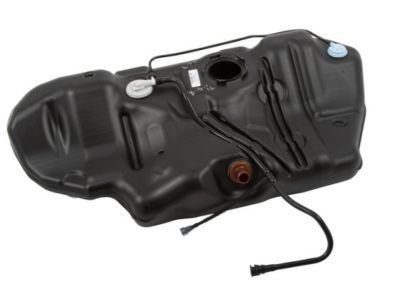
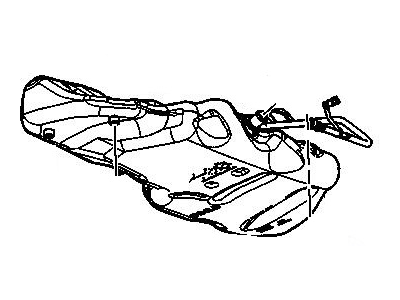
Saturn Ion Tank Assembly, Fuel
Part Number: 20870462- Other Name: TANK, Fuel; Fuel Tank
- Replaces: 25947829
$480.68 MSRP: $725.00You Save: $244.32 (34%)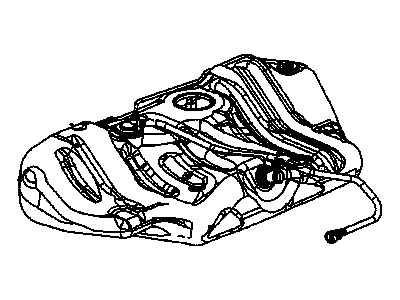
Saturn Ion Fuel Tank Parts Questions & Answers
- Q: How to remove a fuel tank?A: To remove the fuel tank, it is recommended to do so when it is nearly empty. If that is not possible, try to siphon out the fuel before removing the tank. Start by relieving the fuel system pressure and disconnecting the cable from the negative battery terminal. Then, raise the vehicle and secure it on jackstands. If there is still fuel in the tank, disconnect the quick-connect fitting for the fuel inlet line and siphon or hand-pump the remaining fuel. Remove the exhaust pipe and muffler insulators, as well as the heat shield if applicable. Disconnect the electrical connector for the fuel pump/Fuel Level Sensor module and the connector for the EVAP canister vent solenoid hose. Mark and disconnect the EVAP system hoses, as well as the fuel filler neck hose and fuel tank ground strap. Disconnect the fuel filter connectors and separate the lines leading to the tank. Support the tank with a transmission jack or floor jack, and remove the fuel tank strap bolts. Lower the tank and unclip or detach any remaining cables, hoses, or lines. Finally, lower the tank completely, angling it to clear the frame and exhaust pipe, and then remove it. The installation process is the reverse of the removal steps. It is important to note that when the battery has been disconnected, the Powertrain Control Module (PCM) must relearn its former driveability and performance characteristics.
- Q: How to repair a plastic fuel tank?A: The fuel tank is plastic and cannot be repaired. There are no reliable repair procedures available to correct leaks or damage. The only approved service is fuel tank replacement. To remove sediment from the bottom of the tank, it is recommended to have the fuel tank steam cleaned. The Fuel Pump/level sending unit module and all EVAP system components should be removed prior to cleaning. It is important to allow plenty of time for the tank to air dry before returning it to service.

Related Saturn Ion Parts
 Saturn Ion Fuel Pump
 Saturn Ion Fuel Filter
 Saturn Ion Fuel Tank Sending Unit
 Saturn Ion Gas Cap
 Saturn Ion Fuel Pressure Sensor