×
My Garage
My Account
My Cart
Genuine Saturn LS Crankshaft Seal
Enter your vehicle info to find more parts and verify fitment
- Select Vehicle by VIN
- Select Vehicle by Model
Select by VIN
orEnter your VIN for the most accurate results.Enter your VIN for the most accurate results.
Select by Model
-- Select Make --
-- Select Model --
-- Select Year --
3 Crankshaft Seals found
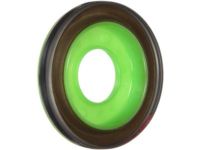
Saturn LS Seal Assembly, Crankshaft Rear Oil
Part Number: 12591866- Other Name: SEAL, Engine Rear Main Bearing; Rear Main Seal
- Position: Rear
- Replaces: 90298408, 90325572, 90280462, 90354378
$20.37 MSRP: $35.46You Save: $15.09 (43%)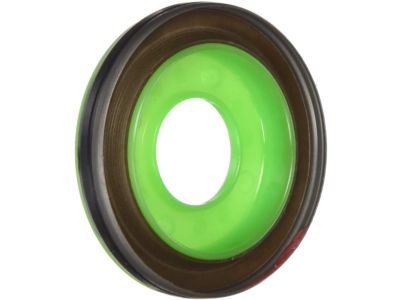
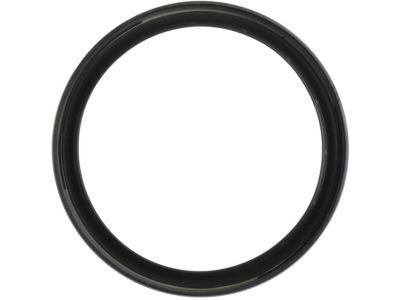
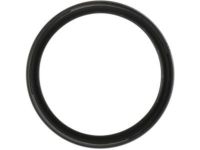
Saturn LS Seal, Crankshaft Front Oil
Part Number: 12584041- Other Name: SEAL, Engine Front Cover & Crankshaft Seal
- Position: Front
- Replaces: 55564509, 12609467, 90571925, 12580989
$7.93 MSRP: $14.96You Save: $7.03 (47%)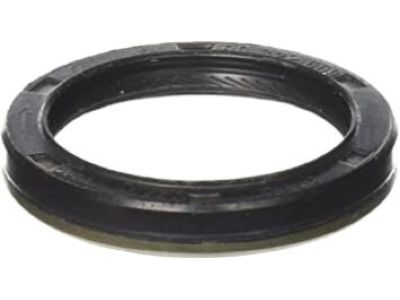
Saturn LS Seal,Crankshaft Front Oil
Part Number: 90322669- Other Name: SEAL, Engine Oil Pump Cover; Crankshaft Seal, Front Crank Seal
- Position: Front
$24.51 MSRP: $44.58You Save: $20.07 (46%)
Saturn LS Crankshaft Seal Parts Questions & Answers
- Q: How to replace the Crankshaft Pulley and crankshaft front oil seal in four cylinder engine for Saturn LS and LS1?A: Disconnect the cable from the negative battery terminal. Remove the drivebelt. Raise the vehicle and support it securely on jackstands. Remove the splash shield from below the engine compartment. Use a breaker bar and socket to remove the crankshaft pulley center bolt. Slide the puller off the nose of the crankshaft. Use a seal puller to remove the crankshaft front seal. Clean the seal bore and check it for nicks or gouges. Coat the lip of the new seal with clean engine oil and drive it into the bore with a seal driver or a socket slightly smaller in diameter than the seal. Using clean engine oil, lubricate the sealing surface of the hub. Install the crankshaft pulley/damper with a special installation tool. Install a new center bolt and tighten it to the specific torque. Reconnect the battery.
- Q: How to remove and replace the Crankshaft Pulley and crankshaft front oil seal in V6 engine for Saturn LS and LS1?A: Disconnect the cable from the negative battery terminal. Loosen the right front wheel lug nuts, raise the vehicle and support it securely on jackstands, and remove the wheel. Remove the inner fender splash shield from the passenger side of the vehicle. Remove the crankshaft pulley bolts using the pressure from the drivebelt to prevent the engine from rotating. Remove the drivebelt. Remove the Timing Belt cover and the timing belt. Use a pin spanner to hold the crankshaft sprocket stationary, then remove the crankshaft center bolt. Remove the crankshaft sprocket and the seal hub from the crankshaft. Use a seal puller to remove the crankshaft front seal. Clean the seal bore and check it for nicks or gouges. Also examine the area of the hub that rides in the seal for signs of abnormal wear or scoring. Coat the lip of the new seal with clean engine oil and drive it into the bore with a seal driver or a deep socket slightly smaller in diameter than the seal. The open side of the seal faces into the engine. Lubricate the seal contact surface of the crankshaft seal hub with clean engine oil. Install the crankshaft sprocket and tighten the center bolt to the specific torque. Reconnect the battery. The remainder of installation is the reverse of removal.
- Q: How to remove and install a rear main oil seal for Saturn LS and LS1?A: The one-piece rear crankshaft seal is pressed into the engine block and the crankcase reinforcement section. Remove the transaxle, the clutch components, if equipped, and the Flywheel. Pry out the old seal with a special seal removal tool or a flat blade screwdriver. To prevent an oil leak after the new seal is installed, be very careful not to scratch or otherwise damage the crankshaft sealing surface or the bore in the engine block. Clean the crankshaft and seal bore in the block thoroughly and degrease these areas by wiping them with a rag soaked in lacquer thinner or acetone. Lubricate the lip of the new seal and the outer diameter of the crankshaft with engine oil. Position the new seal onto the crankshaft. Make sure the edges of the new oil seal are not rolled over. When installing the new seal, if so marked, the words THIS SIDE OUT on the seal must face out, toward the rear of the engine. Use a special rear crankshaft seal installation tool or a socket with the exact diameter of the seal to drive the seal in place. Make sure the seal is not off-set; it must be flush along the entire circumference of the engine block and the crankcase reinforcement section. The remainder of installation is the reverse of removal.
Related Saturn LS Parts
 Saturn LS Crankshaft Thrust Washer Set
 Saturn LS Coolant Temperature Sensor
 Saturn LS Crankshaft
 Saturn LS Crankshaft Position Sensor
 Saturn LS Crankshaft Gear
 Saturn LS Camshaft Position Sensor
 Saturn LS Belt Tensioner Bolt