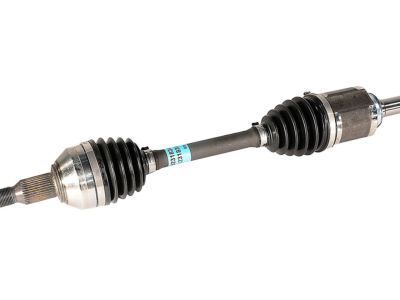
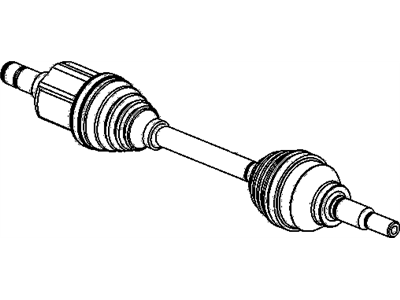
To remove the front axle shaft, start by removing the wheel center cover and breaking the axle shaft/hub nut loose using a large breaker bar. Loosen the wheel lug nuts, raise the vehicle, and support it on jackstands. Remove the wheel and, if necessary, the front inner fender splash shields. Disconnect the tie-rod end and stabilizer bar link from the steering knuckle. Remove the axle shaft/hub nut and discard it. Separate the control arm ball joint from the steering knuckle and swing the knuckle/hub assembly away from the vehicle to free the axle shaft. If removing the right axle shaft, pry the inner CV joint off the intermediate shaft, and for the left axle shaft, pry the inner CV joint out of the transaxle. Carefully remove the axle shaft from the vehicle, supporting the CV joints. When installing the new axle shaft, replace the spring clip at the inner end and lubricate the differential or intermediate shaft seal with grease. Raise the axle shaft into position while supporting the CV joints and push the splined end of the inner CV joint into the differential side gear or onto the intermediate shaft. Ensure the spring clip locks in its groove and that the axle shaft retaining ring is securely seated in the transaxle or intermediate shaft. Install the washer on the outer CV end of the axle shaft. Apply grease to the outer CV joint splines and insert the stub axle into the hub. Reconnect the balljoint stud into the steering knuckle, tighten the bolt to specifications, and reinstall the tie-rod end and stabilizer-bar link. Install the front inner fender splash shields if removed, and install a new axle shaft hub nut. Lower the vehicle, tighten the lug nuts and axle shaft/hub nut to specifications, and install the wheel center cover. For the intermediate shaft removal, first remove the right front axle shaft, then take out the bolts mounting the intermediate shaft bearing retainer to the engine bracket. Pull the intermediate shaft from the transaxle. During installation, lubricate the lips of the transaxle seal with grease, carefully guide the intermediate shaft into the transaxle side gear, and install the mounting bolts hand-tight for the bearing support. Ensure the shaft is positively engaged into the transaxle, then tighten the nuts to specifications. Install a new spring clip on the right front axle shaft, and complete the rest of the installation in reverse. For rear (AWD) removal, start by removing the wheel center cover and breaking the Axle Shaft/hub nut loose with a large breaker bar. Block the front wheels, loosen the rear wheel lug nuts, raise the vehicle, and support it on jackstands. Remove the wheel, discard the Axle Shaft/hub nut, and use a brass punch or block of wood with a hammer to break the Axle Shaft loose from the wheel hub. Remove the hub and bearing assembly. If removing the right rear Axle Shaft, remove the muffler assembly. Pry the Axle Shaft out of the differential and remove it through the knuckle opening, removing and replacing the retaining ring with a new one. When installing the new Axle Shaft, install a new retaining ring on the inner end, apply a light film of grease to the inner CV joint stub shaft, guide the Axle Shaft through the knuckle opening, and insert the splined end of the inner CV joint into the differential, ensuring the spring clip locks in its groove. Install the hub and bearing assembly, a new Axle Shaft/hub nut, and the wheel center cover. Lower the vehicle, tighten the lug nuts and Axle Shaft/hub nut to specifications, and ensure the Axle Shaft is properly installed.
Posted by GMPartsGiant Specialist 


