×
My Garage
My Account
My Cart
Genuine Chevrolet Malibu Steering Column
Steering Column TiltEnter your vehicle info to find more parts and verify fitment
- Select Vehicle by VIN
- Select Vehicle by Model
Select by VIN
orEnter your VIN for the most accurate results.Enter your VIN for the most accurate results.
Select by Model
-- Select Make --
-- Select Model --
-- Select Year --
13 Steering Columns found
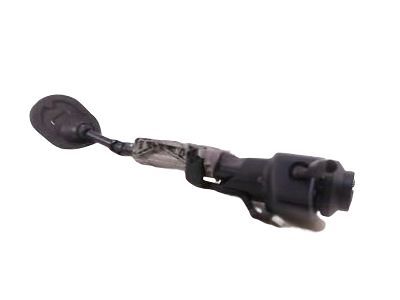
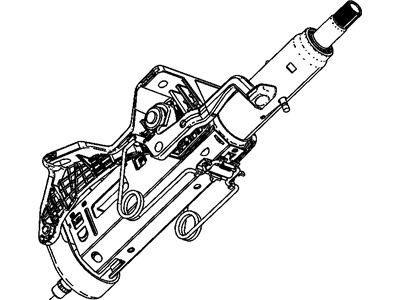
Chevrolet Malibu Column Assembly, Strg
Part Number: 84703391- Other Name: Column Assembly, Steering Column
- Replaced by: 85529026
$132.63 MSRP: $209.59You Save: $76.96 (37%)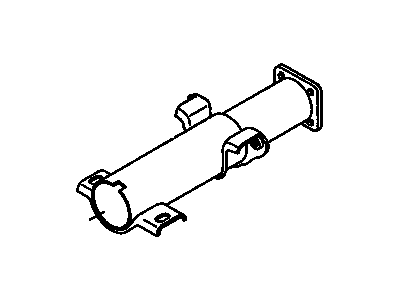
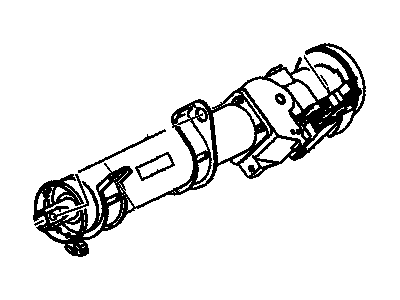
Chevrolet Malibu Jacket,Steering Column
Part Number: 26052372- Other Name: JACKET, Steering; Jacket
$35.37 MSRP: $145.02You Save: $109.65 (76%)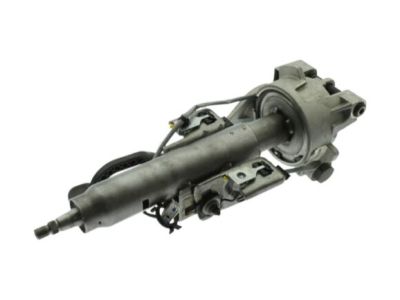
Chevrolet Malibu Column Asm,Steering
Part Number: 19332845- Other Name: COLUMN ASM,STRG; Steering Column
- Replaces: 22687709, 25933396, 15926870, 88967179, 10373948
$442.46 MSRP: $696.00You Save: $253.54 (37%)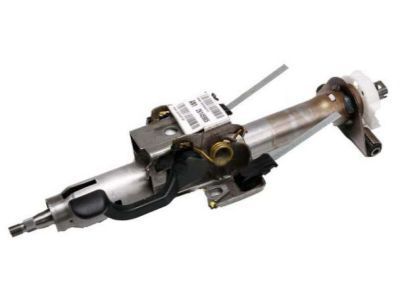
Chevrolet Malibu Column,Steering
Part Number: 25933397- Other Name: COLUMN, Steering; Steering Column
- Replaces: 15926871
$203.94 MSRP: $322.33You Save: $118.39 (37%)
Chevrolet Malibu Column Assembly, Steering *Black
Part Number: 23365711- Other Name: COLUMN, Steering; Steering Column
- Replaces: 23301869, 23287101, 13426744, 13404505
Chevrolet Malibu Column Assembly, Steering
Part Number: 15142487- Other Name: COLUMN, Steering; Column Assembly, Steering Column
Chevrolet Malibu Column Assembly, Steering
Part Number: 15142484- Other Name: COLUMN, Steering; Steering Column
Chevrolet Malibu Column Assembly, Steering
Part Number: 26064219- Other Name: COLUMN, Steering; Column Assembly, Steering Column
Chevrolet Malibu Column Assembly, Steering
Part Number: 26050494- Other Name: COLUMN, Steering; Column Assembly, Steering Column
Chevrolet Malibu Steering Column Parts Questions & Answers
- Q: How do you remove the Steering Column?A: To remove the steering column in a 2015 and earlier model, start by parking the vehicle with the wheels pointing straight ahead and disconnecting the battery. Disable the airbag system and make sure the steering column is locked. Remove the steering column cover, lock cylinder bezel trim (if applicable), lower steering column filler trim, and the Steering Wheel. Take out the knee bolster and knee bolster support from under the steering column. Disconnect the electrical connectors from the steering column switches and remove the wiring harness. Mark the relationship of the steering column shaft to the intermediate shaft coupler and remove the pinch bolt. Check for any remaining electrical connectors or wiring harnesses that may interfere with removal. Remove the steering column mounting fasteners and carefully guide the column out from the instrument panel. If replacing the steering column, remove any components that will be used on the replacement column. To install the column, guide it into position and connect the steering shaft with the intermediate shaft coupler. Align the marks and install the mounting fasteners to the specified torque. Install the new intermediate shaft coupler pinch-bolt and tighten the nut to the torque specifications. The remainder of the installation is the reverse of removal. After installation, center the steering angle sensor. For 2016 and later models, the removal process is slightly different. Start by parking the vehicle with the wheels pointing straight ahead and disconnecting the battery. In ACC mode, remove the fuse to unlock the steering column lock control module. Remove the air duct from below the steering column, as well as the steering column lower trim panel, driver's side knee bolster trim panel, and instrument panel lower airbag driver's side. Rotate the steering column shaft to access the intermediate shaft retaining bolt and pull up the rubber dust boot to expose the connection between the intermediate shaft and steering column shaft. Remove the bolt and mark the relationship of the steering column shaft to the intermediate shaft. Separate the intermediate shaft and the steering column shaft. Disconnect the electrical connections to the steering column and remove the fasteners securing the column to the instrument panel support. Carefully remove the steering column from the vehicle. To install the column, transfer any components as needed if replacing it. Match mark the shaft of the replacement column and apply non-hardening thread-locking compound to the threads of the pinch bolt. Install the bolt and tighten it to the proper torque specifications. The remainder of the installation is the reverse of removal. After installation, center the steering angle sensor.

Related Chevrolet Malibu Parts
 Chevrolet Malibu Steering Wheel
 Chevrolet Malibu Sway Bar Link
 Chevrolet Malibu Sway Bar Bushing
 Chevrolet Malibu Sway Bar Bracket
 Chevrolet Malibu Sway Bar Kit
Browse by Year
2022 Steering Column 2021 Steering Column 2020 Steering Column 2019 Steering Column 2018 Steering Column 2017 Steering Column 2016 Steering Column 2015 Steering Column 2014 Steering Column 2013 Steering Column 2012 Steering Column 2011 Steering Column 2010 Steering Column 2009 Steering Column 2008 Steering Column 2007 Steering Column 2006 Steering Column 2005 Steering Column 2004 Steering Column 2003 Steering Column 2002 Steering Column 2001 Steering Column 2000 Steering Column 1999 Steering Column 1998 Steering Column 1997 Steering Column