×
My Garage
My Account
My Cart
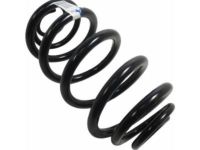
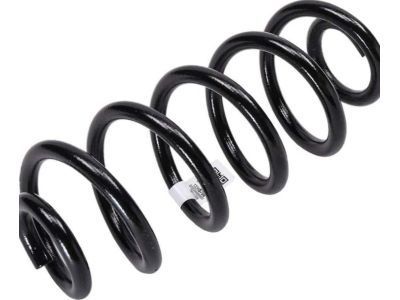
Genuine Chevrolet Cruze Coil Springs
Strut SpringEnter your vehicle info to find more parts and verify fitment
- Select Vehicle by VIN
- Select Vehicle by Model
Select by VIN
orEnter your VIN for the most accurate results.Enter your VIN for the most accurate results.
Select by Model
-- Select Make --
-- Select Model --
-- Select Year --
17 Coil Springs found
Chevrolet Cruze Rear Spring
Part Number: 13366708- Other Name: Spring, Rear; Spring
- Position: Rear
$41.20 MSRP: $77.74You Save: $36.54 (48%)
Chevrolet Cruze Front Spring
Part Number: 13367033- Other Name: Spring, Front; Coil Spring, Spring
- Position: Front
$35.16 MSRP: $63.06You Save: $27.90 (45%)Chevrolet Cruze Front Coil Spring
Part Number: 13367034- Other Name: Spring, Front Coil; Coil Spring, Spring
- Position: Front
$33.48 MSRP: $60.06You Save: $26.58 (45%)Chevrolet Cruze Front Coil Spring
Part Number: 13367035- Other Name: Spring, Front Coil; Coil Spring, Spring
- Position: Front
$33.48 MSRP: $60.06You Save: $26.58 (45%)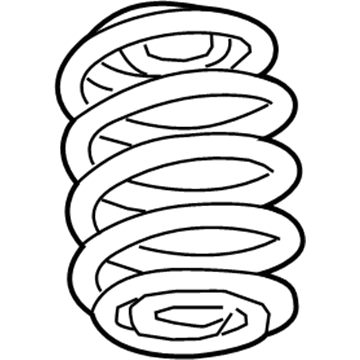
Chevrolet Cruze Rear Spring
Part Number: 13366705- Other Name: Spring, Rear; Spring
- Position: Rear
$41.57 MSRP: $74.57You Save: $33.00 (45%)Chevrolet Cruze Rear Spring
Part Number: 13366736- Other Name: Spring, Rear; Coil Spring, Spring
- Position: Rear
- Replaces: 13366699
$44.06 MSRP: $79.04You Save: $34.98 (45%)
Chevrolet Cruze Rear Spring
Part Number: 13366701- Other Name: Spring, Rear; Coil Spring
- Position: Rear
$44.66 MSRP: $80.11You Save: $35.45 (45%)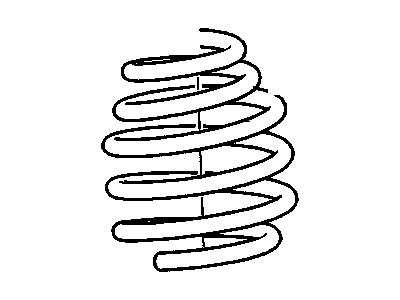
Chevrolet Cruze Front Springs
Part Number: 19260804- Other Name: Spring,Front <See Guide/Contact Bfo>; Spring
- Position: Front
$46.40 MSRP: $83.23You Save: $36.83 (45%)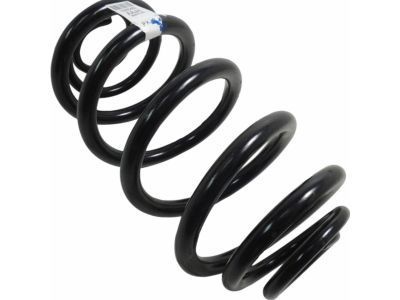
Chevrolet Cruze Rear Coil Spring
Part Number: 13360462- Other Name: Spring,Rear Coil; Coil Spring, Spring
- Position: Rear
Chevrolet Cruze Front Coil Spring
Part Number: 23447420- Other Name: Spring, Front Coil; Coil Spring, Spring
- Position: Front
- Replaces: 20979407, 22808109, 19260803
Chevrolet Cruze Rear Spring
Part Number: 13360840- Other Name: Spring, Rear; Spring
- Position: Rear
- Replaces: 13336975
Chevrolet Cruze Front Springs
Part Number: 19260805- Other Name: Spring,Front <See Guide/Contact Bfo>; Spring
- Position: Front
Chevrolet Cruze Front Coil Spring
Part Number: 23447482- Other Name: Spring, Front Coil; Coil Spring, Spring
- Position: Front
- Replaces: 19302028
Chevrolet Cruze Front Coil Spring
Part Number: 23447475- Other Name: Spring, Front Coil; Coil Spring
- Position: Front
- Replaces: 22808111
Chevrolet Cruze Front Coil Spring
Part Number: 23447480- Other Name: Spring, Front Coil; Coil Spring, Spring
- Position: Front
- Replaces: 19260802, 22808107, 20963833, 22808108, 20963834, 19260801
Chevrolet Cruze Rear Coil Spring
Part Number: 13360841- Other Name: Spring,Rear Coil; Coil Spring, Spring
- Position: Rear
- Replaces: 13336976
Chevrolet Cruze Front Coil Spring
Part Number: 23447424- Other Name: Spring, Front Coil; Coil Spring, Spring
- Position: Front
- Replaces: 22808110, 22751604
Chevrolet Cruze Coil Springs Parts Questions & Answers
- Q: How do you replace the rear Coil Springs?A: To remove the back wheels, first loosen the lug nuts and block off the front tires in order to prevent rolling. Then lift the back of the vehicle and set it firmly on jack stands. When the car is correctly placed on support, take away its back wheels. The next step is to bear each side of the rear axle using floor jacks that put their heads below coil spring pockets. It's a must to label each spring before beginning so they can be re-added later at exactly same position they were taken from. Unfasten Shock Absorber lower mounting bolt on both sides. Slowly drop both ends of the rear axle assembly letting it rotate downward until coil spring tension disappears. After relieving all pressure, coil springs might be removed out of pads around which are made against them as long as these are attached to rear axle assembly. In case replacing springs, change upper and lower spring pads onto new ones. Installing wheels on back side is just like reversing out removal process itself. Always note that springs must be fitted to a vehicle with colored tags directed backwards towards it's tail end all times.
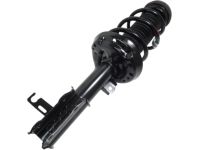
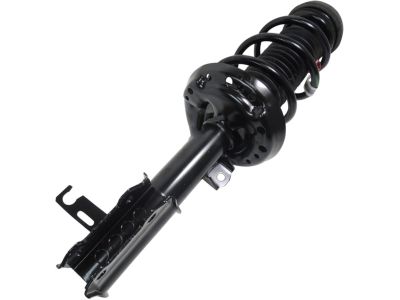
- Q: How do you replace the Coil Springs and Shock Absorber?A: If you notice signs of wear on your vehicle's struts or coil springs, it's best to explore all options before replacing them. You may be able to replace the entire strut assembly on an exchange basis to save time and effort. Before disassembling, check the cost and availability of parts. To disassemble, remove the strut and spring assembly and unscrew the damper shaft nut while holding the strut rod with a 45 Torx bit. Check for cracking or deterioration, and replace parts as necessary. To reassemble, install the spring and other parts in the opposite order, and tighten to proper torque specifications.