×
My Garage
My Account
My Cart
Genuine Chevrolet HHR Crankshaft Seal
Enter your vehicle info to find more parts and verify fitment
- Select Vehicle by VIN
- Select Vehicle by Model
Select by VIN
orEnter your VIN for the most accurate results.Enter your VIN for the most accurate results.
Select by Model
-- Select Make --
-- Select Model --
-- Select Year --
2 Crankshaft Seals found
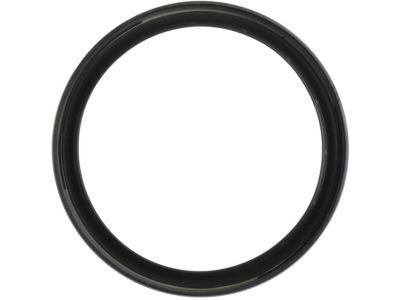
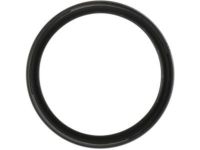
Chevrolet HHR Seal Assembly, Crankshaft Rear Oil
Part Number: 12591866- Other Name: SEAL, Engine Rear Main Bearing; Rear Main Seal
- Position: Rear
- Replaces: 90298408, 90325572, 90280462, 90354378
$20.37 MSRP: $35.46You Save: $15.09 (43%)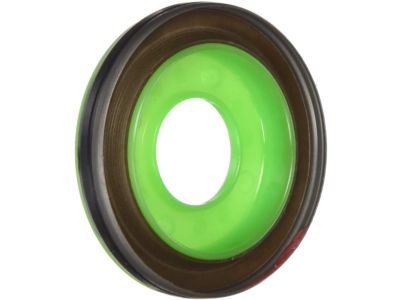
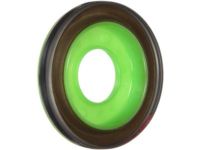
Chevrolet HHR Seal, Crankshaft Front Oil
Part Number: 12584041- Other Name: SEAL, Engine Front Cover & Crankshaft Seal
- Position: Front
- Replaces: 55564509, 12609467, 90571925, 12580989
$7.93 MSRP: $14.96You Save: $7.03 (47%)
Chevrolet HHR Crankshaft Seal Parts Questions & Answers
- Q: How to remove and install a crankshaft pulley and Crankshaft Seal for Chevrolet Cobalt,HHR and Saturn ION?A: Disconnect the cable from the negative battery terminal. Remove the drivebelt. Raise the vehicle and support it securely on jackstands. Remove the splash shield from below the engine compartment by removing the splash shield mounting bolts. Use a breaker bar and socket to remove the crankshaft pulley center bolt. A large pin spanner can be used to prevent the pulley from rotating while the bolt is loosened. Discard the bolt and obtain a new one for installation. It will be necessary to lock the pulley in position using a strap wrench or a large pin spanner. Be sure to wrap a length of old drivebelt around the pulley for a good grip if you are using a strap wrench. Slide the puller off the nose of the crankshaft. If the pulley is stuck, use a puller that bolts to the three threaded holes in the pulley hub. Additionally, a spacer, such as a deep socket that just fits into the hole in the pulley and bears on the crankshaft, will be required to avoid damage to the crankshaft. Use a seal puller to remove the Crankshaft Seal. A screwdriver may be used instead, if the tip is wrapped with tape to avoid scratching the crankshaft. Clean the seal bore and check it for nicks or gouges. Also examine the area of the hub that rides in the seal for signs of abnormal wear or scoring. For many popular engines, repair sleeves are available to restore a smooth finish to the sealing surface. Check with your auto parts store. Coat the lip of the new seal with clean engine oil and drive it into the bore with a seal driver or a socket slightly smaller in diameter than the seal. The open side of the seal faces into the engine. Using clean engine oil, lubricate the sealing surface of the hub. Install the crankshaft pulley/damper with a special installation tool, available at most auto parts stores. Do not use a hammer to install the pulley/damper. Install a new center bolt and tighten it to the torque. You must use a new pulley bolt. The remainder of the installation is the reverse of the removal procedure. Reconnect the battery.
- Q: How to replace a one-piece rear main oil seal for Chevrolet Cobalt,HHR and Saturn ION?A: The one-piece rear crankshaft seal is pressed into the engine block and the crankcase reinforcement section. Remove the transaxle, the clutch components, if equipped, and the Flywheel. Pry out the old seal with a special seal removal tool or a flat-blade screwdriver. Caution: To prevent an oil leak after the new seal is installed, be very careful not to scratch or otherwise damage the crankshaft sealing surface or the bore in the engine block. Clean the crankshaft and seal bore in the block thoroughly and degrease these areas by wiping them with a rag soaked in lacquer thinner or acetone. Lubricate the lip of the new seal and the outer diameter of the crankshaft with engine oil. Position the new seal onto the crankshaft. Make sure the edges of the new oil seal are not rolled over. Note: When installing the new seal, if so marked, the words THIS SIDE OUT on the seal must face out, toward the rear of the engine. Use a special rear crankshaft seal installation tool or a socket with the exact diameter of the seal to drive the seal in place. Make sure the seal is not off-set; it must be flush along the entire circumference of the engine block and the crankcase reinforcement section. The remainder of installation is the reverse of removal.