×
My Garage
My Account
My Cart
Genuine Chevrolet Metro Brake Disc
Disc RotorEnter your vehicle info to find more parts and verify fitment
- Select Vehicle by VIN
- Select Vehicle by Model
Select by VIN
orEnter your VIN for the most accurate results.Enter your VIN for the most accurate results.
Select by Model
-- Select Make --
-- Select Model --
-- Select Year --
3 Brake Discs found
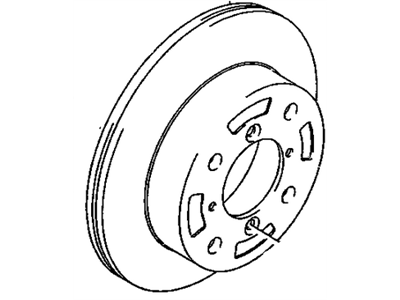
Chevrolet Metro Front Brake Rotor
Part Number: 91175503- Other Name: Rotor,Front Brake; Brake Rotor, Rotor
- Position: Front
- Replaces: 91172987, 96067908

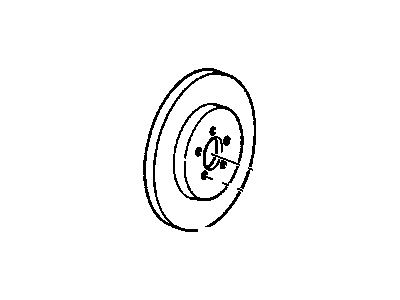
Chevrolet Metro Front Brake Rotor
Part Number: 30005701- Other Name: Rotor,Front Brake ; Rotor, Front And Rear Wheel Brake
- Position: Front
Chevrolet Metro Brake Disc Parts Questions & Answers
- Q: How do I inspect and, if necessary, refinish the brake disc, including removal and installation steps for proper brake maintenance?A: To inspect the brakes, start by loosening the wheel lug nuts and raising the vehicle on jackstands. Remove the front wheels and then remove the brake caliper, making sure not to stretch or twist the brake hose. Visually check the disc surface for score marks and deep grooves, which may require disc removal and refinishing. Check both sides of the disc and inspect the Wheel Bearings for any issues. To check disc runout, use a dial indicator and turn the disc, ensuring the reading does not exceed the specified limit. If necessary, have the disc refinished by a machine shop. The disc thickness should not be machined below the minimum refinish thickness. To remove the disc, loosen the bolts while an assistant depresses the brake pedal, remove the cotter pin and hub nut, and then remove the caliper and pads. Reference mark the position of the disc to the caliper mounting bracket. Use a slide hammer with the proper adapter to pull off the disc and wheel hub, and separate the disc from the hub. When installing, make sure the spacer on the hub is positioned correctly and use the reference marks made during removal to install the disc and hub assembly. Tighten the driveaxle hub nut to the specified torque and install a new cotter pin. If applicable, re-stake the hub nut into the groove. Install the caliper and Brake Pad assembly over the disc, position it on the steering knuckle, and tighten the caliper bolts. Finally, install the wheel, lower the vehicle, and tighten the lug nuts. Depress the brake pedal a few times to bring the brake pads into contact with the disc and check the brake operation before normal use.
Related Chevrolet Metro Parts
 Chevrolet Metro Brake Pad
 Chevrolet Metro ABS Control Module
 Chevrolet Metro Brake Booster
 Chevrolet Metro Brake Line
 Chevrolet Metro Brake Dust Shields
 Chevrolet Metro Brake Proportioning Valve
 Chevrolet Metro Brake Master Cylinder
 Chevrolet Metro Wheel Cylinder
 Chevrolet Metro Parking Brake Cable
 Chevrolet Metro Brake Bleeder Screw
 Chevrolet Metro Brake Drum