My Garage
My Account
Cart
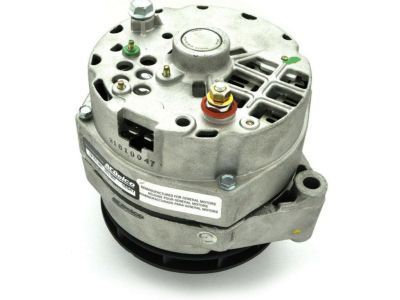
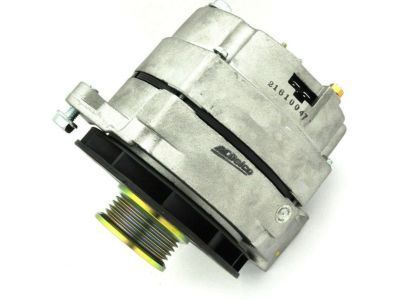
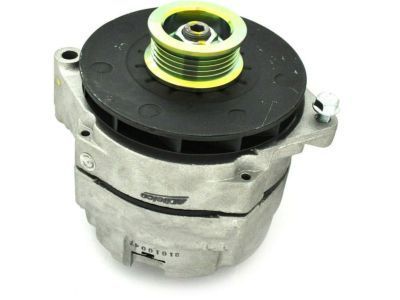
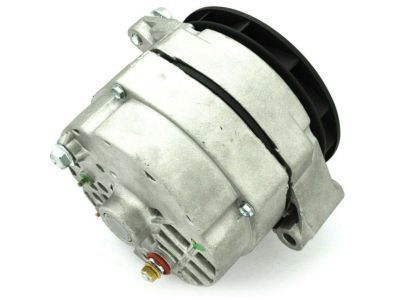
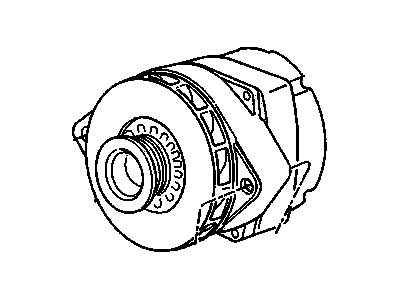
Genuine 1984 Chevrolet Caprice Alternator
Generator- Select Vehicle by Model
- Select Vehicle by VIN
Select Vehicle by Model
orMake
Model
Year
Select Vehicle by VIN
For the most accurate results, select vehicle by your VIN (Vehicle Identification Number).
1 Alternator found
- Product Specifications
- Other Name: Reman Alternator(Delco 12Si 78 Amps) ; Generator, Engine Electrical; Alternator, Alternator Assembly
- Replaces: 10463058
- Item Weight: 13.10 Pounds
- Item Dimensions: 9.2 x 8.1 x 7.1 inches
- Condition: New
- Fitment Type: Direct Replacement
- SKU: 19151861
- Warranty: This genuine part is guaranteed by GM's factory warranty.
1984 Chevrolet Caprice Alternator
We are your prime source for competitively priced and high-quality OEM 1984 Chevrolet Caprice Alternator. We provide you with parts that will allow you to save a lot of money without sacrificing quality. All our OEM parts are backed by the manufacturer's warranty and shipped out at a swift rate.
1984 Chevrolet Caprice Alternator Parts Questions & Experts Answers
- Q: Is it advisable for the home mechanic to replace a faulty alternator unit on 1984 Chevrolet Caprice?A: Because of the delicate and sensitive process of dismantling the unit and the testing of the several components that make up the alternator, it might be wiser for the home mechanic to replace the bad one with a new one or rebuilt one. If an overhaul is to be done, make sure that there are spare parts available for replacement before the overhaul is begun. First, unbolt both the alternator and the pulley, proceeded to clamp the alternation firmly using your vise, thus, applying pressure on the mounting flange. Four through bolts are to be removed, and the slip-ring, end frame and stator assembly from the drive-end and rotor assembly is to be separated with a screwdriver where it is necessary to lever out and then corresponding positions at the end frames have to be marked. Subsequently to that, unbolt the stator lead securing nuts to detach the stator from the end frame. For the 1D series, unscrew the brush holder assembly for its dismantling as well as the heat sink from the end frame by firstly removing the BAT and GRD terminals and one screw only. For the 10 SI series, but continue dismantling by unplugging the rectifier bridge, the BAT terminal screw fasten, remove the capacitor lead and get rid of rectifier from the end frame as well. The brush holder and the regulator along with insulating sleeves and washers are to be unscrewed with two screws and removed along with the capacitor from the end frame. In all models, if slip ring end-frame bearing is either dry or noisy, it must be replaced and not greased. Remove the old bearing and throw the oil seal out and then fit and press the new bearing until it meets the end frame then fit the new oil seal. Insert a 5/16 inch Allen wrench into the socket at the drive pulley end so as to halt the shaft from turning, undo the pulley nut and then remove the washer, pulley, fan as well as the spacer. Thus the rotor and spacers have to be taken out of the drive end frame, if the bearing in the mentioned frame is dry or too noisy then it also must be changed. Get at the bearing by unscrewing the retainer plate bolts, and taking off the plate/seal assembly, then driving out the bearing, and driving in the new one on the end of a tube. Make sure that the slinger is in the right position then grease as advised before fitting. The alternator is now virtually disassembled down to the individual component, so clean every component, look for signs of wear or damage, and then buy whatever parts as might be needed new. Cleaning the slip rings; if the slip rings are dirty, spin the rotor and rub 400-grit abrasive paper on the slip rings to avoid development of flat spots There are certain cases where the slip rings may be scored and this may require replacement of the complete rotor assembly. Inspection of brushes should be done to find out whether they are worn to the mid point or beyond hence they should be replaced, the springs on the other hand should only be replaced if they seem to be weak or distorted in anyway. Reassembly is the reverse of dismantling, it is important to tighten the pulley nut up to the correct torque value, position the insulating washers and sleeves to face the correct way on brush clip screws, clean the brush contact area before fitting the slip ring end frame, to hold the brushes up in their holders with a thin bar, and ensure the marks of the slip ring and drive end frame are aligned.
