My Garage
My Account
Cart
Genuine 1991 Pontiac Firebird Intake Manifold
Engine Intake Manifold- Select Vehicle by Model
- Select Vehicle by VIN
Select Vehicle by Model
orMake
Model
Year
Select Vehicle by VIN
For the most accurate results, select vehicle by your VIN (Vehicle Identification Number).
4 Intake Manifolds found
- Product Specifications
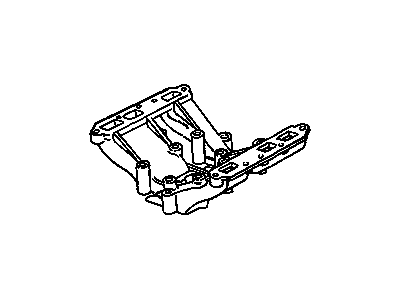
- Other Name: MANIFOLD, Engine Fuel Intake Manifold; Manifold
- Position: Center
- Item Weight: 8.40 Pounds
- Item Dimensions: 17.9 x 10.7 x 5.7 inches
- Condition: New
- Fitment Type: Direct Replacement
- SKU: 14077854
- Warranty: This genuine part is guaranteed by GM's factory warranty.
- Product Specifications
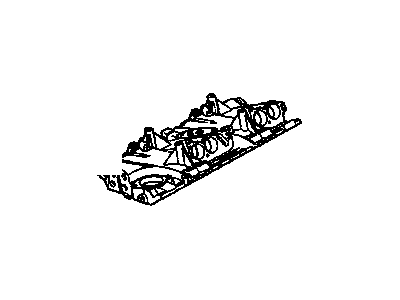
- Other Name: MANIFOLD, Engine Fuel Intake Manifold; Intake Manifold, Manifold
- Item Weight: 17.00 Pounds
- Item Dimensions: 21.7 x 11.7 x 7.0 inches
- Condition: New
- Fitment Type: Direct Replacement
- SKU: 10166135
- Warranty: This genuine part is guaranteed by GM's factory warranty.
- Product Specifications
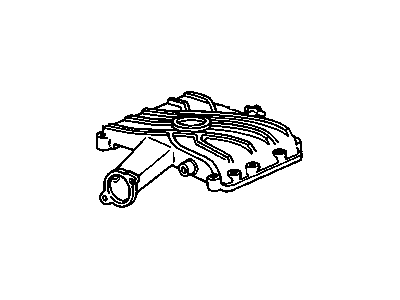
- Other Name: PLENUM, Engine Fuel Intake Manifold; Plenum
- Item Weight: 7.40 Pounds
- Item Dimensions: 14.6 x 14.3 x 8.2 inches
- Condition: New
- Fitment Type: Direct Replacement
- SKU: 10087650
- Warranty: This genuine part is guaranteed by GM's factory warranty.
- Product Specifications
- Other Name: MANIFOLD, Engine Fuel Intake Manifold
- Item Weight: 18.20 Pounds
- Item Dimensions: 26.0 x 11.3 x 6.6 inches
- Condition: New
- Fitment Type: Direct Replacement
- SKU: 10066014
- Warranty: This genuine part is guaranteed by GM's factory warranty.
1991 Pontiac Firebird Intake Manifold
We are your prime source for competitively priced and high-quality OEM 1991 Pontiac Firebird Intake Manifold. We provide you with parts that will allow you to save a lot of money without sacrificing quality. All our OEM parts are backed by the manufacturer's warranty and shipped out at a swift rate.
1991 Pontiac Firebird Intake Manifold Parts Questions & Experts Answers
- Q: How to properly remove and install an intake manifold in V8 engine on 1991 Pontiac Firebird?A: If air conditioning is equipped, pay special attention to the location of the hoses and compressor mounting, as it is often possible to remove the intake manifold without disconnecting the air conditioning-if in doubt, consult a dealer or a refrigeration specialist to release pressure from the system and do not disconnect it under pressure, under any circumstances. Start with the removal of the ground terminal and with the help of a drain cock, remove the coolant from the radiator. Disconnect each hose from the air cleaner assembly with the numbered tape and set the collector apart. On carbureted models, cover the carburetor with red caps and remove and label all electric wires and vacuum hoses connected to it then turn off the fuel pump and, with a container ready to collect the fuel, unscrew the fuel line and put the cap on it. It consists of the following; the upper radiator hose and the heater hose should be disconnected from the manifold, the carburetor linkage should be detached, and the spark plug wires together with the distributor cap should be taken off. Take off the distributor, cruise control servo with its bracket, the alternator upper mounting bracket, EGA solenoid with its bracket, and remove the vacuum line which supplies the power brake booster. Some of the bolts in the manifold mounting may have nuts on the opposite sides, and removing them may require the removal of some interfering electrical wires, vacuum hoses, and coolant hoses before the manifold can be separated from the engine without prying between mating surfaces. If replacing the intake manifold, remove all the following components that are either fixed or bolted at the intake manifold, except the following ones: carburettor, thermostat, the necessary switches and the required fittings that are to be transferred to the new intake manifold. It is necessary to remove dirt from the engine cavity and the gasket surfaces and then install the gaskets and apply RTV sealant according to the following indications. Place the intake manifold down to its position and add the bolts for its mounting before tightening them in accordance with the prescribed pattern and re-assemble all the other components in the reversed manner. Add coolant into the car's radiator, then crank the car and look for any sign of leakage, and tune the car's timing and acceleration as required. For throttle body injected models remove the fuel inlet line, EGA solenoid, alternator adjusting bracket and electrical wires linking the IAC valve, injectors and TPS. Unbolt the brake booster lines, fuel return and the throttle, then remove the PCV valve and any other vacuum lines left. Disconnect all electrical wires concerning the 4 cylinders, and coolant hoses also; if transfer of elements from the previous intake manifold to the new one is possible, then it should be done as planned. Proceed with the installation in the laid down procedures with due regard to the right sequences in tightening bolts. For tuned-port injected models, you remove the battery negative terminal, drain the coolant and remove the cables of the accelerator, throttle valve and the cruise control. Disconnect the air intake duct, the coolant hoses and the electrical connectors, identifying them for reassembly. Lever out the intake plenum and runners; place a tag on the distributor locations; dismantle the EGR electrical connector and the vacuum lines. Disconnect electrical connections from fuel injectors and coolant temperature sensors also remove intake manifold bolts and unbolt the manifold from the engine while removing dirt on the sealing surfaces of the intake manifold, and install new gaskets, and RTV sealant. After this position the intake manifold into place and screw in the bolts before tightening them diagonally before the final and most proper torque pattern is followed by another reversal of the above steps.


