My Garage
My Account
Cart
Genuine 1994 Chevrolet Beretta Engine Mount
Engine Motor Mount- Select Vehicle by Model
- Select Vehicle by VIN
Select Vehicle by Model
orMake
Model
Year
Select Vehicle by VIN
For the most accurate results, select vehicle by your VIN (Vehicle Identification Number).
13 Engine Mounts found
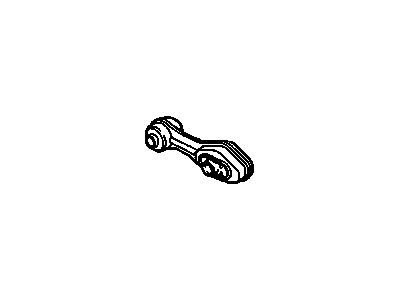
1994 Chevrolet Beretta Strut Assembly, Engine Mount *Green
Part Number: 22596573$20.09 MSRP: $40.52You Save: $20.43 (51%)Product Specifications- Other Name: STRUT, Engine Mount Dampening; Strut, Torque Strut
- Item Weight: 1.90 Pounds
- Item Dimensions: 3.9 x 3.7 x 11.3 inches
- Condition: New
- Fitment Type: Direct Replacement
- SKU: 22596573
- Warranty: This genuine part is guaranteed by GM's factory warranty.
1994 Chevrolet Beretta Strut Assembly, Engine Mount *Blue
Part Number: 22595753$38.71 MSRP: $78.07You Save: $39.36 (51%)Product Specifications- Other Name: STRUT; Front Mount, Mount, Torque Strut
- Replaces: 22113211, 22112730
- Item Weight: 1.70 Pounds
- Item Dimensions: 8.3 x 3.3 x 3.2 inches
- Condition: New
- Fitment Type: Direct Replacement
- SKU: 22595753
- Warranty: This genuine part is guaranteed by GM's factory warranty.
1994 Chevrolet Beretta Mount,Engine *Brown
Part Number: 22146740$66.10 MSRP: $133.28You Save: $67.18 (51%)Product Specifications- Other Name: MOUNT, Engine Mounting; Front Mount, Motor Mount
- Item Weight: 3.70 Pounds
- Condition: New
- Fitment Type: Direct Replacement
- SKU: 22146740
- Warranty: This genuine part is guaranteed by GM's factory warranty.
1994 Chevrolet Beretta Strut Assembly, Engine Mount *White
Part Number: 22595752$28.54 MSRP: $51.34You Save: $22.80 (45%)Product Specifications- Other Name: STRUT; Torque Strut
- Item Weight: 1.70 Pounds
- Item Dimensions: 8.5 x 3.2 x 3.2 inches
- Condition: New
- Fitment Type: Direct Replacement
- SKU: 22595752
- Warranty: This genuine part is guaranteed by GM's factory warranty.
1994 Chevrolet Beretta Mount,Engine *Orange
Part Number: 22146742$77.30 MSRP: $176.55You Save: $99.25 (57%)Ships in 1-2 Business DaysProduct Specifications- Other Name: MOUNT, Engine Mount Dampening; Front Mount, Motor Mount
- Replaces: 22146449, 22171578
- Item Weight: 9.60 Pounds
- Item Dimensions: 8.3 x 8.2 x 5.8 inches
- Condition: New
- Fitment Type: Direct Replacement
- SKU: 22146742
- Warranty: This genuine part is guaranteed by GM's factory warranty.
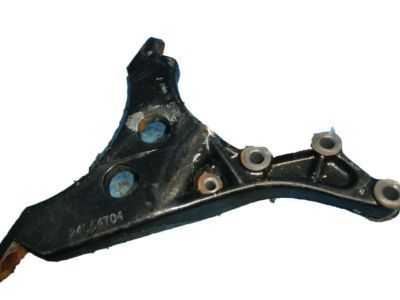
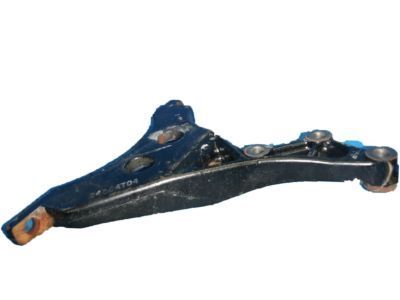
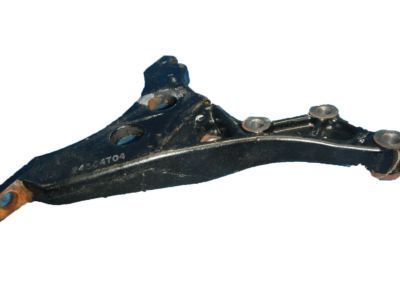
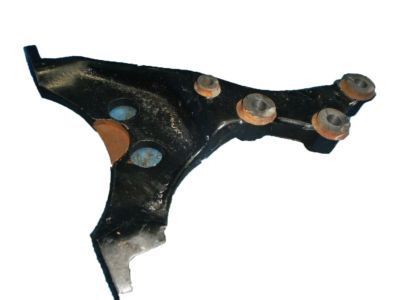
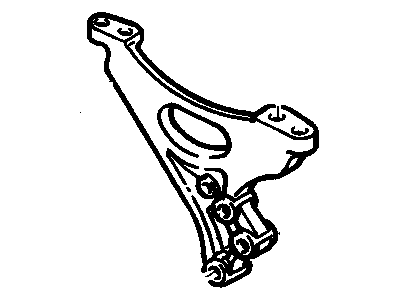
- Product Specifications
- Other Name: SUPPORT, Engine Mounting; Mount Support, Strut Support, Support
- Position: Front
- Item Weight: 7.30 Pounds
- Item Dimensions: 11.5 x 11.2 x 2.1 inches
- Condition: New
- Fitment Type: Direct Replacement
- SKU: 24504704
- Warranty: This genuine part is guaranteed by GM's factory warranty.
- Product Specifications
- Other Name: Adapter
- Condition: New
- Fitment Type: Direct Replacement
- SKU: 22597589
- Warranty: This genuine part is guaranteed by GM's factory warranty.
- Product Specifications
- Other Name: BRACKET, Engine Mounting
- Item Weight: 2.20 Pounds
- Item Dimensions: 11.4 x 10.1 x 5.8 inches
- Condition: New
- Fitment Type: Direct Replacement
- SKU: 22639634
- Warranty: This genuine part is guaranteed by GM's factory warranty.
- Product Specifications
- Other Name: BRACKET, Engine Mounting; Strut Bracket, Torque Strut Bracket
- Item Weight: 7.40 Pounds
- Condition: New
- Fitment Type: Direct Replacement
- SKU: 22576878
- Warranty: This genuine part is guaranteed by GM's factory warranty.
- Product Specifications
- Other Name: BRACKET, Steering Knuckle Control Arm
- Position: Front
- Item Weight: 1.80 Pounds
- Item Dimensions: 8.4 x 6.8 x 3.7 inches
- Condition: New
- Fitment Type: Direct Replacement
- SKU: 20640794
- Warranty: This genuine part is guaranteed by GM's factory warranty.
- Product Specifications
- Other Name: BRACKET, Engine Mounting
- Item Weight: 1.90 Pounds
- Item Dimensions: 11.5 x 10.8 x 4.1 inches
- Condition: New
- Fitment Type: Direct Replacement
- SKU: 22593225
- Warranty: This genuine part is guaranteed by GM's factory warranty.
- Product Specifications
- Other Name: MOUNT, Engine Mounting; Front Mount, Motor Mount, Mount, Mount Assembly
- Item Weight: 8.70 Pounds
- Item Dimensions: 9.5 x 8.7 x 5.4 inches
- Condition: New
- Fitment Type: Direct Replacement
- SKU: 22146741
- Warranty: This genuine part is guaranteed by GM's factory warranty.
- Product Specifications
- Other Name: MOUNT, Engine Mount Dampening; Front Mount, Motor Mount, Mount, Mount Assembly
- Replaces: 22171574, 22145868
- Item Weight: 8.50 Pounds
- Item Dimensions: 11.1 x 10.0 x 7.0 inches
- Condition: New
- Fitment Type: Direct Replacement
- SKU: 22146738
- Warranty: This genuine part is guaranteed by GM's factory warranty.
1994 Chevrolet Beretta Engine Mount
We are your prime source for competitively priced and high-quality OEM 1994 Chevrolet Beretta Engine Mount. We provide you with parts that will allow you to save a lot of money without sacrificing quality. All our OEM parts are backed by the manufacturer's warranty and shipped out at a swift rate.
1994 Chevrolet Beretta Engine Mount Parts Questions & Experts Answers
- Q: How to replace engine mounts in 2.3L four cylinder (Quad-4) engine on 1994 Chevrolet Beretta?A: Engine mounts seldom require attention, but broken or deteriorated mounts should be replaced immediately, or the added strain placed on the driveline components may cause damage or wear. During the check, the engine must be raised slightly to remove the weight from the mounts. Raise the vehicle and support it securely on jackstands. Support the engine as described above. If the special support fixture is unavailable, position a jack under the engine oil pan. Place a large block of wood between the jack head and the oil pan, then carefully raise the engine just enough to take the weight off the mounts. Check the mounts to see if the rubber is cracked, hardened, or separated from the metal plates. Sometimes the rubber will split right down the center. Check for relative movement between the mount plates and the engine or frame (use a large screwdriver or pry bar to attempt to move the mounts). If movement is noted, lower the engine and tighten the mount fasteners. Apply rubber preservative to the mounts to slow deterioration. For front mount replacement, detach the negative battery cable from the battery. Remove the upper mount nut. Raise the engine off the mount. Remove the two lower mount nuts. Remove the mount. Place the new mount in position and install the nuts. Gently lower the engine and tighten the nuts securely. Reconnect the negative battery cable. For rear mount replacement, detach the negative battery cable from the battery. Remove the right lower splash. Raise the engine off the mount. Remove the four mount-to-bracket nuts. Remove the mount from the vehicle. Installation is the reverse of removal. Gently lower the engine. Tighten the nuts securely. Reconnect the negative battery cable.
