My Garage
My Account
Cart
Genuine 1994 Chevrolet Beretta Wheel Hub
Wheel Axle Hub- Select Vehicle by Model
- Select Vehicle by VIN
Select Vehicle by Model
orMake
Model
Year
Select Vehicle by VIN
For the most accurate results, select vehicle by your VIN (Vehicle Identification Number).
2 Wheel Hubs found
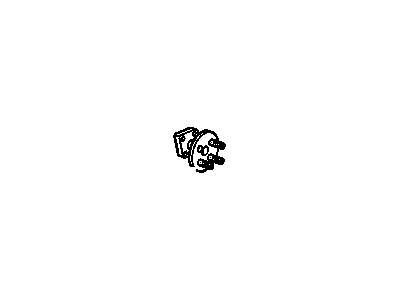
1994 Chevrolet Beretta Rear Wheel Bearing
Part Number: 7470597$224.34 MSRP: $448.67You Save: $224.33 (50%)Ships in 1-2 Business DaysProduct Specifications- Other Name: Hub,Rear Wheel; Hub, Hub & Bearing, Hub & Bearing Assembly
- Position: Rear
- Replaces: 7470509, 7466970
- Item Weight: 6.30 Pounds
- Item Dimensions: 7.2 x 7.0 x 8.9 inches
- Condition: New
- Fitment Type: Direct Replacement
- SKU: 7470597
- Warranty: This genuine part is guaranteed by GM's factory warranty.
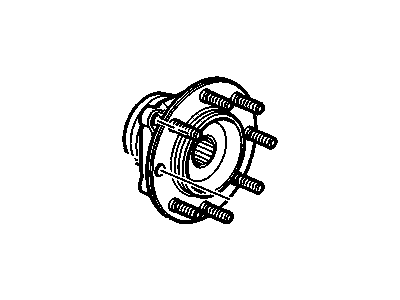
1994 Chevrolet Beretta Front Wheel Bearing
Part Number: 7470014$140.06 MSRP: $275.44You Save: $135.38 (50%)Ships in 1-2 Business DaysProduct Specifications- Other Name: Hub Kit,Front Wheel
- Position: Front
- Item Weight: 6.10 Pounds
- Item Dimensions: 7.1 x 7.0 x 6.7 inches
- Condition: New
- Fitment Type: Direct Replacement
- SKU: 7470014
- Warranty: This genuine part is guaranteed by GM's factory warranty.
1994 Chevrolet Beretta Wheel Hub
We are your prime source for competitively priced and high-quality OEM 1994 Chevrolet Beretta Wheel Hub. We provide you with parts that will allow you to save a lot of money without sacrificing quality. All our OEM parts are backed by the manufacturer's warranty and shipped out at a swift rate.
1994 Chevrolet Beretta Wheel Hub Parts Questions & Experts Answers
- Q: How to replace the front Wheel Hub on 1994 Chevrolet Beretta?A: At the front another new design feature is the sealed-for-life front hub and wheel bearing assembly that must be replaced as an assembly. This can be done by opening up the wheel lug nuts, lifting the front part of the car and placing it on jackstands that are firmly in place. Push the parking brake and place the rear wheels chocks to avoid the vehicle from moving. First, now, disengage the wheel, then unbolt the stabilizer bar from the control arm. When that has been done, then you should take off the ball joint-to-steering knuckle nut and then detach the control arm from the knuckle. Take the caliper off the steering knuckle and suspend it on a wire since it is not needed in this step. Take the rotor off the hub and if at all needed, the driveaxle should be pulled off. This requires the no 55 TORX bit to be used to free the three hub retaining bolts passing through the opening of the flange not using Allen wrench to deal with the bolts as this may permanently affect their shape. Move the hub and bearing assembly up and down and pull it together with the rotor shield out of the steering knuckle. If the hub and bearing assembly is being replaced it is suggested to replace the dust seal in the back of the steering knuckle with a screwdriver. Install a new dust seal from the knuckle end and tighten it, do not let it be cocked in the bore, use a large socket or seal driver and a hammer to do this. Insert a new O-ring around the rear of the bearing and make it to force against the flange of the bearing. Scrub the mating surfaces on the steering knuckle, bearing flange and knuckle bore lightly, apply high temperature grease on the outer diameter of the bearing and seal lips and then installing the hub and bearing to the steering knuckle. Place the rotor shield in their respective position and tighten the three bolts and torque the same as recommended. Replace the driveaxle put the control arm on the steering knuckle and secure the stabilizer bar to the control arm. Bolt on the brake rotor and the caliper, tighten the stub axal nut to the initial torque to lock the drive axle in hub so that it cannot turn by inserting a screw driver through the caliper into the vane of the rotor if required. Last, apply the wheel, lower the car and tighten the lug nuts to the initial torque, then to the final torque tighten the hub nut .


