My Garage
My Account
Cart
Genuine 1999 Chevrolet Tracker Crankshaft Seal
- Select Vehicle by Model
- Select Vehicle by VIN
Select Vehicle by Model
orMake
Model
Year
Select Vehicle by VIN
For the most accurate results, select vehicle by your VIN (Vehicle Identification Number).
4 Crankshaft Seals found
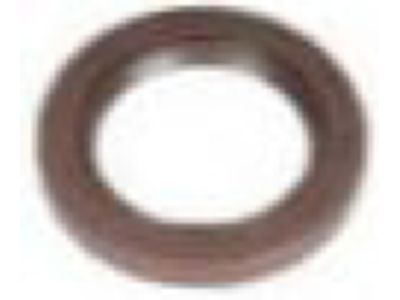
1999 Chevrolet Tracker Seal,Crankshaft Front Oil
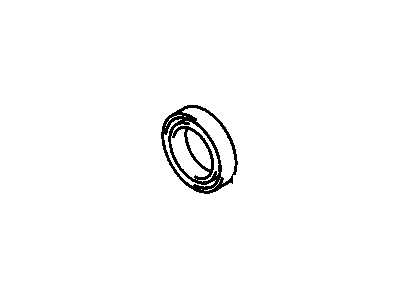
Part Number: 91175484$9.75 MSRP: $17.73You Save: $7.98 (46%)Ships in 1-3 Business DaysProduct Specifications- Other Name: SEAL, Engine Front Cover & Crankshaft Seal; Camshaft Seal, Front Crank Seal, Oil Seal, Seal
- Position: Front
- Replaces: 96068274, 96051421, 91173294
- Item Weight: 0.30 Pounds
- Item Dimensions: 2.0 x 2.0 x 0.2 inches
- Condition: New
- Fitment Type: Direct Replacement
- SKU: 91175484
- Warranty: This genuine part is guaranteed by GM's factory warranty.
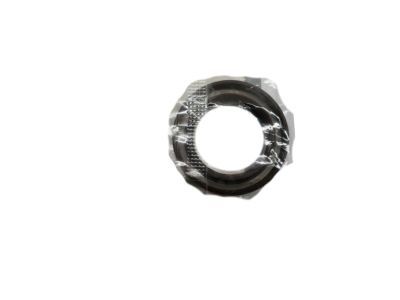
- Product Specifications
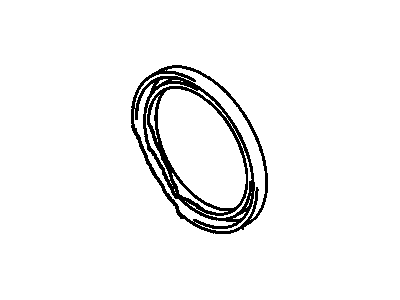
- Other Name: SEAL, Engine Front Cover & Crankshaft Seal
- Position: Front
- Replaces: 91174333
- Item Weight: 0.40 Pounds
- Item Dimensions: 4.2 x 4.2 x 0.3 inches
- Condition: New
- Fitment Type: Direct Replacement
- SKU: 91177421
- Warranty: This genuine part is guaranteed by GM's factory warranty.
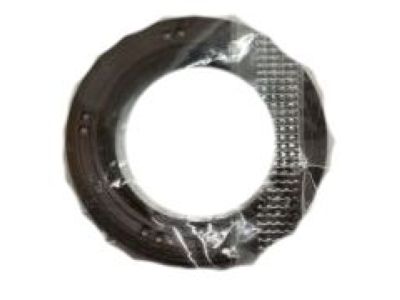
- Product Specifications
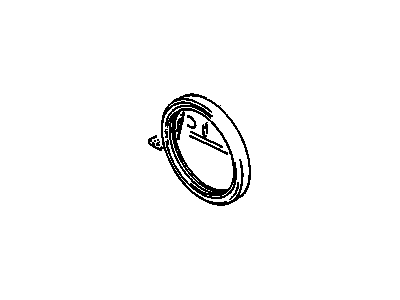
- Other Name: SEAL, Engine Rear Main Bearing; Rear Main Seal
- Position: Rear
- Replaces: 91174334
- Item Weight: 0.40 Pounds
- Item Dimensions: 5.7 x 5.8 x 0.7 inches
- Condition: New
- Fitment Type: Direct Replacement
- SKU: 91176515
- Warranty: This genuine part is guaranteed by GM's factory warranty.
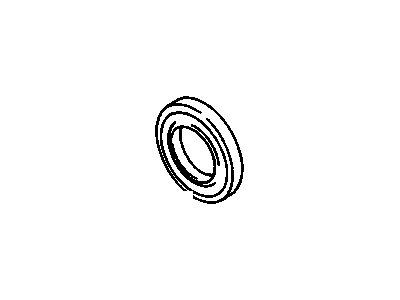
- Product Specifications
- Other Name: SEAL, Engine Rear Main Bearing; Rear Main Seal
- Position: Rear
- Item Weight: 0.40 Pounds
- Item Dimensions: 4.2 x 4.1 x 0.3 inches
- Condition: New
- Fitment Type: Direct Replacement
- SKU: 96065634
- Warranty: This genuine part is guaranteed by GM's factory warranty.
1999 Chevrolet Tracker Crankshaft Seal
We are your prime source for competitively priced and high-quality OEM 1999 Chevrolet Tracker Crankshaft Seal. We provide you with parts that will allow you to save a lot of money without sacrificing quality. All our OEM parts are backed by the manufacturer's warranty and shipped out at a swift rate.
1999 Chevrolet Tracker Crankshaft Seal Parts Questions & Experts Answers
- Q: How to replace the rear Crankshaft Seal in SOHC engine on 1999 Chevrolet Tracker?A: To perform this procedure, it is necessary to first remove the transmission from the car. Replacing the seal does not require either dropping the oil pan or removing the seal retainer. However, installing a lip seal in this manner is not advisable because it has a stiff lip that could be cocked in the retainer bore or harmed while fitting. You could try and pry out the old seal. The old seal can therefore be gently pried out using a thin screwdriver whose tip should have tape wrapped around it to safeguard against damaging the crankshaft sealing surface or the seal bore. Apply multi-purpose grease to both the crankshaft's seal journal and the new seal's lip, and then insert it carefully into place where it belongs. Use a wide socket to drive the new gasket into position gently but firmly. Take your time, since the lip is rigid and can only be applied smoothly with the extension's end guiding it onto the crankshaft's journal by tapping on its edge. This ensures proper sealing before the installation is complete. Do not rush, as you could risk damaging the seal.To remove all gasket material, take out the oil pan, drain plug, and bolts. Peel off all old gasket material left on the mounting flange, and clean the area thoroughly to ensure no debris re-enters the engine system. This prevents future problems. Reinstall the four screws, tightening them until they are snug-but not too tight-so as to avoid stripping the threads, which would render the vehicle inoperable until fully repaired according to the manufacturer's specifications.Place some wooden blocks on your workbench and position the retainer assembly above the blocks so that the old seal can be driven out from behind using a punch and hammer. Support the retainer on two wooden blocks while removing the old seal. Drive the new seal into the retainer using a wood block or a piece of pipe with a diameter that does not exceed the seal's outside diameter. This ensures the new seal is inserted without being cocked in the retainer bore.Once the new seal is correctly positioned, proceed with the installation. Put the engine on its side and slide the gasket into place. Carefully fit the crankshaft into position with the seal. Use an extension to gently work the lip of the seal onto the crankshaft while pressing the retainer into place with your hand. Install and tighten the retainer bolts to the correct torque specification.Finally, reassemble everything in reverse order of disassembly. Start the engine and check for oil leaks to confirm that the seal is properly installed and functioning as intended.
