My Garage
My Account
Cart
Genuine 2005 Chevrolet Astro Crankshaft
Crank Shaft- Select Vehicle by Model
- Select Vehicle by VIN
Select Vehicle by Model
orMake
Model
Year
Select Vehicle by VIN
For the most accurate results, select vehicle by your VIN (Vehicle Identification Number).
1 Crankshaft found
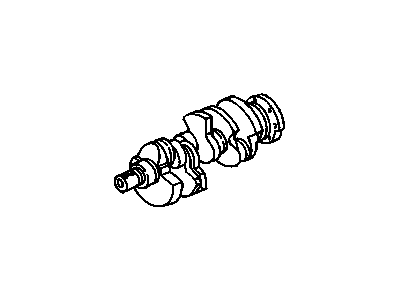
2005 Chevrolet Astro Engine Crankshaft
Part Number: 12555637$492.97 MSRP: $815.92You Save: $322.95 (40%)Ships in 1-3 Business DaysProduct Specifications- Other Name: Crankshaft, Engine; Crankshaft
- Replaces: 12558256
- Item Weight: 42.20 Pounds
- Item Dimensions: 25.5 x 8.6 x 6.8 inches
- Condition: New
- Fitment Type: Direct Replacement
- SKU: 12555637
- Warranty: This genuine part is guaranteed by GM's factory warranty.
2005 Chevrolet Astro Crankshaft
We are your prime source for competitively priced and high-quality OEM 2005 Chevrolet Astro Crankshaft. We provide you with parts that will allow you to save a lot of money without sacrificing quality. All our OEM parts are backed by the manufacturer's warranty and shipped out at a swift rate.
2005 Chevrolet Astro Crankshaft Parts Questions & Experts Answers
- Q: How to install a crankshaft during engine reassembly on 2005 Chevrolet Astro?A: Crankshaft installation is the first step in the engine assembly; provided that the engine block and crankshaft have been treated, examined and mended. In particular, if the engines are equipped in the rear main oil seal two parts, the oil seal sections have to be positioned in the cap and block parts then. Align the engine with the downwards facing at the bottom, after which the lifting of the main bearing cap bolts should occur after which the caps should be laid down. If old bearing insert are still in situ then they must be removed and the main bearing surface must be wiped with a clean lint free cloth. Remove new main bearing inserts and clean back sides of them and put one half of new main bearing inserts in each main bearing saddle in the block and align them with oil hole. Flanged thrust bearing has to be position in the rear cap and saddle. Scrub the thrust faces and crankshaft main bearing journals, looking for sues in the oil hole. After you must have cleaned the crankshaft, you now need to put it in place, on the main bearings. When the engine is installed but prior to final assembly check the crankshaft main bearing oil clearance with Plastigage by placing it on each crankshaft main bearing journal. Remove any debris on the bearing faces in the caps and fit them in their proper position without shifting the Plastigage. Bolt up the main bearing caps in three progressive sequences to the torque indicated while not rotating crankshaft starting at center main and moving outwards. Take out the bolts and take off the main bearing caps while making sure to keep them respective. Measure and compare the width of the crushed Plastigage to get the main bearing oil clearance which should be to specification. If the clearance is wrong, get a micrometer and check for dirt or oil between the bearing insert and caps or block. It is recommended here that any Plastigage stuck to the main bearing journals and bearing faces be removed with equal care. Remove the crankshaft, to do that turn it anti-clockwise to take it out, clean the bearing surfaces as shown in the block, apply a light coat of moly-base grease or engine assembly lube to each of the bearing and thrust surfaces. Fit the rear main oil seal sections if required, and lubricate seal faces. All crankshaft journals should be free from contaminants, place the crankshaft back into the proper position, wipe clean the bearing surfaces of the caps, apply oil and put back the caps with the holes facing the front. Loosen all bolts by turning them counter clockwise beginning at the center and going to the exterior then finally turn the bolts of the rear cap to the point that they establish 10-to-12 ft-lbs of torque in a clockwise direction. Strike lightly on both ends of the main rod with a hammer and align the thrust faces, then tighten all the main bearing cap screws. Among other, in models with manual transmission, fit a new pilot bearing in the crankshaft. To carry out this check, grasp the crankshaft between your left hand and left thumb and attempt to rotate the bearings by hand; the crankshaft must rotate freely without binding The crankshaft end float should then be checked with a feeler gauge or dial indicator if the thrust faces are worn and bearings damaged or if new bearings are fitted. For V6 engines with one piece rear main oil seal, fit the new seal and screw the housing to the block.


