My Garage
My Account
Cart
Genuine 2005 Chevrolet Trailblazer Exhaust Manifold
Engine Exhaust Manifold- Select Vehicle by Model
- Select Vehicle by VIN
Select Vehicle by Model
orMake
Model
Year
Select Vehicle by VIN
For the most accurate results, select vehicle by your VIN (Vehicle Identification Number).
3 Exhaust Manifolds found
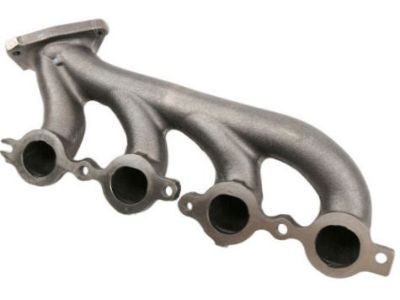
2005 Chevrolet Trailblazer Engine Exhaust Manifold
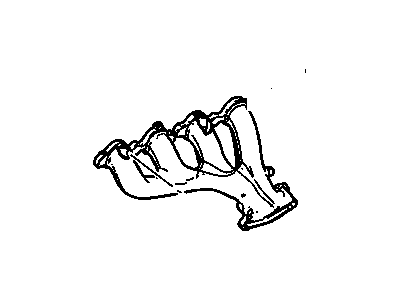
Part Number: 12600527$122.87 MSRP: $210.11You Save: $87.24 (42%)Product Specifications- Other Name: Manifold, Exhaust ; Manifold, Engine Exhaust Manifold; Exhaust Manifold, Manifold
- Replaces: 12567484
- Item Weight: 11.80 Pounds
- Item Dimensions: 22.1 x 9.2 x 6.3 inches
- Condition: New
- Fitment Type: Direct Replacement
- SKU: 12600527
- Warranty: This genuine part is guaranteed by GM's factory warranty.
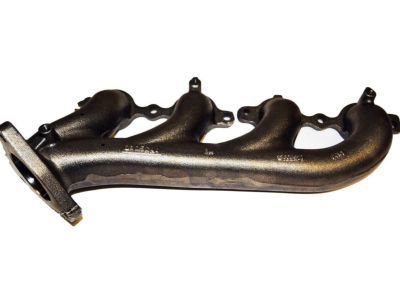
- Product Specifications
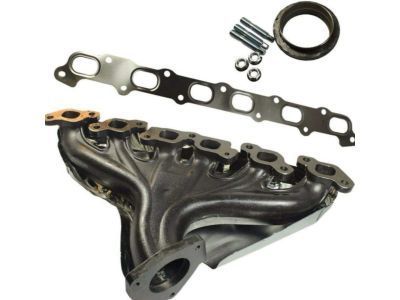
- Other Name: Manifold Kit,Exhaust ; Manifold, Engine Exhaust Manifold; Exhaust Manifold, Manifold
- Item Weight: 16.20 Pounds
- Item Dimensions: 5.3 x 23.9 x 13.9 inches
- Condition: New
- Fitment Type: Direct Replacement
- SKU: 88890560
- Warranty: This genuine part is guaranteed by GM's factory warranty.
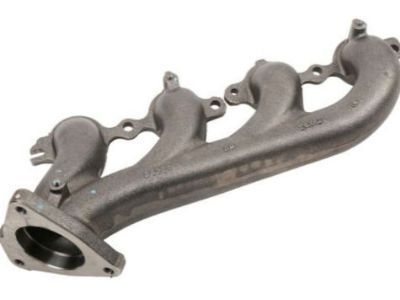
2005 Chevrolet Trailblazer Engine Exhaust Manifold
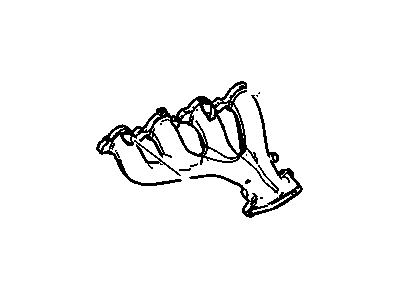
Part Number: 12600526$112.68 MSRP: $178.09You Save: $65.41 (37%)Product Specifications- Other Name: Manifold, Exhaust ; Manifold, Engine Exhaust Manifold; Exhaust Manifold, Manifold
- Item Weight: 13.40 Pounds
- Item Dimensions: 21.5 x 18.7 x 8.4 inches
- Condition: New
- Fitment Type: Direct Replacement
- SKU: 12600526
- Warranty: This genuine part is guaranteed by GM's factory warranty.
2005 Chevrolet Trailblazer Exhaust Manifold
We are your prime source for competitively priced and high-quality OEM 2005 Chevrolet Trailblazer Exhaust Manifold. We provide you with parts that will allow you to save a lot of money without sacrificing quality. All our OEM parts are backed by the manufacturer's warranty and shipped out at a swift rate.
2005 Chevrolet Trailblazer Exhaust Manifold Parts Questions & Experts Answers
- Q: How to remove the exhaust manifold in V8 engine on 2005 Chevrolet Trailblazer?A: To remove the exhaust manifold, first disconnect the cable from the negative terminal of the battery and raise the vehicle securely on jackstands. Apply penetrating oil to the exhaust pipe-to-manifold studs and nuts, then disconnect the electrical connector for the oxygen sensor. Remove the nuts retaining the exhaust pipe(s) to the manifold(s), noting that access is easier with the front tires and inner fender wells removed. Detach the spark plug wires and remove the spark plugs from the side being worked on; if both manifolds are being removed, do this for all plugs. If equipped, remove the secondary air injection pipe from the exhaust manifold being removed. For the right side manifold, remove the air cleaner assembly, the oil dipstick, and unbolt the dipstick tube bracket to move the dipstick tube. Remove the EGA valve and pipe assembly by taking out the mounting bolts and separating the exhaust manifold from the cylinder head, followed by removing the heat shields. For the left side manifold, disconnect the electrical connector from the Engine Coolant Temperature sensor, then remove the mounting bolts and separate the exhaust manifold from the cylinder head, also removing the heat shields. Before installation, check the manifold for cracks and ensure the bolt threads are clean and undamaged, using a gasket scraper to remove carbon deposits and gasket material while being cautious with the aluminum cylinder heads. Install the heat shields, bolts, and gaskets onto the manifold, ensuring the retaining tabs hold the assembly together. Apply a 1/4-inch wide band of medium-strength threadlocking compound starting at the fourth thread, avoiding the first three threads. Place the manifold on the cylinder head and install the mounting bolts finger tight, then tighten them from the center to the ends using a torque wrench in two steps. If necessary, bend the exposed end of the exhaust manifold gasket back against the cylinder head. Complete the installation in reverse order of removal, always using new O-rings and gaskets on the EGA valve and pipe assembly, and finally, start the engine to check for exhaust leaks.
