
My Garage
My Account
Cart
Genuine 2007 Pontiac G6 Engine Mount
Engine Motor Mount- Select Vehicle by Model
- Select Vehicle by VIN
Select Vehicle by Model
orMake
Model
Year
Select Vehicle by VIN
For the most accurate results, select vehicle by your VIN (Vehicle Identification Number).
10 Engine Mounts found
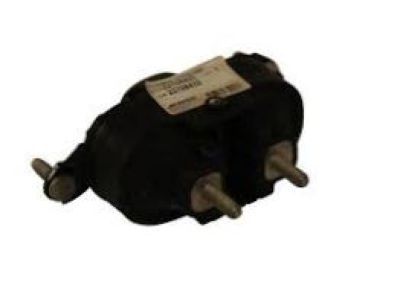
2007 Pontiac G6 Absorber Bracket
Part Number: 25791904$84.23 MSRP: $139.40You Save: $55.17 (40%)Ships in 1-3 Business DaysProduct Specifications- Other Name: Bracket, Engine Mounting; Absorber Bracket
- Item Weight: 0.50 Pounds
- Item Dimensions: 4.6 x 3.2 x 2.3 inches
- Condition: New
- Fitment Type: Direct Replacement
- SKU: 25791904
- Warranty: This genuine part is guaranteed by GM's factory warranty.
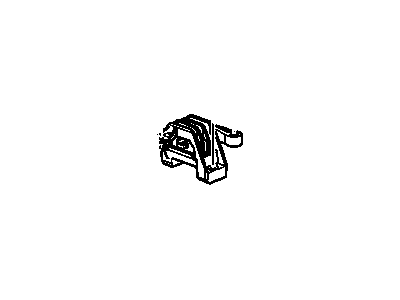
2007 Pontiac G6 Motor Mount
Part Number: 25852869$84.92 MSRP: $145.21You Save: $60.29 (42%)Ships in 1-2 Business DaysProduct Specifications- Other Name: Mount Assembly - Engine; Front Mount, Motor Mount, Mount
- Replaces: 22708432
- Item Weight: 4.70 Pounds
- Item Dimensions: 7.8 x 7.3 x 5.4 inches
- Condition: New
- Fitment Type: Direct Replacement
- SKU: 25852869
- Warranty: This genuine part is guaranteed by GM's factory warranty.
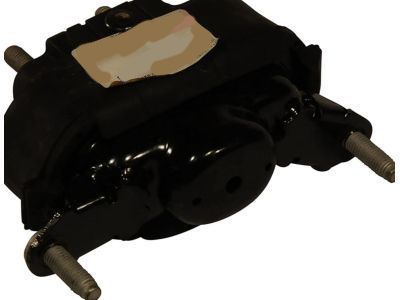
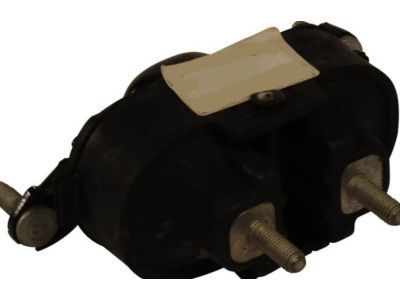
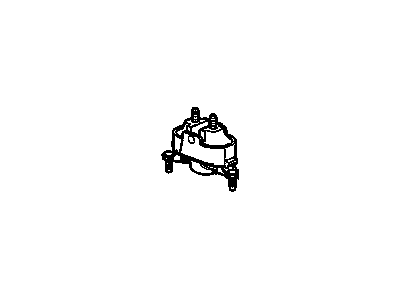
2007 Pontiac G6 Engine Mount Assembly
Part Number: 22708433$123.36 MSRP: $193.56You Save: $70.20 (37%)Product Specifications- Other Name: MOUNT, Engine Mount Dampening; Front Mount, Motor Mount, Mount
- Replaces: 22631724, 15141228
- Item Weight: 3.70 Pounds
- Item Dimensions: 8.3 x 7.7 x 4.3 inches
- Condition: New
- Fitment Type: Direct Replacement
- SKU: 22708433
- Warranty: This genuine part is guaranteed by GM's factory warranty.

 Product Specifications
- Other Name: BRACKET, Engine Mounting; Absorber Bracket
- Replaces: 15224955
- Item Weight: 1.10 Pounds
- Item Dimensions: 14.1 x 4.5 x 14.9 inches
- Condition: New
- Fitment Type: Direct Replacement
- SKU: 15935732
- Warranty: This genuine part is guaranteed by GM's factory warranty.


 Product Specifications
- Other Name: MOUNT, Engine Mount Dampening; Front Mount, Motor Mount
- Item Weight: 5.50 Pounds
- Item Dimensions: 8.1 x 6.1 x 10.1 inches
- Condition: New
- Fitment Type: Direct Replacement
- SKU: 25852868
- Warranty: This genuine part is guaranteed by GM's factory warranty.


 Product Specifications
- Other Name: BRACKET, Engine Mounting; Mount Bracket
- Item Weight: 2.30 Pounds
- Item Dimensions: 8.6 x 7.3 x 6.2 inches
- Condition: New
- Fitment Type: Direct Replacement
- SKU: 15298012
- Warranty: This genuine part is guaranteed by GM's factory warranty.
 Product Specifications
- Other Name: BRACKET, Engine Mounting; Mount Bracket
- Item Weight: 2.20 Pounds
- Item Dimensions: 6.2 x 4.8 x 12.1 inches
- Condition: New
- Fitment Type: Direct Replacement
- SKU: 15224956
- Warranty: This genuine part is guaranteed by GM's factory warranty.
 Product Specifications
- Other Name: BRACKET, Engine Mounting; Mount Bracket
- Replaces: 22708435
- Item Weight: 2.30 Pounds
- Item Dimensions: 7.1 x 6.8 x 6.1 inches
- Condition: New
- Fitment Type: Direct Replacement
- SKU: 15298011
- Warranty: This genuine part is guaranteed by GM's factory warranty.
 Product Specifications
- Other Name: BRACKET, Engine Mounting; Front Mount Bracket, Mount Bracket
- Replaces: 15919610
- Item Weight: 3.20 Pounds
- Item Dimensions: 4.8 x 2.8 x 11.1 inches
- Condition: New
- Fitment Type: Direct Replacement
- SKU: 25846770
- Warranty: This genuine part is guaranteed by GM's factory warranty.
 Product Specifications
- Other Name: BRACKET, Engine Mounting; Mount Bracket
- Item Weight: 4.10 Pounds
- Item Dimensions: 9.2 x 7.9 x 1.4 inches
- Condition: New
- Fitment Type: Direct Replacement
- SKU: 15299168
- Warranty: This genuine part is guaranteed by GM's factory warranty.
2007 Pontiac G6 Engine Mount
We are your prime source for competitively priced and high-quality OEM 2007 Pontiac G6 Engine Mount. We provide you with parts that will allow you to save a lot of money without sacrificing quality. All our OEM parts are backed by the manufacturer's warranty and shipped out at a swift rate.
2007 Pontiac G6 Engine Mount Parts Questions & Experts Answers
- Q:What should be done if engine mounts are broken or deteriorated in 3.6L V6 engine on 2007 Pontiac G6?Posted by Joes C.A:Engine mounts are generally highly reliable, but when an engine-mount is broken or worn it requires replacement as soon as possible in order to avoid damaging to the components of the driveshaft. This is done merely by lifting the engine slightly off the mount hence relieving the weight pressure on the mounts. First, prepare the vehicle by jacking it up and putting it on jackstands, then place a jack under the engine oil pan laying a big piece of wood on it so that it would not directly touch the oil pan, then raise the engine a little bit off the mount but do not support the engine completely with the jack. If the mount is accessible, check for cracks, hardened rubber or the rubber has deteriorated or has come unstuck from the metal plates, the rubber is usually split down the middle. Insert a large screwdriver or pry bar between the mount plates and the engine or frame; if them plates move easily, check the tightness of the mount fasteners; broken mounts make it quite easy for the engine to move when pried or under load. To remove it, the cable should be disconnected from the negative battery terminal; the drivebelt has to be removed, and the engine top cover and air filter assembly taken off. Lift the vehicle off the stands and re-place it on two jackstands in a secure position again. Place the car on an engine support fixture or employ a floor jack and support the oil pan with a wooden plank. Remove one of the top bolts in the upper engine mount bracket so that it slightly moves and take off all but one bolt in the bracket that is pivoting. Two nuts that supply the mount with the upper mount bracket are to be detached, the next thing is to un-bolt the lower mount bracket from the car frame and then take the mount off together with the lower bracket but in the process, the mount becomes separated from the lower bracket. It removes from the computer in an inversative order to the one it uses during installation.Answered by GM Parts Specialist Jose / May 20, 2024
