My Garage
My Account
Cart
Genuine 2011 Cadillac CTS Transmission Assembly
Trans Assembly- Select Vehicle by Model
- Select Vehicle by VIN
Select Vehicle by Model
orMake
Model
Year
Select Vehicle by VIN
For the most accurate results, select vehicle by your VIN (Vehicle Identification Number).
9 Transmission Assemblies found
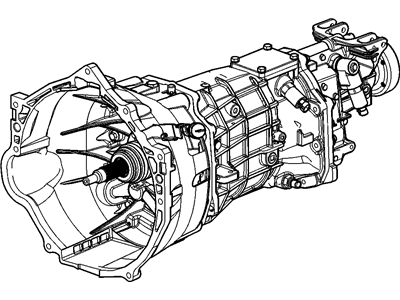
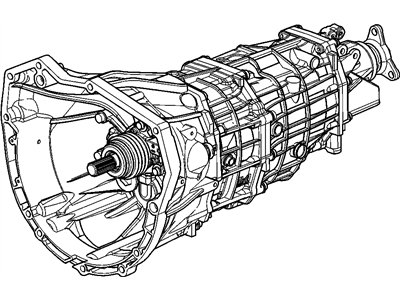
2011 Cadillac CTS Transmission Assembly, Man
Part Number: 24264047$5484.15 MSRP: $6203.78You Save: $719.63 (12%)Ships in 1-3 Business DaysProduct Specifications- Other Name: TRANSMISSION, Automatic; Transmission
- Replaces: 24258817, 24235889, 24251717
- Item Weight: 158.40 Pounds
- Item Dimensions: 39.8 x 23.0 x 13.3 inches
- Condition: New
- Fitment Type: Direct Replacement
- SKU: 24264047
- Warranty: This genuine part is guaranteed by GM's factory warranty.
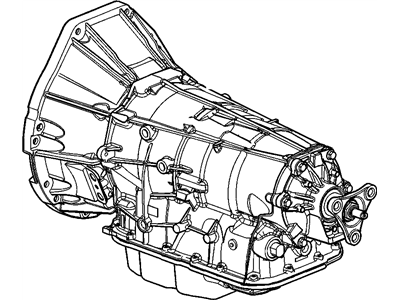
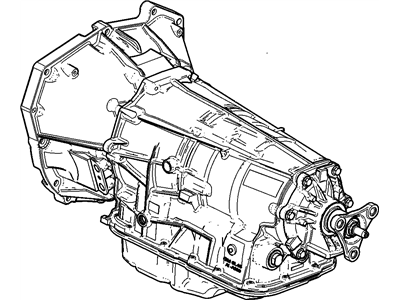
2011 Cadillac CTS Transmission Asm, Auto 1Bma (Goodwrenc *Programming)
Part Number: 19256771$2694.68 MSRP: $3024.53You Save: $329.85 (11%)Ships in 1-2 Business DaysProduct Specifications- Other Name: TRANSMISSION, Automatic; Transmission
- Replaces: 24253158
- Item Weight: 209.20 Pounds
- Item Dimensions: 47.1 x 23.0 x 24.9 inches
- Condition: New
- Fitment Type: Direct Replacement
- SKU: 19256771
- Warranty: This genuine part is guaranteed by GM's factory warranty.
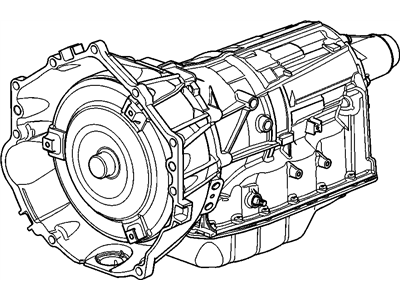
2011 Cadillac CTS Transmission Assembly, Auto 1Baa ( Seed)
Part Number: 24253160$2828.36 MSRP: $3175.76You Save: $347.40 (11%)Ships in 1-3 Business DaysProduct Specifications- Other Name: TRANSMISSION, Automatic
- Replaced by: 19256772
- Item Weight: 213.20 Pounds
- Item Dimensions: 48.0 x 22.1 x 24.9 inches
- Condition: New
- Fitment Type: Direct Replacement
- SKU: 24253160
- Warranty: This genuine part is guaranteed by GM's factory warranty.
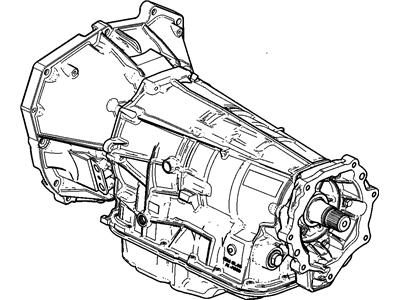
2011 Cadillac CTS Transmission Asm, Auto 1Dja (Service R*Programming)
Part Number: 19303212$4172.49 MSRP: $4672.50You Save: $500.01 (11%)Ships in 1-3 Business DaysProduct Specifications- Other Name: TRANSMISSION, Automatic
- Replaces: 19256776, 24245012
- Item Weight: 253.90 Pounds
- Item Dimensions: 47.6 x 22.6 x 25.1 inches
- Condition: New
- Fitment Type: Direct Replacement
- SKU: 19303212
- Warranty: This genuine part is guaranteed by GM's factory warranty.
2011 Cadillac CTS Transmission Asm,Auto 1A1A (Goodwrench Remanufacture)
Part Number: 19256813$4609.08 MSRP: $5190.14You Save: $581.06 (12%)Ships in 1-3 Business DaysProduct Specifications- Other Name: TRANSMISSION ASM,AUTO 1A1A (GOODWRENCH REMAN)
- Replaces: 24252370
- Item Weight: 195.20 Pounds
- Item Dimensions: 47.1 x 23.0 x 24.6 inches
- Condition: New
- Fitment Type: Direct Replacement
- SKU: 19256813
- Warranty: This genuine part is guaranteed by GM's factory warranty.
2011 Cadillac CTS Transmission Asm, Auto 1Bfa (Goodwrenc *Programming)
Part Number: 19256774$2814.80 MSRP: $3160.41You Save: $345.61 (11%)Ships in 1-3 Business DaysProduct Specifications- Other Name: TRANSMISSION, Automatic
- Replaces: 24255546
- Item Weight: 198.20 Pounds
- Item Dimensions: 48.0 x 23.2 x 25.1 inches
- Condition: New
- Fitment Type: Direct Replacement
- SKU: 19256774
- Warranty: This genuine part is guaranteed by GM's factory warranty.
2011 Cadillac CTS Manual Transmission Assembly
Part Number: 24252201$3255.31 MSRP: $3682.47You Save: $427.16 (12%)Product Specifications- Other Name: TRANSMISSION, Automatic; Transmission
- Replaces: 24242917
- Item Weight: 129.50 Pounds
- Item Dimensions: 40.8 x 25.2 x 23.3 inches
- Condition: New
- Fitment Type: Direct Replacement
- SKU: 24252201
- Warranty: This genuine part is guaranteed by GM's factory warranty.
- Product Specifications
- Other Name: TRANSMISS; Transmission
- Replaces: 24255545
- Item Weight: 205.80 Pounds
- Item Dimensions: 47.1 x 22.3 x 24.1 inches
- Condition: New
- Fitment Type: Direct Replacement
- SKU: 19256773
- Warranty: This genuine part is guaranteed by GM's factory warranty.
- Product Specifications
- Other Name: Transmission, Manual(6, Speed)
- Item Weight: 186.50 Pounds
- Item Dimensions: 39.4 x 25.8 x 23.3 inches
- Condition: New
- Fitment Type: Direct Replacement
- SKU: 24247140
- Warranty: This genuine part is guaranteed by GM's factory warranty.
2011 Cadillac CTS Transmission Assembly
We are your prime source for competitively priced and high-quality OEM 2011 Cadillac CTS Transmission Assembly. We provide you with parts that will allow you to save a lot of money without sacrificing quality. All our OEM parts are backed by the manufacturer's warranty and shipped out at a swift rate.
2011 Cadillac CTS Transmission Assembly Parts Questions & Experts Answers
- Q: How to remove the transmission assembly on 2011 Cadillac CTS?A: To remove the transmission, first disconnect the battery and raise the front of the vehicle securely on jack stands, ensuring it is high enough for the transmission to be pulled out. Remove the lower splash shield, then take off the manual shift shaft nut, disconnect the linkage, and place the transmission in Neutral by rotating the shift shaft two clicks clockwise. Next, remove the exhaust system and the bracket for the catalytic converter hanger, followed by the driveshaft. Disconnect the wiring harness to the transmission and place a drain pan under the transmission cooler lines to disconnect them, plugging the lines to prevent dirt entry. For 2007 and earlier models with 5L40-E/L50-E transmissions, on 3.6L engines, remove the thermostat for access to the upper transmission-to-engine mounting bolts, while on 3.2L engines, remove the torque converter cover plug and mark the torque converter to the drive plate. Remove the torque converter bolt access plug below the starter motor, then remove the closeout cover studs and starter motor to access the torque converter bolts. Remove the torque converter-to-driveplate bolts, support the transmission with a jack, and remove the transmission support-to-body bolts. Remove the transmission mount-to-support nuts and bolts, then use a floor jack to support the rear of the front subframe, loosening the rear two subframe bolts to access and remove the upper engine-to-transmission mounting bolts. Lower the rear of the transmission, remove the engine-to-transmission mounting bolts, and carefully lower the transmission jack to the floor. For 2008 and later models with 6L50/6L80/6L90 transmissions, remove the thermostat housing for access to the upper transmission-to-engine mounting bolts, disconnect the vent hose retaining clips, and remove the oxygen sensor wiring harness connector. Remove the torque converter cover, mark the relationship of the torque converter to the drive plate, and remove the ground strap nut and closeout cover studs to access the torque converter bolts. Support the transmission with a floor jack, remove the transmission mount-to-support nuts/bolts, and lower the rear of the transmission to remove the engine-to-transmission mounting bolts. Move the transmission away to disengage it from the engine block dowel pins and carefully lower it to the floor. For installation, reverse the removal procedure, ensuring the torque converter engages properly with the transmission fluid pump, aligning the match marks on the torque converter and drive plate, installing all drive plate-to-torque converter nuts before tightening, and filling the transmission with the correct fluid type and amount while adjusting the shift linkage.
