My Garage
My Account
Cart
Genuine 2013 Chevrolet Corvette Shock Absorber
Suspension Shock Absorber- Select Vehicle by Model
- Select Vehicle by VIN
Select Vehicle by Model
orMake
Model
Year
Select Vehicle by VIN
For the most accurate results, select vehicle by your VIN (Vehicle Identification Number).
13 Shock Absorbers found
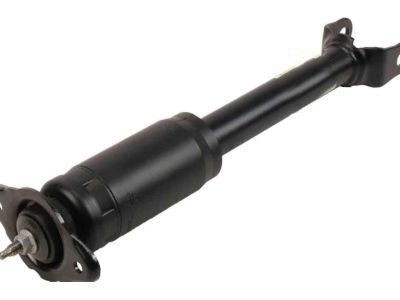
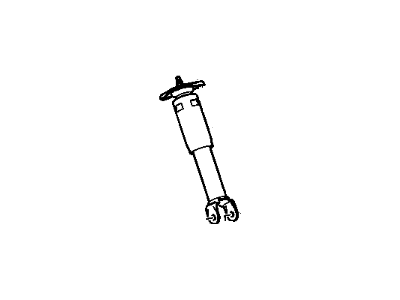
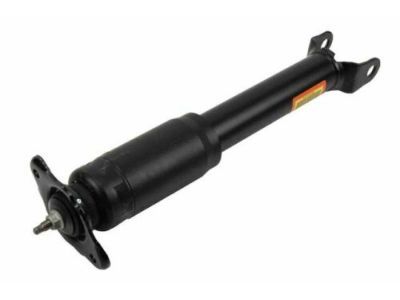
2013 Chevrolet Corvette Front Suspension Strut Kit
Part Number: 19302774$559.16 MSRP: $1099.62You Save: $540.46 (50%)Ships in 1-2 Business DaysProduct Specifications- Other Name: Strut Kit,Front Suspension
; Shock, Shock Absorber - Position: Front
- Replaces: 19259306, 19207674
- Item Weight: 5.20 Pounds
- Item Dimensions: 3.0 x 3.2 x 22.2 inches
- Condition: New
- Fitment Type: Direct Replacement
- Require Quantity: 2
- SKU: 19302774
- Warranty: This genuine part is guaranteed by GM's factory warranty.
2013 Chevrolet Corvette Front Suspension Strut Kit
Part Number: 19302775$522.90 MSRP: $1019.30You Save: $496.40 (49%)Ships in 1-2 Business DaysProduct Specifications- Other Name: Strut Kit,Front Suspension
; Shock, Shock Absorber - Position: Front
- Replaces: 19178739, 19259307
- Item Weight: 5.80 Pounds
- Item Dimensions: 22.2 x 3.5 x 3.3 inches
- Condition: New
- Fitment Type: Direct Replacement
- Require Quantity: 2
- SKU: 19302775
- Warranty: This genuine part is guaranteed by GM's factory warranty.
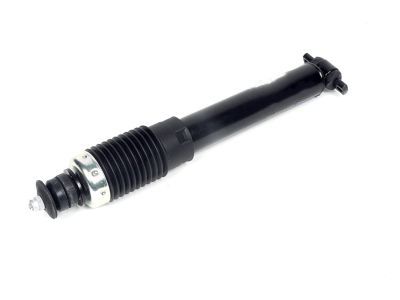
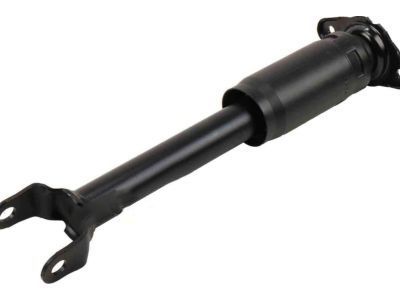
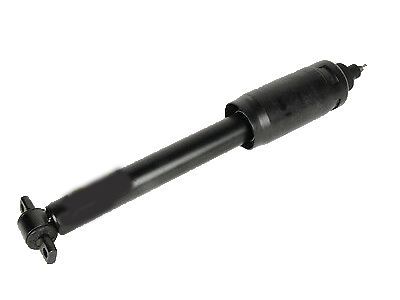
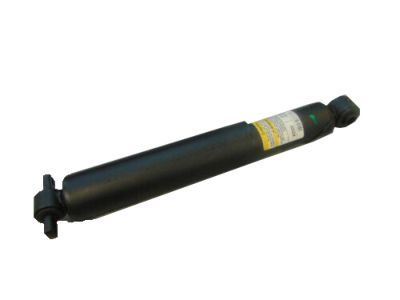
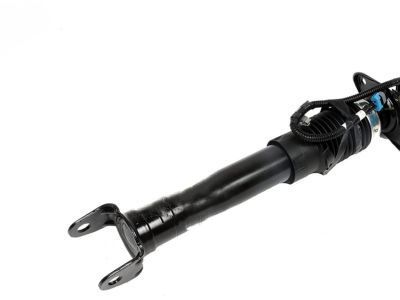
2013 Chevrolet Corvette Rear Shock Absorber Assembly
Part Number: 10302877$115.31 MSRP: $224.79You Save: $109.48 (49%)Ships in 1-3 Business DaysProduct Specifications- Other Name: Absorber Assembly, Rear Shock ; Absorber, Shock; Shock, Shock Absorber
- Position: Rear
- Item Weight: 4.20 Pounds
- Item Dimensions: 8.2 x 4.0 x 23.7 inches
- Condition: New
- Fitment Type: Direct Replacement
- Require Quantity: 2
- SKU: 10302877
- Warranty: This genuine part is guaranteed by GM's factory warranty.
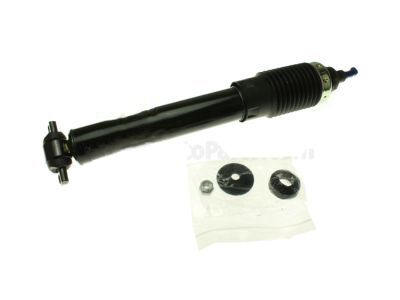
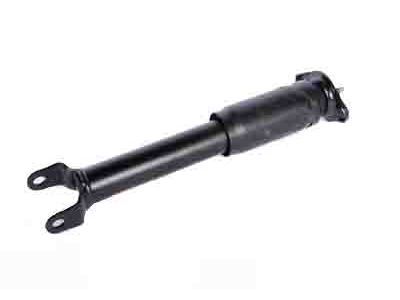
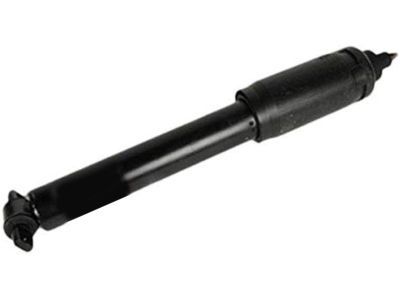
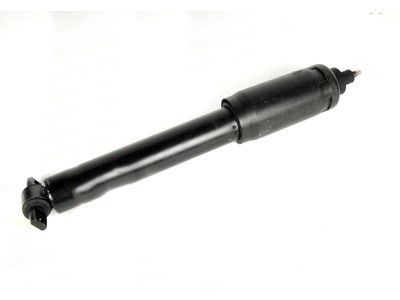
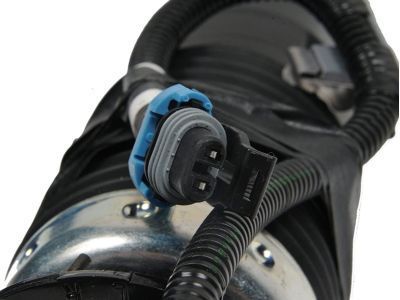
2013 Chevrolet Corvette Front Shock Absorber Assembly
Part Number: 10302855$144.00 MSRP: $280.70You Save: $136.70 (49%)Ships in 1-2 Business DaysProduct Specifications- Other Name: Absorber Assembly, Front Shock ; Absorber, Shock; Shock, Shock Absorber
- Position: Front
- Item Weight: 3.30 Pounds
- Item Dimensions: 4.1 x 4.2 x 25.3 inches
- Condition: New
- Fitment Type: Direct Replacement
- Require Quantity: 2
- SKU: 10302855
- Warranty: This genuine part is guaranteed by GM's factory warranty.
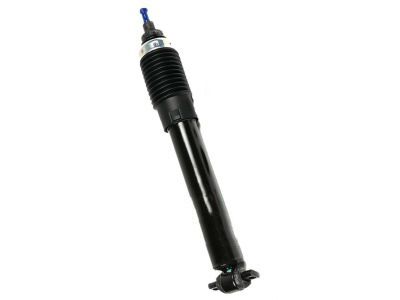
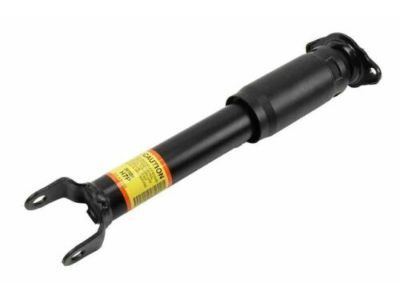
2013 Chevrolet Corvette Front Shock Absorber Assembly
Part Number: 25819268$101.92 MSRP: $167.28You Save: $65.36 (40%)Ships in 1-2 Business DaysProduct Specifications- Other Name: Absorber Assembly, Front Shock ; Absorber, Shock; Shock, Shock Absorber
- Position: Front
- Replaces: 10318361
- Item Weight: 4.10 Pounds
- Item Dimensions: 7.1 x 4.2 x 23.5 inches
- Condition: New
- Fitment Type: Direct Replacement
- Require Quantity: 2
- SKU: 25819268
- Warranty: This genuine part is guaranteed by GM's factory warranty.
2013 Chevrolet Corvette Front Shock Absorber Assembly
Part Number: 10313647$105.89 MSRP: $189.95You Save: $84.06 (45%)Ships in 1-2 Business DaysProduct Specifications- Other Name: Absorber Assembly, Front Shock ; Absorber, Shock; Shock, Shock Absorber
- Position: Front
- Item Weight: 4.40 Pounds
- Item Dimensions: 38.2 x 6.7 x 6.8 inches
- Condition: New
- Fitment Type: Direct Replacement
- Require Quantity: 2
- SKU: 10313647
- Warranty: This genuine part is guaranteed by GM's factory warranty.
2013 Chevrolet Corvette ABSORBER ASM,RR SHK (RH PROC)
Part Number: 19431687$527.73 MSRP: $1037.82You Save: $510.09 (50%)Ships in 1-2 Business DaysProduct Specifications- Other Name: Shock, Shock Absorber
- Replaces: 22784741, 19177205, 19302779
- Condition: New
- Fitment Type: Direct Replacement
- SKU: 19431687
- Warranty: This genuine part is guaranteed by GM's factory warranty.
2013 Chevrolet Corvette ABSORBER ASM,RR SHK
Part Number: 19431688$506.41 MSRP: $995.88You Save: $489.47 (50%)Ships in 1-3 Business DaysProduct Specifications- Other Name: Shock, Shock Absorber
- Replaces: 19302781, 22784743, 19177206
- Item Weight: 6.60 Pounds
- Item Dimensions: 24.2 x 7.3 x 4.2 inches
- Condition: New
- Fitment Type: Direct Replacement
- SKU: 19431688
- Warranty: This genuine part is guaranteed by GM's factory warranty.
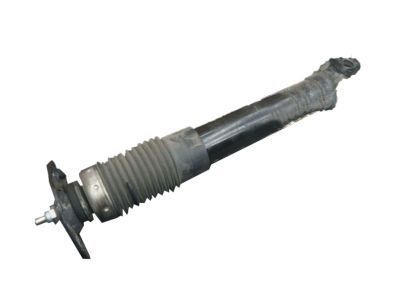
2013 Chevrolet Corvette Rear Shock Absorber Assembly
Part Number: 25962586$64.54 MSRP: $178.15You Save: $113.61 (64%)Ships in 1-2 Business DaysProduct Specifications- Other Name: Absorber Assembly, Rear Shock ; Absorber, Shock
- Position: Rear
- Item Weight: 4.20 Pounds
- Item Dimensions: 5.1 x 5.2 x 24.2 inches
- Condition: New
- Fitment Type: Direct Replacement
- Require Quantity: 2
- SKU: 25962586
- Warranty: This genuine part is guaranteed by GM's factory warranty.
- Product Specifications
- Other Name: Absorber Asm,Rear Shock; Shock
- Position: Rear
- Replaces: 19207062, 22784742
- Item Weight: 6.10 Pounds
- Item Dimensions: 7.4 x 4.1 x 25.2 inches
- Condition: New
- Fitment Type: Direct Replacement
- SKU: 19302780
- Warranty: This genuine part is guaranteed by GM's factory warranty.
- Product Specifications
- Other Name: Absorber Asm,Rear Shock (Rh Proc); Shock
- Position: Rear Passenger Side
- Replaces: 22784740, 19207063
- Item Weight: 6.60 Pounds
- Item Dimensions: 7.1 x 4.1 x 24.7 inches
- Condition: New
- Fitment Type: Direct Replacement
- SKU: 19302778
- Warranty: This genuine part is guaranteed by GM's factory warranty.
- Product Specifications
- Other Name: Absorber Assembly, Rear Shock ; Absorber, Shock
- Position: Rear
- Item Weight: 4.40 Pounds
- Item Dimensions: 4.2 x 4.1 x 27.8 inches
- Condition: New
- Fitment Type: Direct Replacement
- Require Quantity: 2
- SKU: 25838021
- Warranty: This genuine part is guaranteed by GM's factory warranty.
- Product Specifications
- Other Name: Absorber Assembly, Rear Shock (Rh Proc) ; Absorber, Shock; Shock, Shock Absorber
- Position: Rear Passenger Side
- Item Weight: 4.10 Pounds
- Item Dimensions: 4.2 x 4.1 x 23.2 inches
- Condition: New
- Fitment Type: Direct Replacement
- Require Quantity: 2
- SKU: 20830848
- Warranty: This genuine part is guaranteed by GM's factory warranty.
2013 Chevrolet Corvette Shock Absorber
We are your prime source for competitively priced and high-quality OEM 2013 Chevrolet Corvette Shock Absorber. We provide you with parts that will allow you to save a lot of money without sacrificing quality. All our OEM parts are backed by the manufacturer's warranty and shipped out at a swift rate.
2013 Chevrolet Corvette Shock Absorber Parts Questions & Experts Answers
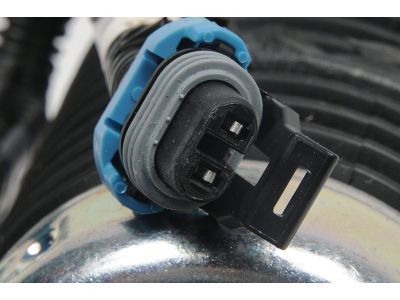
- Q: How to remove and install a front shock absorber on 2013 Chevrolet Corvette?A: To dismantle the shock absorber it is necessary to,-Relax the wheel lug nuts-Lift the car and put it on the jackstands-Take off the wheel For models equipped with the electronic ride control deenergizes the shock absorber electrical connector on top of the unit. Models with Electronic Suspension Control have to be taken with care since the upper shock shaft can be damaged and the shocks have to be replaced. Place the lower control arm on the floor jack to some extent to provide room for the removal of lower mounting nuts. Subsequently, disconnect the upper retaining nut accompanied by the washer and the bushing from the shock in the process as summarized below; Remove the lower nuts and bolts that attached this shock to the lower control arm. For 2008 and earlier models with FE3 or F55 suspension, find a prybar and to compress the shock from the bottom and hold this shock in place. On 2009 models and later, it is necessary to unlock the bolts that attach the upper control arm to the frame and place markings for the shims before turning the upper control arm for shock removal. After the removal of the shock, check for signs of shake such as, any fluid leakage, dents, crackages or bushing which might have degraded and needs to be replaced. For installation, insert the top most section of the shock through the upper threaded hole in the lower control arm while still compressed if the car employs FE3 or F55 suspension then push down at the lower control arm until the respective holes align before springing it back to normal use. For all other models, the shock must be fitted with the upper eyelet first and tight the fasteners up to the recommended torque value. The remaining installation steps are in the reverse order of removal and for 2009 and later models make sure the shims are aligned correctly if the shims we reinstalled.
