My Garage
My Account
Cart
Genuine 2014 Chevrolet Camaro Crankshaft Seal
- Select Vehicle by Model
- Select Vehicle by VIN
Select Vehicle by Model
orMake
Model
Year
Select Vehicle by VIN
For the most accurate results, select vehicle by your VIN (Vehicle Identification Number).
3 Crankshaft Seals found
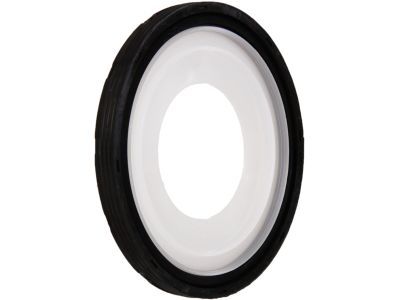
2014 Chevrolet Camaro Seal Kit,Crankshaft Rear Oil
Part Number: 89060436$24.13 MSRP: $39.93You Save: $15.80 (40%)Ships in 1-3 Business DaysProduct Specifications- Other Name: SEAL KIT, Engine Rear Main Bearing; Crankshaft Seal, Rear Main Seal
- Position: Rear
- Replaces: 12550574, 12585671, 89018162
- Item Weight: 0.50 Pounds
- Item Dimensions: 5.1 x 5.3 x 1.0 inches
- Condition: New
- Fitment Type: Direct Replacement
- SKU: 89060436
- Warranty: This genuine part is guaranteed by GM's factory warranty.
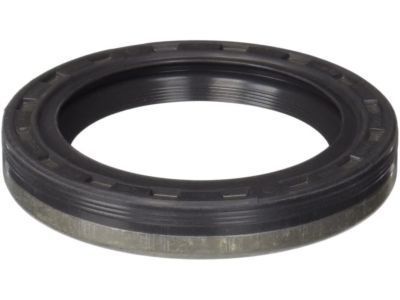
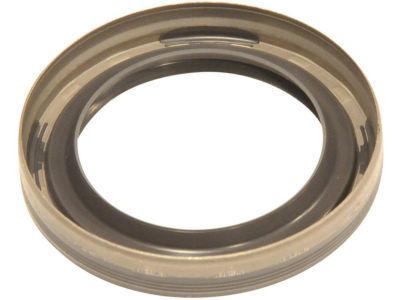
2014 Chevrolet Camaro Seal,Crankshaft Front Oil
Part Number: 12608750$9.18 MSRP: $15.19You Save: $6.01 (40%)Ships in 1-3 Business DaysProduct Specifications- Other Name: SEAL, Engine Front Cover & Crankshaft Seal
- Position: Front
- Replaces: 12592355
- Item Weight: 0.40 Pounds
- Item Dimensions: 3.5 x 3.4 x 0.5 inches
- Condition: New
- Fitment Type: Direct Replacement
- SKU: 12608750
- Warranty: This genuine part is guaranteed by GM's factory warranty.
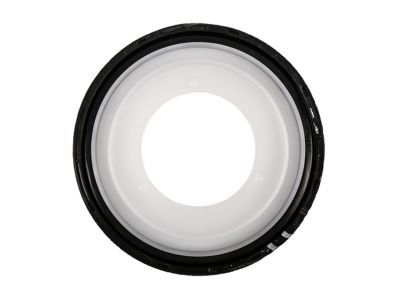
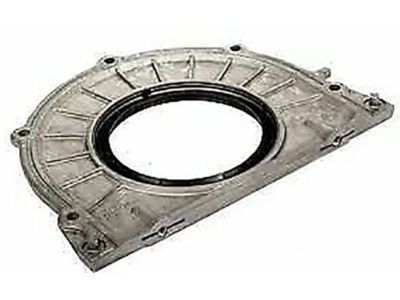
2014 Chevrolet Camaro Seal Assembly, Crankshaft Rear Oil
Part Number: 12637710$42.75 MSRP: $73.74You Save: $30.99 (43%)Ships in 1-2 Business DaysProduct Specifications- Other Name: SEAL, Engine Rear Main Bearing; Rear Main Seal, Rear Main Seal Retainer
- Position: Rear
- Replaces: 12608748, 12620955, 12592243, 12592242
- Item Weight: 1.10 Pounds
- Item Dimensions: 8.9 x 8.3 x 2.3 inches
- Condition: New
- Fitment Type: Direct Replacement
- SKU: 12637710
- Warranty: This genuine part is guaranteed by GM's factory warranty.
2014 Chevrolet Camaro Crankshaft Seal
We are your prime source for competitively priced and high-quality OEM 2014 Chevrolet Camaro Crankshaft Seal. We provide you with parts that will allow you to save a lot of money without sacrificing quality. All our OEM parts are backed by the manufacturer's warranty and shipped out at a swift rate.
2014 Chevrolet Camaro Crankshaft Seal Parts Questions & Experts Answers
- Q: How to remove and install the front crankshaft seal in V8 engine on 2014 Chevrolet Camaro?A: Remove the crankshaft balancer. Note how the seal is installed; the new one must be installed to the same depth and facing the same way. Carefully pry the oil seal out of the cover with a seal puller or a large screwdriver, ensuring not to damage the crankshaft in the process. Be very careful not to distort the cover or scratch the crankshaft, and wrap electrical tape around the tip of the screwdriver to avoid damage. If the seal is being replaced with the timing chain cover removed, support the cover on top of two blocks of wood and drive the seal out from the backside with a hammer and punch. Apply clean engine oil or multi-purpose grease to the outer edge of the new seal, then install it in the cover with the lip (spring side) facing inward. Drive the seal into place using a large socket and hammer, or a piece of pipe if a large socket isn't available, ensuring the seal enters the bore squarely and stops when the front face is at the proper depth. Check the surface on the balancer hub that the oil seal rides on; if it has been grooved from long-time contact with the seal, the balancer will need to be replaced. Lubricate the balancer hub with clean engine oil and install the crankshaft balancer. The remainder of installation is the reverse of the removal.
