My Garage
My Account
Cart
Genuine Buick Regal Ball Joint
Control Arm Joint- Select Vehicle by Model
- Select Vehicle by VIN
Select Vehicle by Model
orMake
Model
Year
Select Vehicle by VIN
For the most accurate results, select vehicle by your VIN (Vehicle Identification Number).
7 Ball Joints found
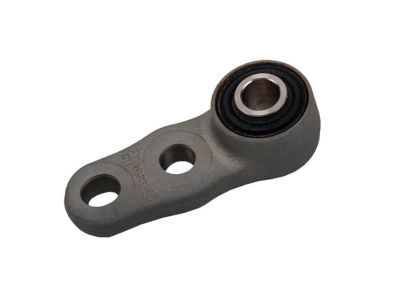
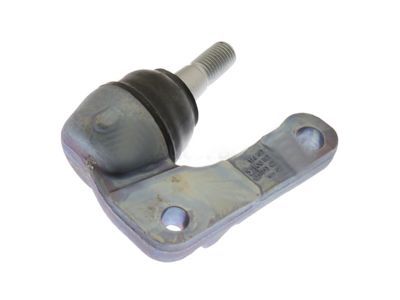
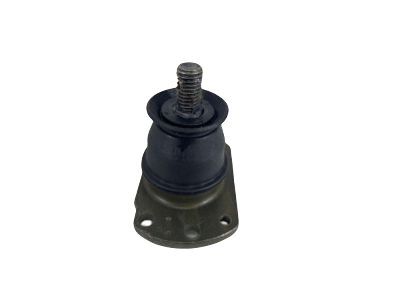
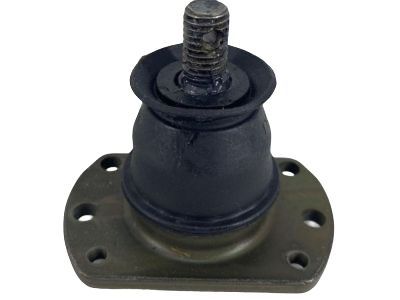
Buick Regal Joint Assembly, Front Suspension Strut Yoke Lower Ball
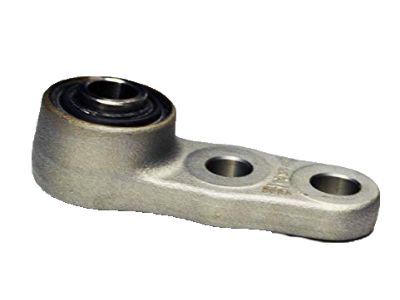
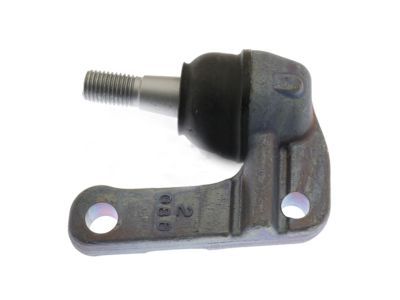
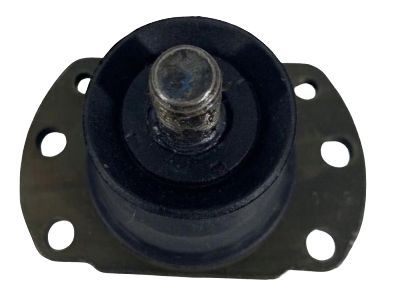
Part Number: 23275106$113.99 MSRP: $194.91You Save: $80.92 (42%)Ships in 1-2 Business DaysBuick Regal Joint,Front Suspension Strut Yoke Upper Ball
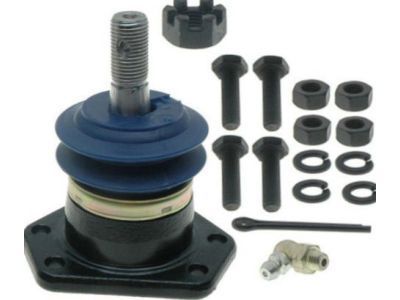
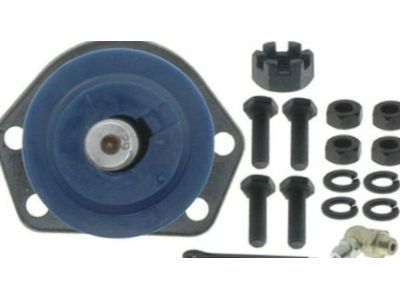
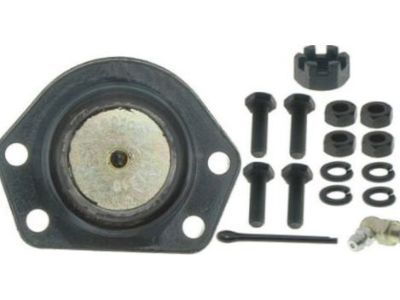
Part Number: 13258056$42.13 MSRP: $72.06You Save: $29.93 (42%)Ships in 1-3 Business DaysBuick Regal Joint Kit,Front Upper Control Arm Ball
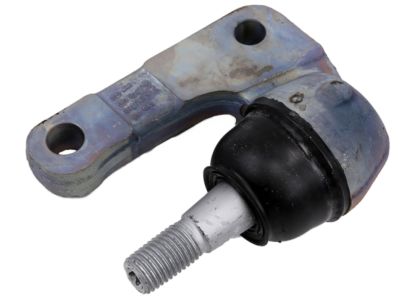
Part Number: 88911387$32.23 MSRP: $60.81You Save: $28.58 (47%)Ships in 1-3 Business DaysBuick Regal Stud Kit,Front Lower Control Arm Ball
Part Number: 17989117$44.73 MSRP: $71.33You Save: $26.60 (38%)Ships in 1-3 Business DaysBuick Regal Stud Kit,Front Lower Control Arm Ball
Part Number: 88965333$48.27 MSRP: $82.54You Save: $34.27 (42%)Ships in 1-2 Business DaysBuick Regal Ball Joint Kit,Front Lower Control Arm
Part Number: 17988890$44.73 MSRP: $71.33You Save: $26.60 (38%)Ships in 1-3 Business DaysBuick Regal STUD KIT,FRT LWR CONT ARM BALL
Part Number: 19416895$20.49 MSRP: $50.23You Save: $29.74 (60%)
Buick Regal Ball Joint
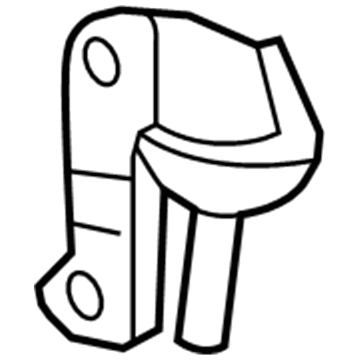
The Ball Joint in Buick Regal vehicles connects the steering knuckles and the control arms allowing for the facility of suspension motion and steering sensitivity. It provides for the vertical and horizontal adjustments, to meet the response of the vehicle to the road and the inputs from the driver. In general, consisting of steel, a Buick Regal Ball Joint represents the socket housing containing a ball stud and being protected by a rubber boot to shield from dirt and moisture, as well as to keep grease. It is noteworthy that in the models of Buick Regal there may be both load-bearing and non-bearing Ball Joints. There are load-bearing joints positioned mainly at the lower part of the structure responsible for carrying the load of the vehicle and non-bearing joints are responsible for merely providing the orientation which is not expected to bear the load. Long term, Ball Joints may develop issues resulting from usage and lack of grease hence displaying features such as noise and misalignment. Other Ball Joints like the adjustable type are available as upgrades aimed at the improvement of the vehicles handling especially for Buick Regal cars with modified suspensions to deliver its premier.
Each OEM Buick Regal Ball Joint we offer is competitively priced and comes with the assurance of the manufacturer's warranty for the part. Furthermore, we guarantee the speedy delivery of your orders right to your doorstep. Our hassle-free return policy is also in place for your peace of mind.
Buick Regal Ball Joint Parts Questions & Experts Answers
- Q: How to inspect and replace a upper ball joint on Buick Regal?A:To inspect the ball joint, place a jack under each lower Control Arm between the suspension spring pocket and the ball joint, then raise the vehicle. Grasp the wheel at the 6 and 12 o'clock positions and shake it in and out, observing the Steering Knuckle for any movement relative to the control arm; if the ball joint is loose, it must be replaced. For removal and installation on vehicles built between 1986-87, a special installer, GM tool J-29193 or equivalent, is required. Begin by turning the lug nuts counterclockwise just enough to break the torque, then raise the vehicle and place jackstands under the frame before removing the wheel and tire. Support the outer edge of the lower control arm with a jack to manage the spring's down force, raising it just enough to free the upper control arm from the upper ball stud. Remove the cotter pin from the upper ball joint stud, loosen the nut without removing it, and use a ball joint removal tool to press the ball joint downward until the tapered portion is free from the steering knuckle. Wire the knuckle and associated parts in place to protect the brake hose, then remove the nut from the ball stud along with any washers. Lift the upper arm to free the ball stud from the knuckle, center punch and drill out the four rivets attaching the ball joint to the control arm, and use a hammer and chisel to cut off the rivet heads before removing the ball joint. For installation, place the new joint into the control arm and secure it with the provided bolts and nuts, torquing to 8 ft. lbs. (11 Nm). For vehicles built between 1975-85, maneuver the ball stud through the upper control arm, install the washer if applicable, and tighten the ball joint stud nut to 60-65 ft. lbs. (81-88 Nm), aligning a castellated hole with the cotter pin hole before installing a new cotter pin. For vehicles built between 1986-87, position the ball joint stud in the steering knuckle, install the tool, and tighten its operating nut to 30 ft. lbs. (41 Nm), then remove the tool and tighten the ball joint stud nut to 65 ft. lbs. (88 Nm), aligning the castellation with the cotter pin hole before installing a new cotter pin. Finally, reverse the remaining steps of the removal procedure to complete the installation.
Related Buick Regal Parts
Browse by Year
2017 Ball Joint 2016 Ball Joint 2015 Ball Joint 2014 Ball Joint 2013 Ball Joint 2012 Ball Joint 2004 Ball Joint 2003 Ball Joint 2002 Ball Joint 2001 Ball Joint 2000 Ball Joint 1999 Ball Joint 1998 Ball Joint 1997 Ball Joint 1996 Ball Joint 1995 Ball Joint 1994 Ball Joint 1993 Ball Joint 1992 Ball Joint 1991 Ball Joint 1990 Ball Joint 1989 Ball Joint 1988 Ball Joint 1987 Ball Joint 1986 Ball Joint 1985 Ball Joint 1984 Ball Joint 1983 Ball Joint 1982 Ball Joint
