My Garage
My Account
Cart
Genuine Buick Regal Sway Bar Kit
Stabilizer Sway Bar Set- Select Vehicle by Model
- Select Vehicle by VIN
Select Vehicle by Model
orMake
Model
Year
Select Vehicle by VIN
For the most accurate results, select vehicle by your VIN (Vehicle Identification Number).
23 Sway Bar Kits found
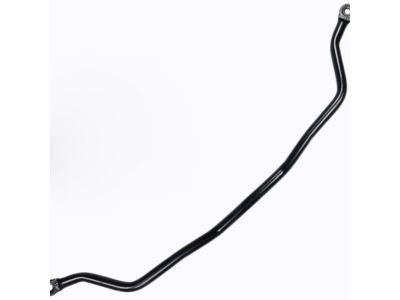
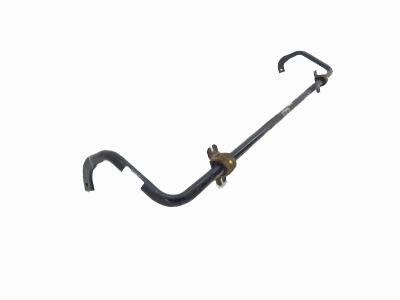
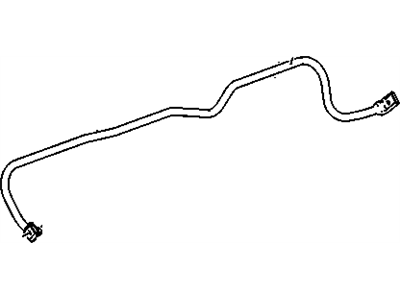
Buick Regal Shaft, Front Stabilizer *Pink
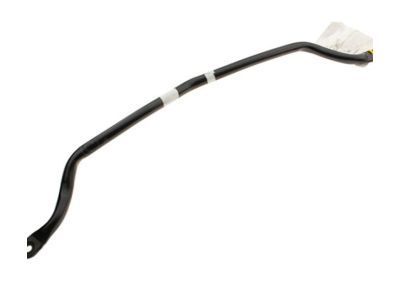
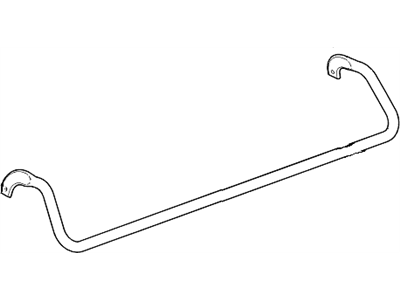
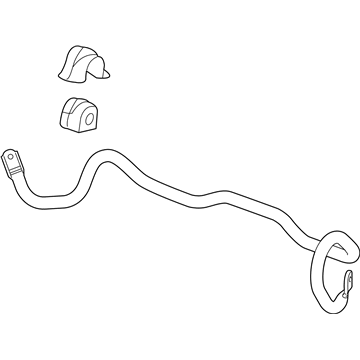
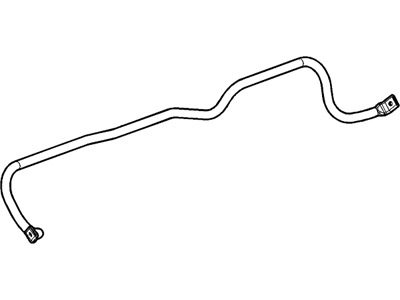
Part Number: 25861196$113.79 MSRP: $179.83You Save: $66.04 (37%)Ships in 1-3 Business DaysBuick Regal Rear Stabilizer Shaft Assembly
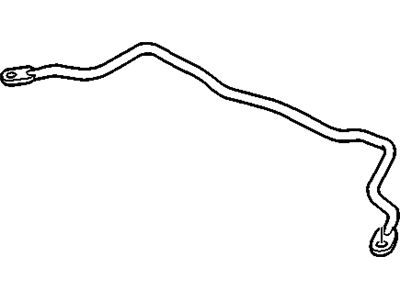
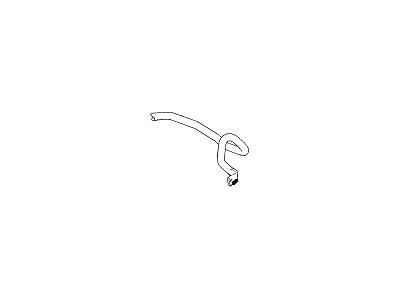
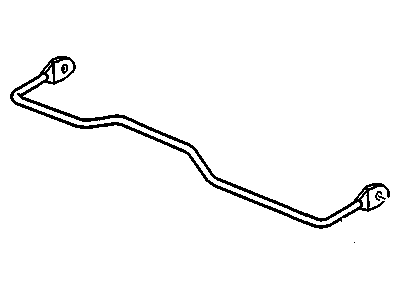
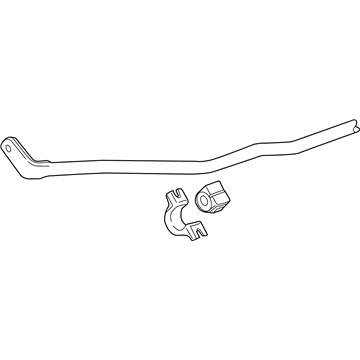
Part Number: 20906484$103.59 MSRP: $163.00You Save: $59.41 (37%)Ships in 1-3 Business DaysBuick Regal Front Stabilizer Shaft Assembly
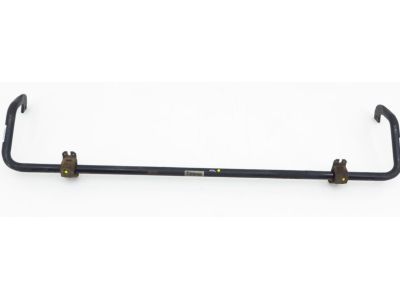
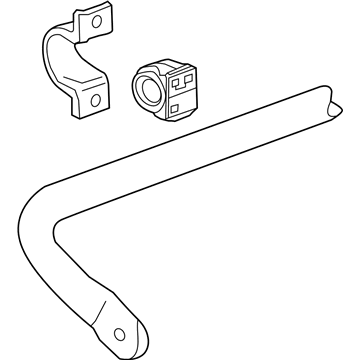
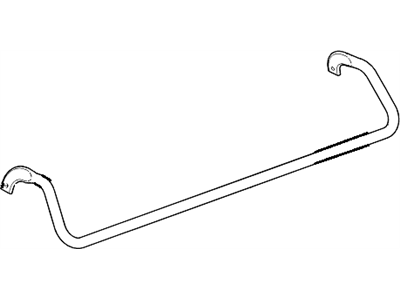
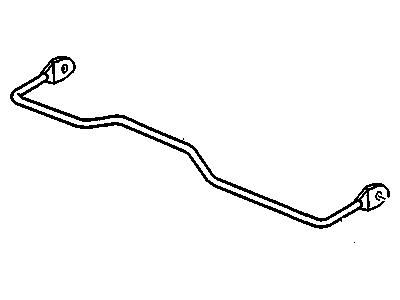
Part Number: 20906482$113.92 MSRP: $180.04You Save: $66.12 (37%)Ships in 1-3 Business DaysBuick Regal Front Stabilizer Shaft Assembly
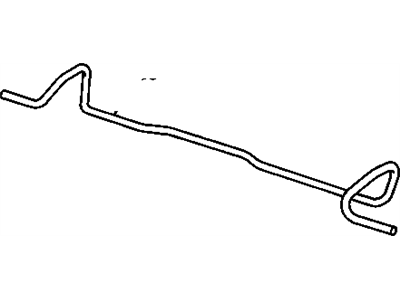
Part Number: 22810904$109.25 MSRP: $171.90You Save: $62.65 (37%)Ships in 1-3 Business DaysBuick Regal Rear Stabilizer Shaft Assembly
Part Number: 84228526$104.24 MSRP: $163.98You Save: $59.74 (37%)Buick Regal Rear Stabilizer Shaft Assembly
Part Number: 13281795$90.36 MSRP: $142.20You Save: $51.84 (37%)Ships in 1-3 Business DaysBuick Regal Rear Stabilizer Shaft Assembly
Part Number: 84228525$99.38 MSRP: $156.35You Save: $56.97 (37%)Buick Regal Shaft Assembly, Front Stab
Part Number: 84144882$103.37 MSRP: $162.64You Save: $59.27 (37%)Ships in 1-3 Business DaysBuick Regal Front Stabilizer Shaft Assembly
Part Number: 84144881$115.65 MSRP: $182.78You Save: $67.13 (37%)Ships in 1-3 Business DaysBuick Regal Rear Stabilizer Shaft
Part Number: 10243923$93.26 MSRP: $146.75You Save: $53.49 (37%)Ships in 1-2 Business DaysBuick Regal Rear Stabilizer Shaft Assembly
Part Number: 20906483$68.32 MSRP: $107.47You Save: $39.15 (37%)Ships in 1-3 Business DaysBuick Regal Front Stabilizer Shaft Assembly
Part Number: 20932134$84.19 MSRP: $132.48You Save: $48.29 (37%)Ships in 1-3 Business DaysBuick Regal Shaft,Rear Stabilizer
Part Number: 13307472$88.78 MSRP: $156.42You Save: $67.64 (44%)Ships in 1-2 Business DaysBuick Regal Shaft Assembly, Rear Stab
Part Number: 84119838$114.54 MSRP: $181.06You Save: $66.52 (37%)Ships in 1-3 Business Days
| Page 1 of 2 |Next >
1-20 of 23 Results
Buick Regal Sway Bar Kit
The Sway Bar Kit in Buick Regal cars has a very important function of improving the stability and maneuverability of the car in cornering and over an irregular terrain thus reducing body roll. This is an anti-roll bar which links opposite wheels with the help of torsion spring leading to an increase in roll stiffness while the vertical spring rate remains the same. With this setup, it enables the wheels to be set to similar heights reducing on lateral tilt while enhancing the grip and the general handling ability of the Buick Regal Sway Bar Kit. Years models of Buick Regal have been equipped with different kinds of Sway Bar Kits, for example, adjustable and active ones. These advanced Sway Bar Kits can be designed to become variable and can adapt to different conditions that need to be provided for driving. Despite the fact that traditional Sway Bar Kits may transfer vibration from one wheel to another such that the rider experiences a 'waddling' motion on rough terrains, today's Sway Bar Kit implementations seek to improve ride comfort and stability while driving, making it clear that the Sway Bar Kit applied to Buick Regal vehicles has evolved over time.
Each OEM Buick Regal Sway Bar Kit we offer is competitively priced and comes with the assurance of the manufacturer's warranty for the part. Furthermore, we guarantee the speedy delivery of your orders right to your doorstep. Our hassle-free return policy is also in place for your peace of mind.
Buick Regal Sway Bar Kit Parts Questions & Experts Answers
- Q: How to remove and install the front sway bar kit on Buick Regal?A:To replace the Sway Bar Kit one has to lift the vehicle and support it using jack stands. For all the nuts, washers, spacers, and bushings used, one should make a note of the order of assembly that they are to be used in. The procedure should start with the detachment of the nut topping the connecting link together with the washers and rubber bushings also arranged in a proper manner. Do this for the other side as well. Thereafter, unfasten the two bolts on each side that bring together the Sway Bar Kit bracket and the frame and finally, do away with each of them together with the Sway Bar Kit but make sure you don't lose any part because these brackets are made in two halves. Clean the bushings which are restrained on bolts in pairs as well as those which connect the Sway Bar Kit to the frame mounts and, if they are cracked or torn or have become hard and brittle, replace them. Also check the washer and spacers; if they are worn or damaged, they should also be replaced. If the Sway Bar Kit link bolt or the bushings are damaged, tighten the mounting nut from below by using the help of a socket and angle drive to pull out the bolt and fit any spoilt part. For installation, remove the Sway Bar Kit and assemble the parts in the reverse manner with great care to ensure that the bushings fit well in the frame brackets with their slits facing forward of the car. Last of all, use a wrench to tighten the locknut on the Sway Bar Kit link to 13 ft. lbs. and the bracket bolts to 25 ft. lbs. (34 Nm).
Related Buick Regal Parts
Browse by Year
2020 Sway Bar Kit 2019 Sway Bar Kit 2018 Sway Bar Kit 2017 Sway Bar Kit 2016 Sway Bar Kit 2015 Sway Bar Kit 2014 Sway Bar Kit 2013 Sway Bar Kit 2012 Sway Bar Kit 2011 Sway Bar Kit 2004 Sway Bar Kit 2003 Sway Bar Kit 2002 Sway Bar Kit 2001 Sway Bar Kit 2000 Sway Bar Kit 1999 Sway Bar Kit 1998 Sway Bar Kit 1997 Sway Bar Kit 1996 Sway Bar Kit 1995 Sway Bar Kit 1994 Sway Bar Kit 1993 Sway Bar Kit 1992 Sway Bar Kit 1991 Sway Bar Kit 1990 Sway Bar Kit 1989 Sway Bar Kit 1988 Sway Bar Kit 1987 Sway Bar Kit 1986 Sway Bar Kit 1985 Sway Bar Kit 1984 Sway Bar Kit 1983 Sway Bar Kit 1982 Sway Bar Kit
