My Garage
My Account
Cart
Genuine Cadillac CTS CV Boot
Axle Boot- Select Vehicle by Model
- Select Vehicle by VIN
Select Vehicle by Model
orMake
Model
Year
Select Vehicle by VIN
For the most accurate results, select vehicle by your VIN (Vehicle Identification Number).
16 CV Boots found
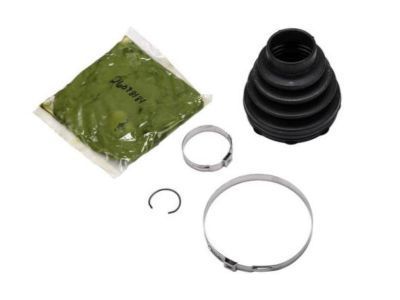
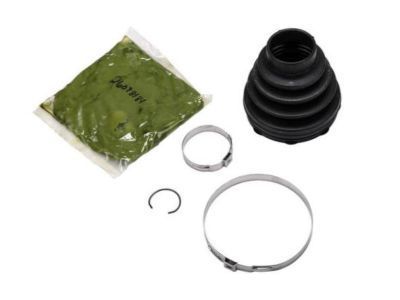
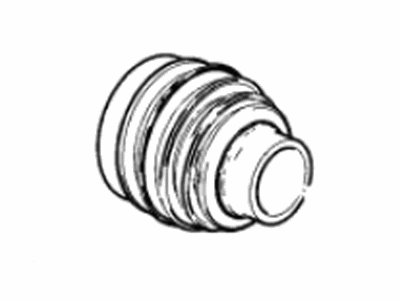
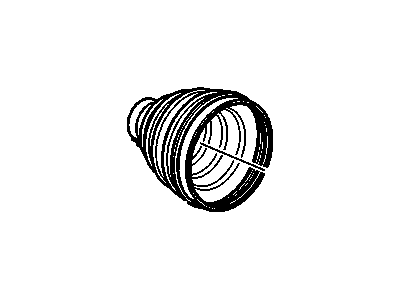
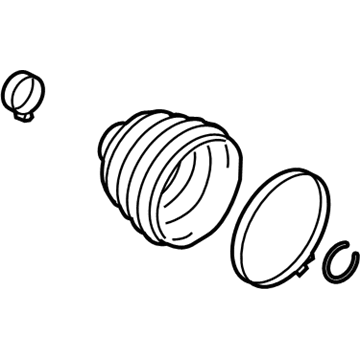
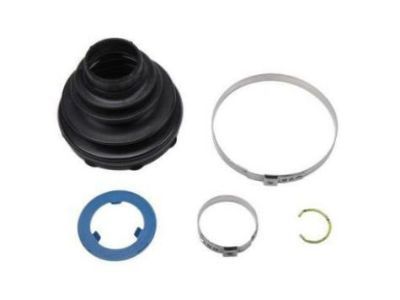
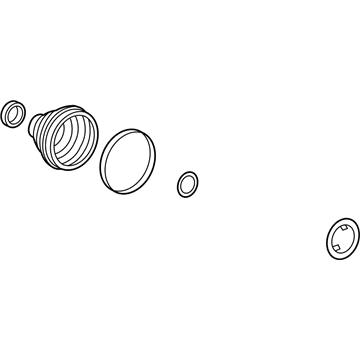
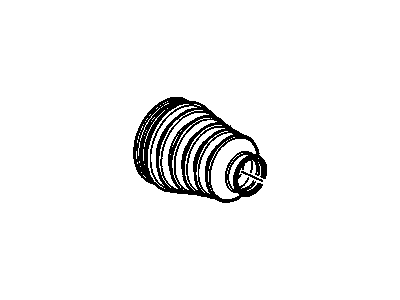
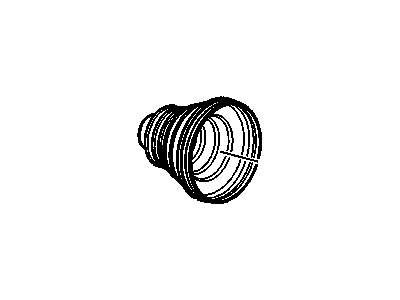
Cadillac CTS Boot Kit,Rear Wheel Drive Shaft Outer Cv Joint
Part Number: 19260857$6.74 MSRP: $10.75You Save: $4.01 (38%)Ships in 1-3 Business DaysCadillac CTS Boot Kit, Rear Wheel Drive Shaft Cv Joint
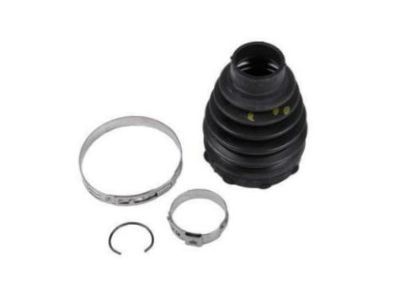
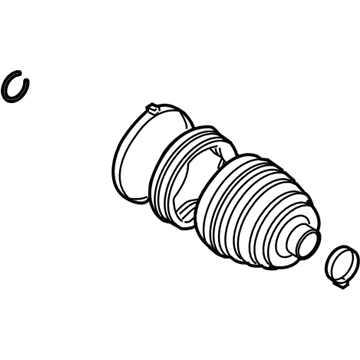
Part Number: 84138224$28.83 MSRP: $47.72You Save: $18.89 (40%)Ships in 1-2 Business DaysCadillac CTS Boot Kit,Front Wheel Drive Shaft Tri, Pot Joint
Part Number: 88957225$63.99 MSRP: $95.95You Save: $31.96 (34%)Ships in 1-2 Business DaysCadillac CTS Boot Kit, Rear Wheel Drive Shaft Cv Joint
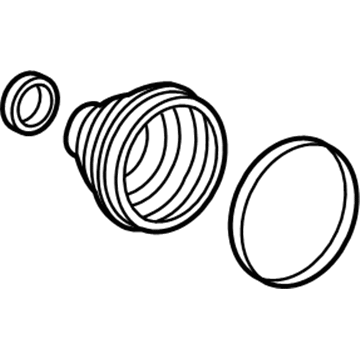
Part Number: 84150161$29.22 MSRP: $48.38You Save: $19.16 (40%)Ships in 1-2 Business DaysCadillac CTS Boot Kit, Rear Wheel Drive Shaft Cv Joint
Part Number: 84138226$30.06 MSRP: $49.75You Save: $19.69 (40%)Ships in 1-2 Business DaysCadillac CTS Boot Kit,Rear Wheel Drive Shaft Cv Joint
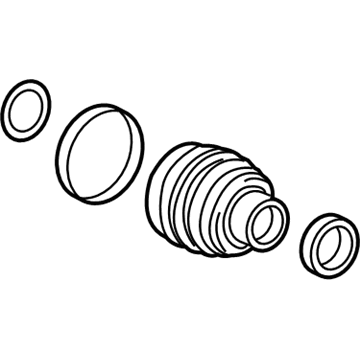
Part Number: 19206244$188.95 MSRP: $301.35You Save: $112.40 (38%)Cadillac CTS Boot Kit,Front Wheel Drive Shaft Cv Joint
Part Number: 88957226$56.91 MSRP: $97.30You Save: $40.39 (42%)Cadillac CTS Boot Kit, Rear Wheel Drive Shaft Tri, Pot Joint
Part Number: 25782407$52.52 MSRP: $82.64You Save: $30.12 (37%)Cadillac CTS Boot Kit, Rear Wheel Drive Shaft Cv Joint
Part Number: 84138227$45.46 MSRP: $71.52You Save: $26.06 (37%)Cadillac CTS Boot Kit, Rear Wheel Drive Shaft Cv Joint
Part Number: 84138229$34.26 MSRP: $53.90You Save: $19.64 (37%)
Cadillac CTS CV Boot
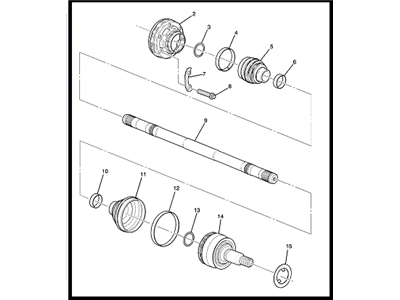
The CV Boot in Cadillac CTS vehicles is very vital because it helps to protect the Constant Velocity (CV) Joints that is used in the transference of power from the transaxle to the wheels. This soft enfnet or open ended rubber or plastic part retains the correct amount of lubricant in the joint and is capable of absolute exclusion of any dirt in the joint for improved functionality. Certain types of CV joints employed in Cadillac CTS models are available such as Rzeppa kind at the outer end and tripod or double offset kind at the inner end. The outer joints are for those which experience larger movements in angle and the inboard joints for those that experience changes in shaft length due to suspension operation. It is usually recommended to check the CV Boot frequently because any kind of damage to the CV Boot such as crack or tearing could lead to bad state of the CV joint hence affecting the overall performance of the vehicle.
Each OEM Cadillac CTS CV Boot we offer is competitively priced and comes with the assurance of the manufacturer's warranty for the part. Furthermore, we guarantee the speedy delivery of your orders right to your doorstep. Our hassle-free return policy is also in place for your peace of mind.
Cadillac CTS CV Boot Parts Questions & Experts Answers
- Q: How to remove and install a CV Boot on Cadillac CTS?A:Remove the CV boot and mount it in a vise, ensuring the jaws are lined with wood or rags to prevent damage. For outer CV joint boots and 2007 and earlier inner CV joint boots, remove the boot clamps and, if equipped, cut the swage ring off using side cutters; note that 2007 and earlier models require a specific tool for pressing the ring in place. Slide the boot back to access the outer joint retaining snap-ring, then use snap-ring pliers to remove the boot. Clean all components with solvent, inspecting for wear; if any part is worn, replace the entire CV boot assembly. Install a new clamp or swage ring onto the sealing boot, slide it onto the axleshaft, and push it until it rests over the third groove. If equipped, compress the swage ring using the appropriate tool, then install a new snap-ring and bearing retainer clip. Place half the grease from the sealing boot kit into the outer CV joint assembly housing and pack the remaining grease into the boot. Align the splines on the axleshaft with those on the CV joint assembly, gently driving the joint onto the axleshaft until seated. Equalize the pressure in the boot and tighten the clamps. For 2008 and later inner CV joint boots, cut off the boot clamps, drive the end cap off the CV joint, clean the joint face, and remove the snap ring. Slide the boot back and drive the inner joint off the axleshaft, then slide the boot off. Clean the outer race and tri-pod bearing assembly, inspecting for wear that may require replacing the inner CV joint. Slide the clamps and boot onto the axleshaft, wrapping the splines with tape to prevent damage. Place the tri-pod inside the joint housing and slide the joint onto the shaft, using a hammer and brass drift to drive it on. Install a retaining snap-ring, apply CV joint grease to the tri-pod assembly, joint housing, and boot, then slide the boot into place and equalize the pressure. Tighten the boot clamps and drive the end cap onto the CV joint before installing the CV boot assembly.
