My Garage
My Account
Cart
Genuine Cadillac Deville Intake Manifold
Engine Intake Manifold- Select Vehicle by Model
- Select Vehicle by VIN
Select Vehicle by Model
orMake
Model
Year
Select Vehicle by VIN
For the most accurate results, select vehicle by your VIN (Vehicle Identification Number).
5 Intake Manifolds found
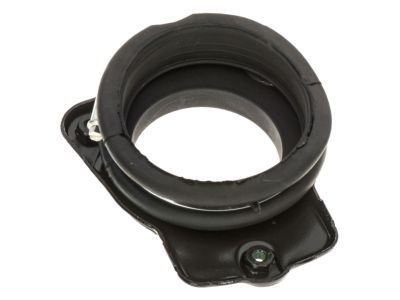
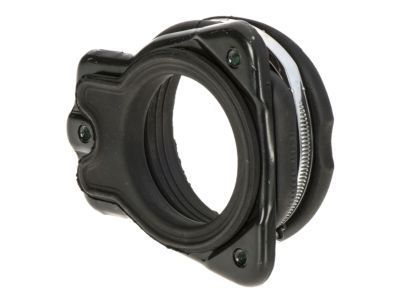
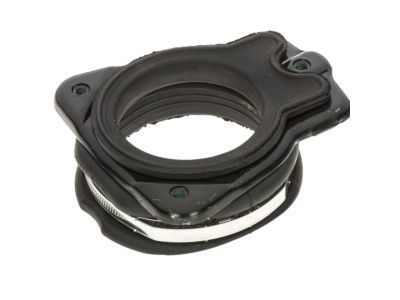
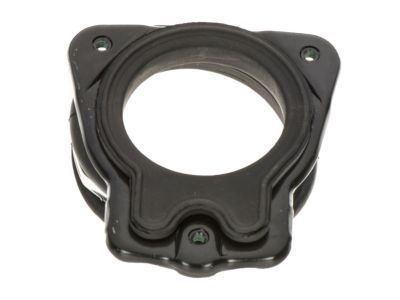
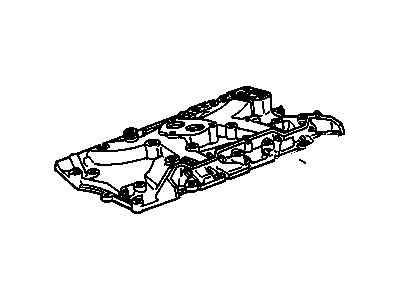
Cadillac Deville Plenum, Intake Manifold
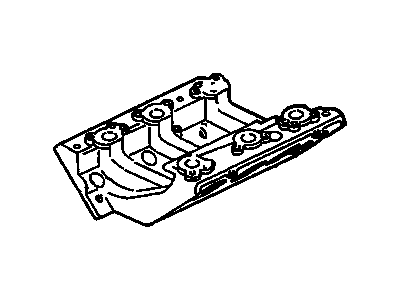
Part Number: 12555840$33.49 MSRP: $55.42You Save: $21.93 (40%)Ships in 1-2 Business DaysCadillac Deville Manifold Kit,Intake
Part Number: 19330172$497.86 MSRP: $851.30You Save: $353.44 (42%)Ships in 1-2 Business Days
Cadillac Deville Intake Manifold
Intake Manifold of Cadillac DeVille is specifically responsible for delivering air or air/fuel mixture to every cylinder in-order to extract the powerful performance out of Cadillac DeVille's motor. It works by drawing air from the throttle body or carburetor, the difference exists based on the type of engine. For example, earlier generation cars with carburation or TBI inject fuel inside the manifold, whereas latest generation multi-point fuel injected M-PFI engines apply individual injectors for superior fuel economy. Traditionally Cadillac DeVille intake manifolds were either of cast iron or aluminum but the modern manifold is made from light composite plastic thus increasing fuel efficiency and cooling. Most found on luxury car models have variable length intake manifolds (VLIM) for better performance due to variation in air flow according to the load on the engine.
Each OEM Cadillac Deville Intake Manifold we offer is competitively priced and comes with the assurance of the manufacturer's warranty for the part. Furthermore, we guarantee the speedy delivery of your orders right to your doorstep. Our hassle-free return policy is also in place for your peace of mind.
Cadillac Deville Intake Manifold Parts Questions & Experts Answers
- Q: How to remove and install the intake manifold in 4.6L V8 engine on Cadillac DeVille?A:To have access to the intake manifold, one must unlatch the cable from the negator of the battery then unbolt the intake manifold service cover. Remove the accelerator pedal and its cable, cruise control piston and its cable and throttle body actuator, remove the fuel screw cap and disconnect the fuel inlet and return hoses at the intake manifold. Take off the air intake duct from the throttle body, air filter housing, throttle body (for the models of 1999), and fuel injectors. As for 1999 models, the remover of the throttle body and spacer makes a way to the fuel rail possible. After that, pull out the transaxle vent hose and the transaxle shift cable at the bracket, then take off the throttle position sensor and IAC valve connectors, and pull a little coolant into a container. For 1999 models, if the engine compartment brace is in place on the strut towers, it must be removed as must the EGR pipe from the intake manifold with PCV hose disconnected and the ignition wires from the coil packs must be labeled before removal. On 2000 and models remove the coil module connectors from the coils/module assemblies and remove the vacuum tubes from the AIR solenoid. Some of which include; loosen the intake manifold duct clamp, remove all the wires, hoses and brackets connected to the intake manifold and label them as you remove them, and finally unscrew the mounting nuts and bolts that hold the intake manifold onto the cylinder heads. When the manifold is stuck, do not apply force trying to pry between the gasket mating surfaces as this may actually cause further damage; it is recommended that one apply several passes to have an even separation. For installation, examine intake manifold gaskets; intake manifold gaskets are reusable provided they are in good shape but for any 2000 and the models that followed, the gaskets must be replaced. Scrape every hint of the old gasket material from the intake manifold and cylinder heads; clean the mating surfaces; and replace them with new gaskets. Place the intake manifold to the engine block and adjust the position of the studs and bolts holes correctly. Screw the nuts and bolts beginning with the inner bolts then go outwards, several passes are made to ensure that the mating is done equally. Make sure that all the nuts and bolts are royally and tightly fastened with the recommended torque and this must be in a circular pattern in the inner ring, outer ring, and around to ensure that there is no warping. For the year 2000 and up, tighten the duct clamp securely and then install the other components inversely of removing them. Last but not the least, add the coolant and correct levels, replace the engine oil and filter, operate the engine and look for any signs of fuel, vacuum and coolant leaks.
