My Garage
My Account
Cart
Genuine Cadillac Drive Shaft
Axle Shaft- Select Vehicle by Model
- Select Vehicle by VIN
Select Vehicle by Model
orMake
Model
Year
Select Vehicle by VIN
For the most accurate results, select vehicle by your VIN (Vehicle Identification Number).
149 Drive Shafts found
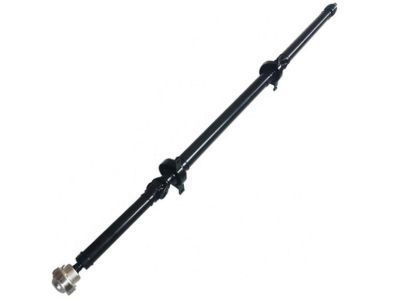
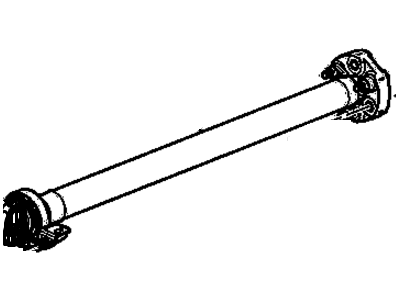
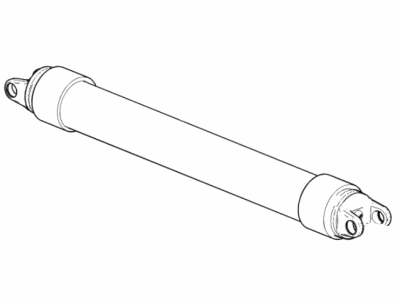
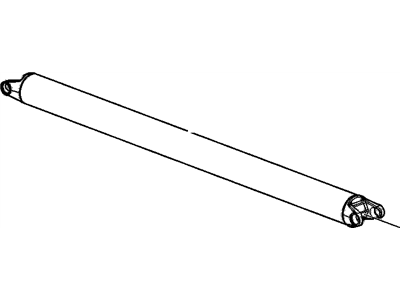
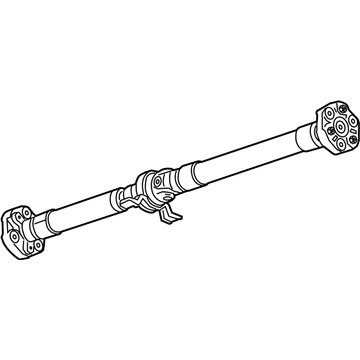
Cadillac Propeller Shaft Assembly
Part Number: 22885388$1913.33 MSRP: $2664.06You Save: $750.73 (29%)Product Specifications- Other Name: Shaft Assembly, Propeller; Drive Shaft
- Replaces: 20927516, 20870868, 20930099, 20979553, 20896295, 22822140
- Product Specifications
- Other Name: Shaft,Propeller; Drive Shaft
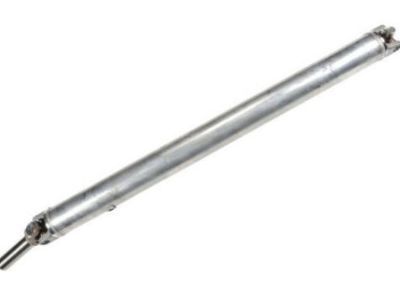
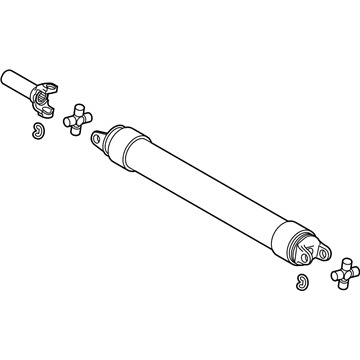
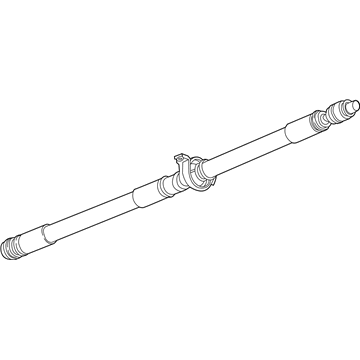
Cadillac Front Propeller Shaft
Part Number: 84202532$424.82 MSRP: $732.82You Save: $308.00 (43%)Ships in 1-3 Business DaysProduct Specifications- Other Name: Shaft Assembly, Propeller; Drive Shaft, Drive Shaft Assembly
- Position: Front
- Replaces: 23147488, 23209520, 23251155
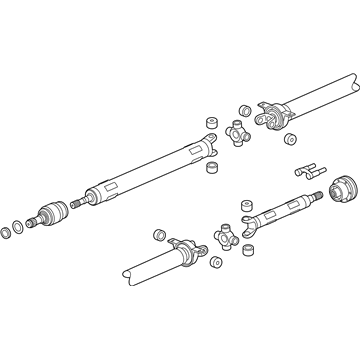
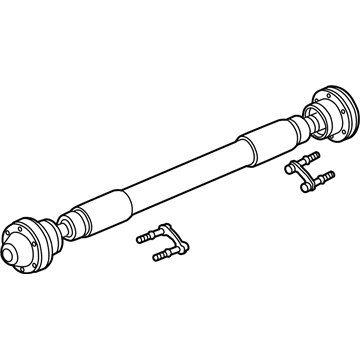
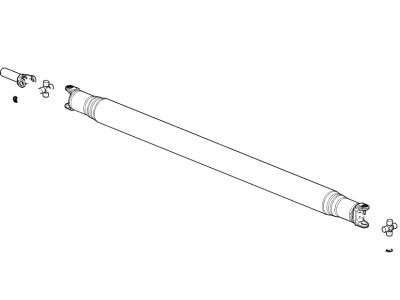
Cadillac Front Axle Propeller Shaft Assembly
Part Number: 22760960$392.76 MSRP: $696.20You Save: $303.44 (44%)Ships in 1-3 Business DaysProduct Specifications- Other Name: Shaft Assembly, Front Axle Propeller; Drive Shaft, Drive Shaft Assembly
- Position: Front
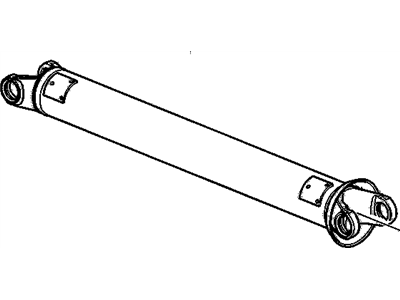
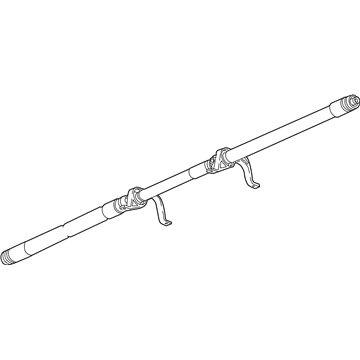
Cadillac Propeller Shaft Assembly
Part Number: 23418973$771.12 MSRP: $1245.12You Save: $474.00 (39%)Ships in 1-2 Business DaysProduct Specifications- Other Name: Shaft Assembly, Propeller; Drive Shaft, Drive Shaft Assembly
- Replaces: 23147495, 23259045
Cadillac Propeller Shaft Assembly
Part Number: 23418972$898.40 MSRP: $2019.15You Save: $1120.75 (56%)Product Specifications- Other Name: Shaft Assembly, Propeller; Drive Shaft
- Replaces: 23152494, 22760956
Cadillac Propeller Shaft Assembly
Part Number: 84546235$1285.72 MSRP: $2010.72You Save: $725.00 (37%)Ships in 1-3 Business DaysProduct Specifications- Other Name: Shaft Assembly, Prop; Drive Shaft
- Replaces: 23209519, 23469168, 23251188, 23469170, 84083947
Cadillac Front Axle Propeller Shaft Assembly
Part Number: 84150924$434.83 MSRP: $719.70You Save: $284.87 (40%)Ships in 1-2 Business DaysProduct Specifications- Other Name: Shaft Assembly, Front Axle Propeller; Drive Shaft
- Position: Front
- Replaces: 20762242
Cadillac Propeller Shaft Assembly
Part Number: 84906966$674.21 MSRP: $1075.30You Save: $401.09 (38%)Ships in 1-3 Business DaysProduct Specifications- Other Name: Shaft Assembly, Prop
- Replaces: 84009480
Cadillac Propeller Shaft Assembly
Part Number: 42798053$522.30 MSRP: $864.46You Save: $342.16 (40%)Ships in 1-2 Business DaysProduct Specifications- Other Name: SHAFT ASM-PROP; Drive Shaft
- Replaced by: 42877062
- Replaces: 84478363, 84496662, 84968001, 84655101
- Product Specifications
- Other Name: Shaft Assembly, Propeller; Drive Shaft
- Replaces: 23121561, 22935467
Cadillac Shaft Assembly, F/Axl Prop
Part Number: 84669663$297.84 MSRP: $624.71You Save: $326.87 (53%)Ships in 1-2 Business DaysProduct Specifications- Other Name: Drive Shaft
- Replaces: 15182098, 84060396, 15090195, 15719954
- Product Specifications
- Other Name: Shaft Assembly, Prop; Drive Shaft, Drive Shaft Assembly
- Replaces: 22885684, 84135939, 84336366
- Product Specifications
- Other Name: SHAFT ASM-PROP
- Replaces: 84242809, 84324775, 84284535
Cadillac Propeller Shaft Assembly
Part Number: 84107239$781.61 MSRP: $1010.48You Save: $228.87 (23%)Ships in 1-3 Business DaysProduct Specifications- Other Name: Shaft Assembly, Propeller; Drive Shaft, Drive Shaft Assembly
Cadillac Propeller Shaft Assembly
Part Number: 23486755$640.92 MSRP: $1021.96You Save: $381.04 (38%)Ships in 1-3 Business DaysProduct Specifications- Other Name: Shaft Assembly, Propeller
Cadillac Shaft Assembly, F/Axl Prop
Part Number: 84927290$332.10 MSRP: $529.68You Save: $197.58 (38%)Product Specifications- Other Name: Drive Shaft
- Replaces: 84170767, 20969570, 23396439, 84016569, 84005297
Cadillac Propeller Shaft
Part Number: 20892620$583.84 MSRP: $926.94You Save: $343.10 (38%)Ships in 1-3 Business DaysProduct Specifications- Other Name: Shaft, Propeller; Drive Shaft
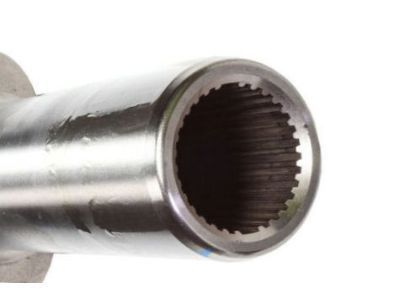
Cadillac Rear Propeller Shaft (Splined)
Part Number: 89060065$557.38 MSRP: $884.94You Save: $327.56 (38%)Product Specifications- Other Name: Shaft,Rear Propeller Shaft (Splined)
- Position: Rear
- Product Specifications
- Other Name: Shaft, Propeller; Drive Shaft
| Page 1 of 8 |Next >
1-20 of 149 Results
Cadillac Drive Shaft
For superior quality and affordable Cadillac Drive Shafts, consider our website. We proudly present a wide selection of genuine Cadillac Drive Shafts at unbeatable prices. These OEM parts, supported by the manufacturer's warranty, are also eligible for our hassle-free return policy and swift delivery service.
Cadillac Drive Shaft Parts Questions & Experts Answers
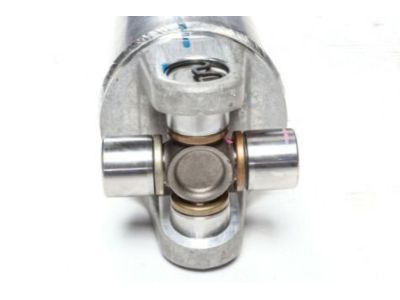
- Q: How should you properly remove and install drive shaft to avoid damage and ensure correct alignment on Cadillac Escalade?A:When pulling the driveshafts, it is prohibited to beat the yoke ears or to wedge in between yoke and the universal joint and thus avoid frakture and early failure. To check the rear driveshafts, standing on jackstands and block the front wheels, raise the rear of the vehicle securely. Shift to park release the parking brake apply the exact amount of pressure to put the transmission in Neutral and label at the flange of the driveshaft and the pinion. The rear universal joint bolts and retainers must be unscrewed; the use of a large screwdriver will help to turn the driveshaft. On the vehicles with two-part driveshaft release the center support bearing fasteners. Secure the bearing caps to the universal joint so they will not come off, then lower the rear of the driveshaft and slide the front out of the transmission or transfer case. It is necessary to cover the transmission or transfer case housing with a plastic bag and fix it with a rubber band in order not to lose and contaminate the fluid. As for installation, untie the plastic bag and clean the place for the drain and check on the oil seal. Bring the front of the driveshaft into position with the transmission or transfer case, position the center support bearing for two piece driveshafts and fasten securely. On the comes to optimize marks on the rear of driveshaft, withdraw tape from the bearing cap and prepares the clamp and bolts to be used for tightening with the recommended torque. On 4WD models for the front driveshaft, raise the front of the vehicle and safely secure it and, if provided, remove the differential carrier splash shield. Loosen but do not remove the clamp securing the boot in place to the transfer case output shaft, release the boot and take a marker and align it to the relationship between the driveshaft and the companion flange of the front differential before removing the bolts and clamps. The best approach is to push the driveshaft to come out of the rearwards of differential flange, tape the bearing caps , lower the driveshaft and pull out of the transfer case. Optional, to dispose of the clamp and boot, you will have to unboltnut and washer assembly from the driveshaft. To install it, firstly can slide the rear of the driveshaft into the splines of the transfer case output shaft then align the marks on the companion flange on the front end attaching it to the differential, remove the tape, then the clamps and bolts must be tightened to the recommended torque. Last is to push the boot over the transfer case output shaft, set it into the groove, use a small screwdriver to balance the pressure inside the boot and new clamp. Replace the front differential carrier splash shield only if the vehicle has one.
