My Garage
My Account
Cart
Genuine Cadillac DTS Brake Master Cylinder
- Select Vehicle by Model
- Select Vehicle by VIN
Select Vehicle by Model
orMake
Model
Year
Select Vehicle by VIN
For the most accurate results, select vehicle by your VIN (Vehicle Identification Number).
3 Brake Master Cylinders found
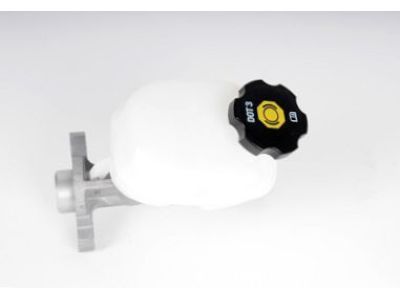
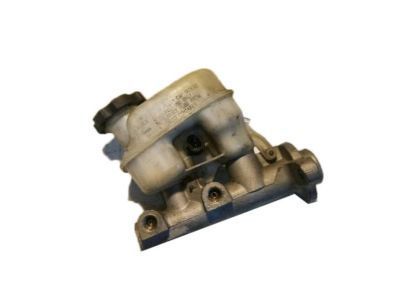
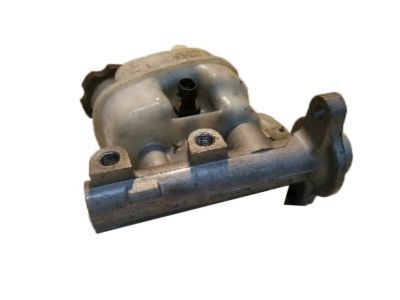
Cadillac DTS Brake Master Cylinder
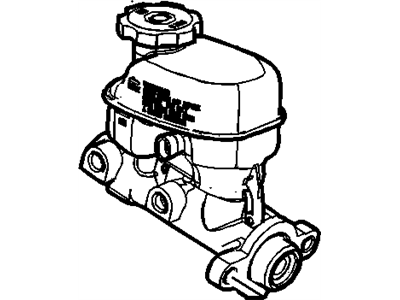
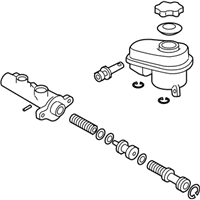
The Brake Master Cylinder in Cadillac DTS is specifically used to distribute foot force in the form of hydraulic pressure to regulate slave cylinders as part and parcel of the automobiles' braking system. This system uses pistons to pump fluid and in the process forces operation of calipers or drum brakes for development of friction that can halt the wheels. The Cadillac DTS vehicles usually come with a dual circuit master cylinder with two pistons and even where one of the circuits is dead the other will produce sufficient pressure to effect a stoppage. Suffice to note that normal maintenance will help to avoid leaks, corrosion, and seal deterioration that lead to low pedal and the poor stopping power. In conclusion, this Brake Master Cylinder is a core component involved in the operations of the braking system commonly used in Cadillac DTS automobiles.
Each OEM Cadillac DTS Brake Master Cylinder we offer is competitively priced and comes with the assurance of the manufacturer's warranty for the part. Furthermore, we guarantee the speedy delivery of your orders right to your doorstep. Our hassle-free return policy is also in place for your peace of mind.
Cadillac DTS Brake Master Cylinder Parts Questions & Experts Answers
- Q: How to remove and install a brake master cylinder on Cadillac DTS?A:To remove the brake master cylinder, start by locating it in the engine compartment on the left side. If necessary, remove the air filler housing that may obstruct its removal. Use a syringe or turkey baster to remove as much fluid as possible from the reservoir. Disconnect the cable from the negative battery terminal and unplug the fluid level sensor switch connector. Place rags under the line fittings and prepare caps or plastic bags to cover the ends of the lines once they're disconnected. Loosen the fittings at the ends of the Brake Lines using a flare-nut wrench to prevent rounding off the flats on the fittings. Pull the brake lines away from the brake master cylinder and plug the ends to prevent contamination. Finally, remove the two mounting nuts and detach the brake master cylinder from the vehicle. For installation, bench bleed the new brake master cylinder before installing it. Mount the brake master cylinder in a vise and attach a pair of brake master cylinder bleeder tubes to the outlet ports. Fill the reservoir with the recommended brake fluid and slowly push the pistons into the brake master cylinder using a large Phillips screwdriver to expel air from the pressure chambers into the reservoir. Repeat this procedure until no more air bubbles are present. Remove the bleed tubes one at a time and install plugs in the open ports to prevent fluid leakage and air from entering. Install the reservoir cap. Then, install the brake master cylinder over the studs on the power brake booster and tighten the attaching nuts finger tight. Thread the brake line fittings into the brake master cylinder, ensuring not to strip the threads. Tighten the mounting nuts securely, followed by the brake line fittings. Fill the brake master cylinder reservoir with fluid and bleed the brake master cylinder and the brake system. To bleed the brake master cylinder on the vehicle, have an assistant depress the brake pedal and hold it to the floor while loosening the fitting nut to allow air and fluid to escape. Repeat this procedure on both fittings at the brake master cylinder until the fluid is clear of air bubbles. Finally, test the operation of the brake system carefully before placing the vehicle into normal service.
