My Garage
My Account
Cart
Genuine Cadillac Eldorado Coil Springs
Strut Spring- Select Vehicle by Model
- Select Vehicle by VIN
Select Vehicle by Model
orMake
Model
Year
Select Vehicle by VIN
For the most accurate results, select vehicle by your VIN (Vehicle Identification Number).
6 Coil Springs found
Cadillac Eldorado Coil Springs
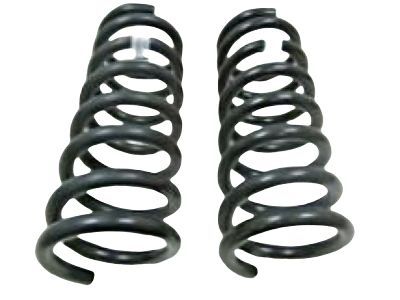
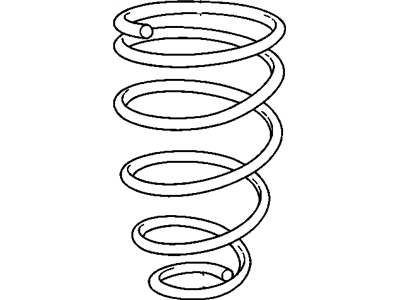
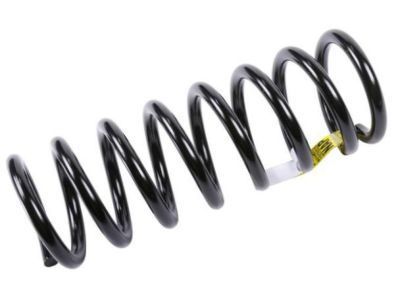
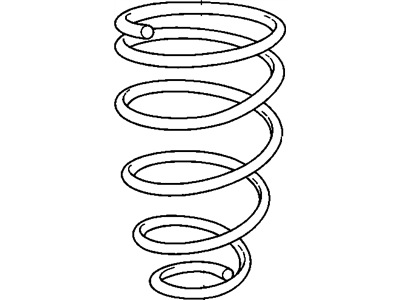
Coil Springs Cadillac Eldorado Coil Springs are key suspension parts that bear the vehicle's weight and maintain width through bearing the weight that comes with variation caused by the roads. This spring comes in different kinds such as; The Linear rate springs, progressive springs and the dual rate springs.Where each of them has its own special characteristics with regards to handling of the car and riding experience or comfort of the car. This type of spring can be switched to variable rate or cargo coils and is vital in lift and lowering kits for cars. Self-leveling coilovers and also height adjustable springs let you have more varieties as you do not have to get another lowering kit each time you want to alter your desired height. On average, the Cadillac Eldorado Coil Springs are crucial therefore should be in their premier condition for proper suspension and comfort of the car.
Each OEM Cadillac Eldorado Coil Springs we offer is competitively priced and comes with the assurance of the manufacturer's warranty for the part. Furthermore, we guarantee the speedy delivery of your orders right to your doorstep. Our hassle-free return policy is also in place for your peace of mind.
Cadillac Eldorado Coil Springs Parts Questions & Experts Answers
- Q: How to remove and install the Coil Springs on Cadillac ElDorado?A:When working on the Eldorado and Seville Control Arms, first elevate the car then carefully position it to let the control arm dangle, remove the tire and wheel. Set a jack under the inner control arm end, take off the bar that links the lower control arm to the shocks and stabilizer, then detach and drop the control arm bolts at the inner end. Once you do those steps, lower the arm slowly one notch at a time to get the spring tension out of the way. Take down the lower control arm and set aside the coil spring. Place the coil spring and insulation pieces one by one, making sure the spring settles right when you put it on its bottom end and stays straight. Inject the jack to tug on the inner end of the lower control arm so the coil spring squeezes a bit, then attach the inner lower control arm nuts and bolts. Slowly lift the jack to put the front of the lowered control arm in its correct position for normal driving. Hold the suspension at normal ride height while you tighten: the stabilizer link nut to 44 ft-lbs; the Shock Absorber nut to 75 ft-lbs; and the inner control arm nuts to 75 ft-lbs, making sure you tighten the control arms when they're in their normal riding position to stop the bushings from distorting. Finish by putting on the wheel, tire, and lowering the car, then verify that the rear wheels are aligned properly.
Related Cadillac Eldorado Parts
Browse by Year
2002 Coil Springs 2001 Coil Springs 2000 Coil Springs 1999 Coil Springs 1998 Coil Springs 1997 Coil Springs 1996 Coil Springs 1995 Coil Springs 1994 Coil Springs 1993 Coil Springs 1992 Coil Springs 1991 Coil Springs 1990 Coil Springs 1989 Coil Springs 1988 Coil Springs 1987 Coil Springs 1986 Coil Springs
