My Garage
My Account
Cart
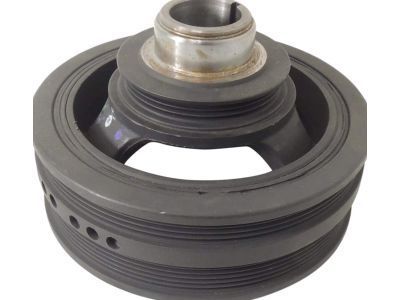
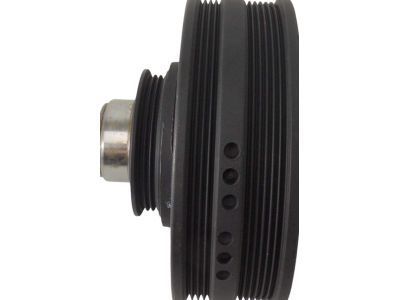
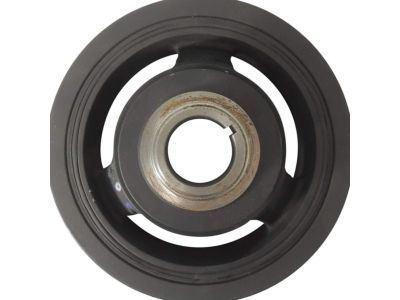
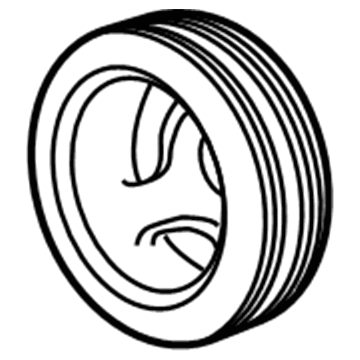
Genuine Cadillac Escalade Harmonic Balancer
Engine Harmonic Balancer- Select Vehicle by Model
- Select Vehicle by VIN
Select Vehicle by Model
orMake
Model
Year
Select Vehicle by VIN
For the most accurate results, select vehicle by your VIN (Vehicle Identification Number).
7 Harmonic Balancers found
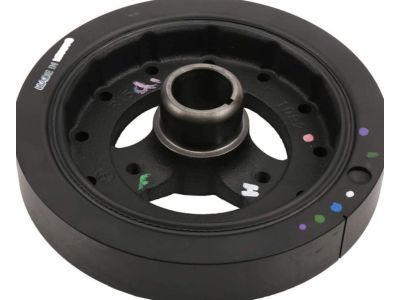
Cadillac Escalade Balancer Asm,Crankshaft
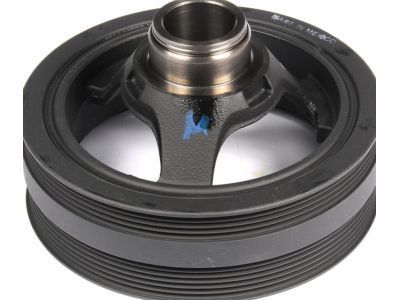
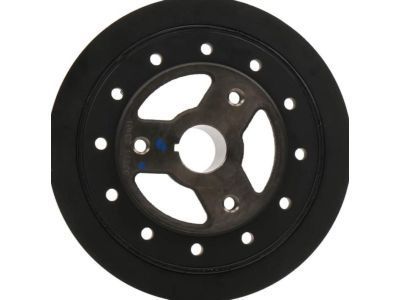
Part Number: 19300488$120.25 MSRP: $199.00You Save: $78.75 (40%)Ships in 1-2 Business DaysCadillac Escalade Crankshaft Balancer Assembly
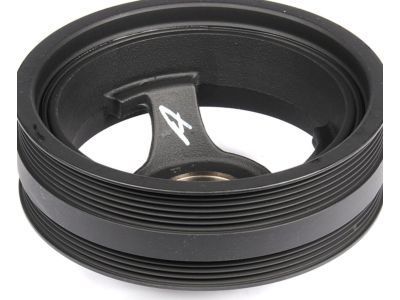
Part Number: 12684590$84.65 MSRP: $144.73You Save: $60.08 (42%)Ships in 1-2 Business DaysCadillac Escalade Crankshaft Balancer Assembly
Part Number: 10243271$90.65 MSRP: $156.37You Save: $65.72 (43%)Ships in 1-2 Business DaysCadillac Escalade Balancer Assembly, Cr/Shf
Part Number: 12680364$84.34 MSRP: $134.48You Save: $50.14 (38%)Cadillac Escalade Damper Assembly, Crankshaft
Part Number: 12552283$220.38 MSRP: $376.87You Save: $156.49 (42%)Ships in 1-2 Business DaysCadillac Escalade BALANCER ASM-CR/SHF
Part Number: 12690108$242.61 MSRP: $386.84You Save: $144.23 (38%)Ships in 1-3 Business Days
Cadillac Escalade Harmonic Balancer
In Cadillac Escalade vehicles, the Harmonic Balancer has been designed to ensure the proper balancing of the engine as well as to absorb vibrations that are as a result of the combustion process. This component also known as a vibration damper made of metal with crankshaft in the middle of it and has an inertia ring, a rubber ring that either revolve or is free to flex in the plane perpendicular to the oscillating twisting force. As it helps maintain smooth operation of the engine, damage on the rubber may result to fatigue and may cause, excessive vibrations may lead to crankshaft damages. Currently, Cadillac Escalade has had the opportunity to incorporate different kinds of harmonic balancers ranging from the OEM types to the performance types. While the traditional standard balancer is meant for factory engine ratings, performance harmonic balancers are for tuned up automobiles giving better protection against elevated vibrations at fast revolutions per minute ratings. Among the performance options are traditional, viscous, and multi-piece models, all of which are safety-tested at high RPMs and have such features as 360-degree timing marks for engine tuning.
Each OEM Cadillac Escalade Harmonic Balancer we offer is competitively priced and comes with the assurance of the manufacturer's warranty for the part. Furthermore, we guarantee the speedy delivery of your orders right to your doorstep. Our hassle-free return policy is also in place for your peace of mind.
Cadillac Escalade Harmonic Balancer Parts Questions & Experts Answers
- Q: How to install a harmonic balancer in V6 engine on Cadillac Escalade?A:This procedure, as is the case with any balancer installation, needs a balancer installation tool, and a new harmonic balancer bolt hence, the reader is advised to go through the entire procedure and ensure that he has all the recommended tools and materials. First of: remove the cable from the grounding terminal of the battery. Next, jack up the front of the vehicle and position the jack stands correctly after which engage the parking brake. Take off the drivebelt, air conditioning compressor belt, and vacuum pump bell; then, the cooling fan and shroud assembly. First of all, and at the bottom of the car, unbolt and take out the stone shield if it is provided, and then take out the starter motor. Slot a driveplate holding tool onto the ring gear teeth and screw it to the engine block. The balancer can be removed using a puller; the jaws of which, should only rest on the hub of the balancer and not the outer ring. It is recommended to use the proper adapter or a long Allen-head bolt in the case inserted into the crankshaft nose to apply force on its smooth tapered tip to avoid destruction of the crankshaft thread. Place the crankshaft pulley/harmonic balancer over the crankshaft and slide it up as much as possible then use the Balancer Installation tool to tap it into place. Replace the old harmonic balancer bolt with the new one; tighten it to the required torque then measuring the distance from the crankshaft snout to the balancer hub it should go 3/32 in to 11/64 in beyond the crankshaft snout. If the indicated measurement is off, then refer to the balancer installation tool, place the balancer by pressing on the measurement until the correct measurement is displayed. Lastly, fit a new harmonic balancer bolt and, in turning the balancer to the tight position, apply the specified FIG torque and rotate to the specified angle of turn back, follow the reverse process of removing it.
Related Cadillac Escalade Parts
Browse by Year
2024 Harmonic Balancer 2023 Harmonic Balancer 2022 Harmonic Balancer 2021 Harmonic Balancer 2020 Harmonic Balancer 2019 Harmonic Balancer 2018 Harmonic Balancer 2017 Harmonic Balancer 2016 Harmonic Balancer 2015 Harmonic Balancer 2014 Harmonic Balancer 2013 Harmonic Balancer 2012 Harmonic Balancer 2011 Harmonic Balancer 2010 Harmonic Balancer 2009 Harmonic Balancer 2008 Harmonic Balancer 2007 Harmonic Balancer 2006 Harmonic Balancer 2005 Harmonic Balancer 2004 Harmonic Balancer 2003 Harmonic Balancer 2002 Harmonic Balancer 2000 Harmonic Balancer 1999 Harmonic Balancer
