My Garage
My Account
Cart
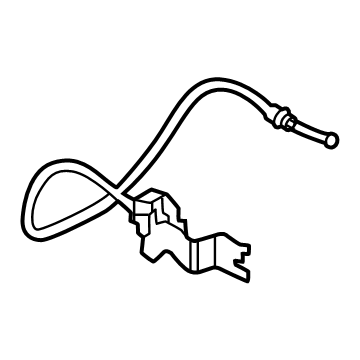
Genuine Cadillac Escalade Hood Cable
Hood Release Cable- Select Vehicle by Model
- Select Vehicle by VIN
Select Vehicle by Model
orMake
Model
Year
Select Vehicle by VIN
For the most accurate results, select vehicle by your VIN (Vehicle Identification Number).
9 Hood Cables found
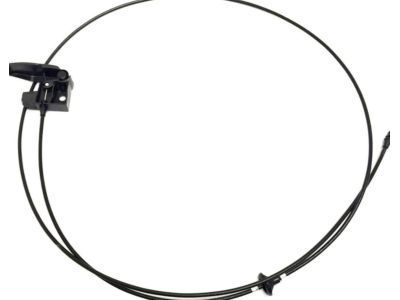
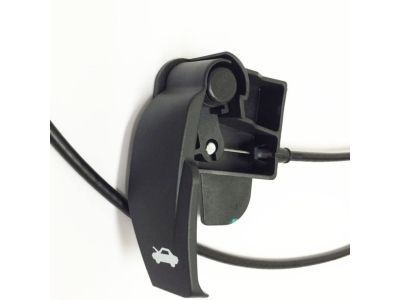
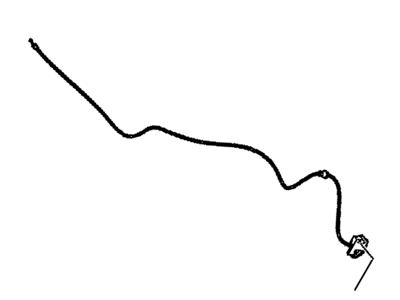
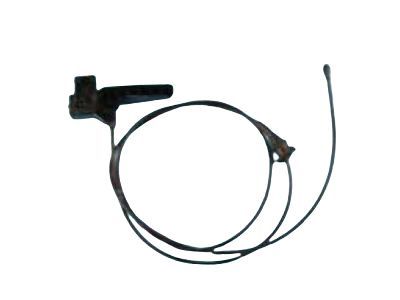
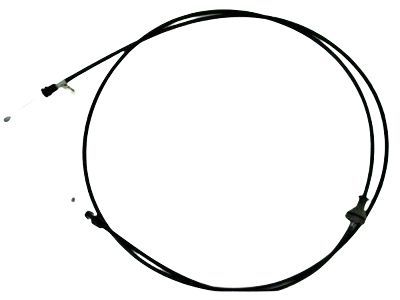
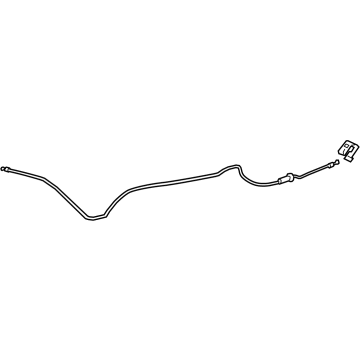
Cadillac Escalade Cable Assembly, Hood Primary Latch Release
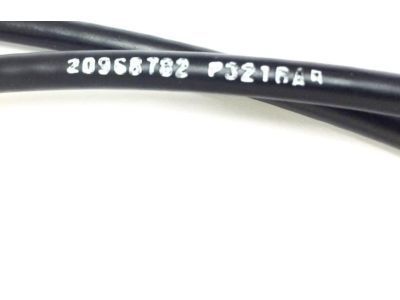
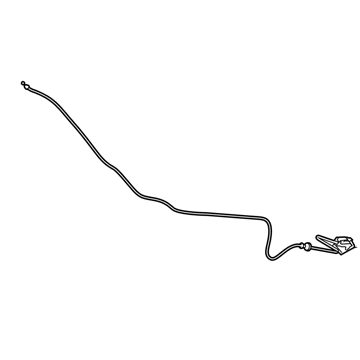
Part Number: 20968782$49.05 MSRP: $74.33You Save: $25.28 (35%)Ships in 1-3 Business DaysCadillac Escalade Cable Assembly, Hood Primary Latch Release *Black
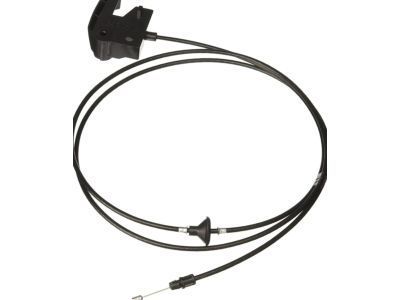
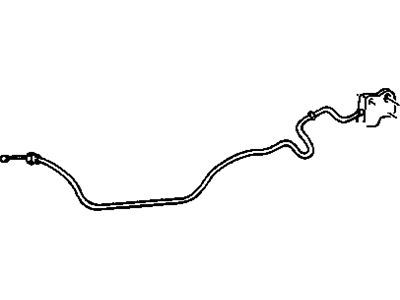
Part Number: 84279471$51.11 MSRP: $77.45You Save: $26.34 (35%)Ships in 1-2 Business DaysCadillac Escalade Cable,Hood Primary Latch Release
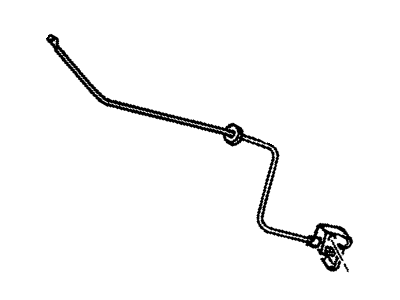
Part Number: 15142953$72.19 MSRP: $107.92You Save: $35.73 (34%)Ships in 1-3 Business DaysCadillac Escalade Cable,Hood Primary Latch Release
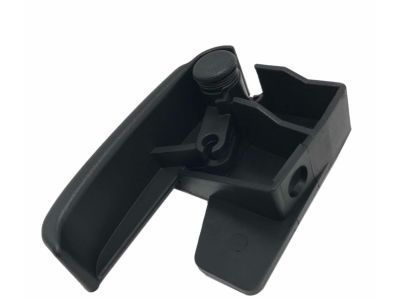
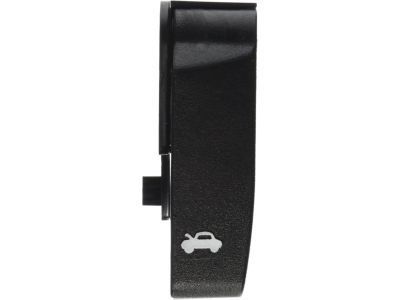
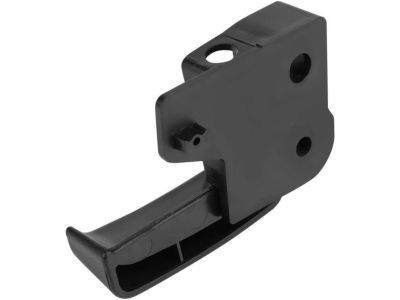
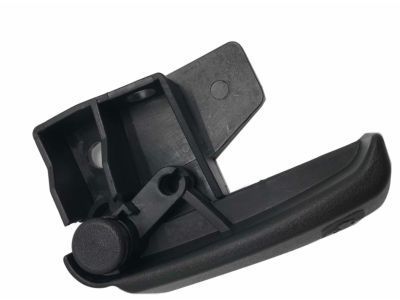
Part Number: 15769412$88.31 MSRP: $132.03You Save: $43.72 (34%)Ships in 1-3 Business DaysCadillac Escalade Handle,Hood Primary Latch Release Cable
Part Number: 15741109$50.11 MSRP: $74.91You Save: $24.80 (34%)Ships in 1-2 Business DaysCadillac Escalade CABLE ASM-HOOD PRIM LAT REL *JET BLACK
Part Number: 85120260$32.74 MSRP: $51.49You Save: $18.75 (37%)Ships in 1-3 Business DaysCadillac Escalade Cable Assembly, Hood Secd Lat Rel
Part Number: 84883112$38.23 MSRP: $57.16You Save: $18.93 (34%)Ships in 1-3 Business DaysCadillac Escalade Cable Assembly, Hood Prim Lat Rel *Whisper Beigg
Part Number: 84738643$5.32 MSRP: $7.95You Save: $2.63 (34%)Ships in 1-3 Business DaysCadillac Escalade CABLE ASM-HOOD PRIM LAT REL *WHISPER BEIGG
Part Number: 86564085$34.13 MSRP: $51.73You Save: $17.60 (35%)Ships in 1-2 Business Days
Cadillac Escalade Hood Cable
Each OEM Cadillac Escalade Hood Cable we offer is competitively priced and comes with the assurance of the manufacturer's warranty for the part. Furthermore, we guarantee the speedy delivery of your orders right to your doorstep. Our hassle-free return policy is also in place for your peace of mind.
Cadillac Escalade Hood Cable Parts Questions & Experts Answers
- Q: How to replace the Hood Cable and Hood Latch on Cadillac Escalade?A:To replace the latch, one has to first recall a piece of plastic covering the radiator, he says. Trace the wiring harness towards the latch and if possible, there will be an electrical connector, disconnect the wiring harness from the electrical connector. It is necessary to use scribe or any other convenient tool to mark the location of the hood latch. Take off the bolt on the mounting to unlock the latch assembly, and you need to pull out the cable from the latch. In installation, doing the opposite of a removal process; be free to make some toggling with the latch until the hood closes as it is supposed to. If one wants to replace the release cable, then one must un-lock and then de-couple the release cable from the hood latch assembly. Within the passenger compartment remove the drivers side kick panel to expose the hood latch release cable and handle. Disconnect the cable end from the handle and unscrew cable housing end with a help of the pliers from the tab of the handle. If the handle assembly has to be replaced, then remove this mounting bolt. For truck models, separate fastenings of parking brake pedal assembly so that the cable can be pulled through. At the firewall, there is usually a cable grommet: pull it back together with the cable, within the engine compartment. Disconnect the cable from any plastic clips that may be affixed to it in the region of the engine area. Whilst you are pulling the cable from the passenger compartment you need to ensure that you tie a string or better still an auto mechanic wire to the end of the cable. Secure the string or the wire to the new cable and pass it through the firewall start from the passenger compartment up to the time you get a grommet at the firewall. Insert the grommet into the hole and ensure that it fits in the correct manner onto the hole. To complete the installation, carry out the following which is the reverse of the steps used during removal.
Related Cadillac Escalade Parts
Browse by Year
2024 Hood Cable 2023 Hood Cable 2022 Hood Cable 2021 Hood Cable 2020 Hood Cable 2019 Hood Cable 2018 Hood Cable 2017 Hood Cable 2016 Hood Cable 2015 Hood Cable 2014 Hood Cable 2013 Hood Cable 2012 Hood Cable 2011 Hood Cable 2010 Hood Cable 2009 Hood Cable 2008 Hood Cable 2007 Hood Cable 2006 Hood Cable 2005 Hood Cable 2004 Hood Cable 2003 Hood Cable 2002 Hood Cable 2000 Hood Cable 1999 Hood Cable
