My Garage
My Account
Cart
Genuine Cadillac Fleetwood Brake Booster
Brake Power Booster- Select Vehicle by Model
- Select Vehicle by VIN
Select Vehicle by Model
orMake
Model
Year
Select Vehicle by VIN
For the most accurate results, select vehicle by your VIN (Vehicle Identification Number).
16 Brake Boosters found
Cadillac Fleetwood Brake Booster
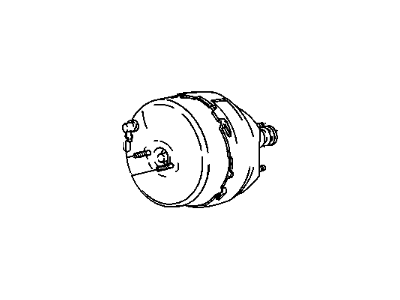
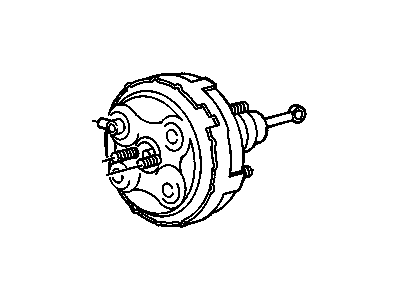
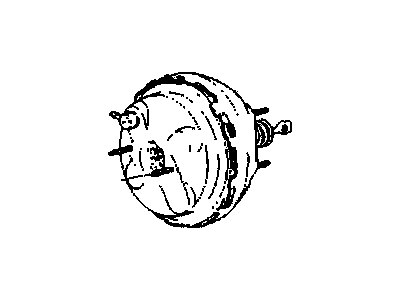
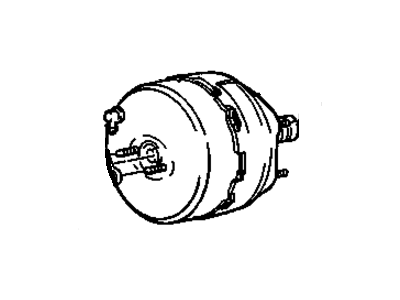
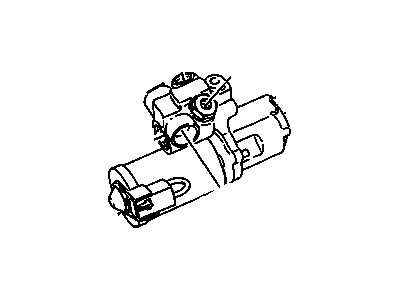
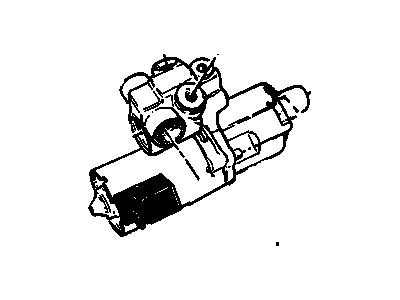
The Brake Booster is very important parts of the Cadillac Fleetwood cars as it is responsible for improving the braking power thereby reducing the effort that the driver has to apply. Located between the brake pedal and the master cylinder is the Brake Booster, which employs either vacuum or hydraulic system to lessen the force in braking action applied in the car. Vacuum-operated boosters use engine vacuum and atmospheric pressure while hydraulic boosters use hydraulic pressure from the power steering or an electric pump. Cadillac Fleetwood has used various forms of Brake Boosters in their cars for many years These brake boosters have come in various forms including the single diaphragm and the dual diaphragm Brake Boosters which come in different diameters and finishes. In general, boosters with a larger diameter mean greater power assistance and, at the same time, boosters with twin diaphragms can be equally effective in engined enclosed spaces. This flexibility means that Cadillac Fleetwood will be able to get precise braking systems for original restoration projects and for new creation projects with equal measure to make sure that these cars' confortable ride is preserved.
Each OEM Cadillac Fleetwood Brake Booster we offer is competitively priced and comes with the assurance of the manufacturer's warranty for the part. Furthermore, we guarantee the speedy delivery of your orders right to your doorstep. Our hassle-free return policy is also in place for your peace of mind.
Cadillac Fleetwood Brake Booster Parts Questions & Experts Answers
- Q: How to remove and install a power brake booster on Cadillac Fleetwood?A:In normal use, the power brake booster has vacuum on both sides of its diaphragms, but when brakes are pushed, each diaphragm receives atmospheric air to help you stop. When the brakes get released, one side closes off vacuum air and draws air from the booster through the check valve to reach the vacuum source. The interior pieces of the part are both impossible to repair and not swappable with other parts. First disconnect the vacuum hose going to the vacuum check valve and negative battery cable, then take off the master cylinder mounting nuts and slide the master cylinder forward without unplugging the brake lines. Start by taking off the soundproofing from where the booster studs join if your car has that feature. Then you'll need to unscrew the mounting nuts for the booster. To take out the booster assembly from the car, first remove the pushrod from the brake pedal and use a slight downward tilt on the booster to keep the rod from being pushed sideways. To put the booster in place, apply the rubber gasket to the booster first, place the booster where it belongs, and connect the pushrod to the brake pedal while you ever so slightly tilt the booster into position. Unscrew the booster attachment nuts until they reach 15 ft. lbs. (21 Nm) for DeVille and Fleetwood, then install the optional noise reduction material, secure the master cylinder to the booster hard enough to lock with a torque of 20 ft. lbs. (27 Nm), join the vacuum hose to the air check valve, and wrap up with reconnecting the vehicle's negative power wire.
