My Garage
My Account
Cart
Genuine Cadillac Fleetwood Intake Manifold
Engine Intake Manifold- Select Vehicle by Model
- Select Vehicle by VIN
Select Vehicle by Model
orMake
Model
Year
Select Vehicle by VIN
For the most accurate results, select vehicle by your VIN (Vehicle Identification Number).
3 Intake Manifolds found
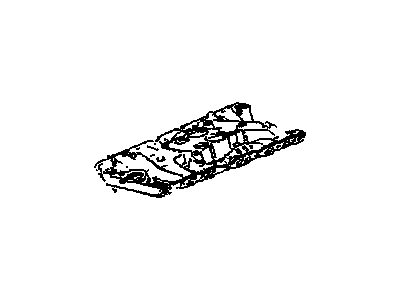
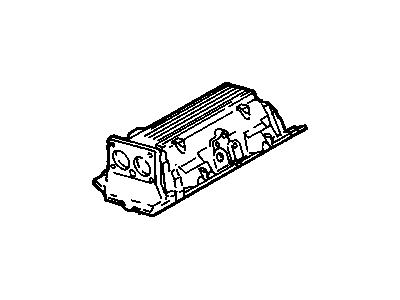
Cadillac Fleetwood Manifold, Intake (Aluminum)
Part Number: 22542648$800.93 MSRP: $933.03You Save: $132.10 (15%)Ships in 1-2 Business Days
Cadillac Fleetwood Intake Manifold
Intake Manifold of Cadillac Fleetwood is a vital component through which air or in combination with fuel is supplied to the requisite cylinder to a certain extent affecting the power and performance of the model. It works by drawing air from the throttle body or carburetor and it may differ in size according to the type of the engine; carbureted, throttle body injected, or multi-port fuel injected. Intake manifolds of the past and present have been made of the cast iron and aluminium but today's varieties are made of lightweight composite plastic to improve fuel efficiency and cooling. Certain designs incorporated variable length intake manifolds (VLIM) which are used for controlling and manipulating airflow and pressure in the engine and hence maximizing total efficiency of the engine. How effective the seals of the manifold and how well the air is regulated has a massive influence on the car's performance which establishes that intake manifold is one of the central inventions in the Cadillac Fleetwood.
Each OEM Cadillac Fleetwood Intake Manifold we offer is competitively priced and comes with the assurance of the manufacturer's warranty for the part. Furthermore, we guarantee the speedy delivery of your orders right to your doorstep. Our hassle-free return policy is also in place for your peace of mind.
Cadillac Fleetwood Intake Manifold Parts Questions & Experts Answers
- Q: How to remove the intake manifold on Cadillac Fleetwood?A:For 4.5L and 4.9L engines, remove the intake manifold by first detaching the negative battery cable and relieving fuel pressure in the system as well. Additionally, recycle engine coolant after draining it, get rid of the coolant reservoir and unfasten the upper radiator hose. At this point, remove air cleaner and serpentine drive belt, then camp up all sparkplug wires while disconnecting them at once. Remove cross brace, power steering pump, tensioner bracket assembly, alternator, cruise control servo with bracket, throttle valve cables too. Some wires are detached from distributors in addition to oil pressure switch or coolant temperature sensor as well as EGR solenoids or ISC motor too. Throttle position switches along with injectors are also removed including some more that require detachment after which MAP hoses are disconnected if needed but also upper radiator hose together with heater hose as well as air-conditioning hose bracket when available should be disconnected too. Shake distributor cap before removing distributor and undoing lines for fuel and vacuum on throttle body as well. Get rid of vacuum supply valves for instance besides valve covers plus pushrods (marked for reinstallation). For example, take out right front/rear lift brackets following removal of intake manifold bolts/gaskets/seals; clean sealing surfaces.Thus begin by installing new end seals with RTV at corner points; thereafter install new seals at Cylinder Heads along with RTV on end seal corners between intake manifold mating surface and cylinder head sealing surfaces; bolt down intake manifold according to a specific torque pattern.Install pushrods along with Rocker Arm assemblies and put back everything else including valve/rocker arm assemblies together with valve covers.Put back vacuum supply valves or just connect them to their respective lines: likewise connect some other lines such as fuel/vacuum ones going to throttle body then set distributor into its normal position but cover it using protector ring/hub.Reinstall the air conditioning hose bracket/upper radiator hose/heater hose plus MAP hoses where necessary.Therefore, reconnect various wire connectors, cruise control servo and throttle valve cables, alternator bracket and alternator, power steering pump and tensioner assembly, and serpentine drive belt.Finally install the coolant reservoir followed by cross brace then fill the cooling system. In the end, install air cleaner assembly lastly connect negative battery cable; start engine to check for leaks then monitor normal operating temperature.To remove this 4.6L engine; kick off by disconnecting its battery first before relieving fuel system pressure on it. Eventually remove engine coolant after recycling it. Remove intake duct going to throttle body as well as hose that carries coolants into same manifold. Disconnect electrical components like TP sensor or ISC motor in addition to EVAP solenoids among others.Then, detach vacuum hoses (which are connected to PCV valve) along with accelerator cable too.At this point, take out quick connects of fuel pipes while repositioning transaxle range control cable too.To get it out of the compartment lift intake manifold together with throttle body off while removing intake manifold seals at cylinder heads-spacers therefrom.Remove ISC bracket's fuel pipe retainer also unbolt throttle body accordingly.Remember during installation new throttle body seal should be coated with petroleum jelly then bolt down throttle body into manifold.Tighten bolts according to a specific torque.Installation is completed by putting back fuel pipe retainer around ISC bracket followed by installing seals for intake manifold and spacers on cylinder heads.Then drop in intake manifold and fasten it together with throttle body following proper sequence until desired torque values are reached.Consequently once more connect coolant hoses topping up coolant where necessary.Climb under the vehicle again to reach lube rack so you can slide range control cable right through as far as possible securing EVAP solenoid bracket.While installing a few things such as intake duct onto throttle body, connect negative battery cable.


