My Garage
My Account
Cart
Genuine Chevrolet Astro Intake Manifold
Engine Intake Manifold- Select Vehicle by Model
- Select Vehicle by VIN
Select Vehicle by Model
orMake
Model
Year
Select Vehicle by VIN
For the most accurate results, select vehicle by your VIN (Vehicle Identification Number).
13 Intake Manifolds found
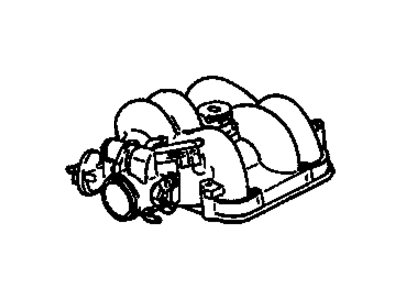
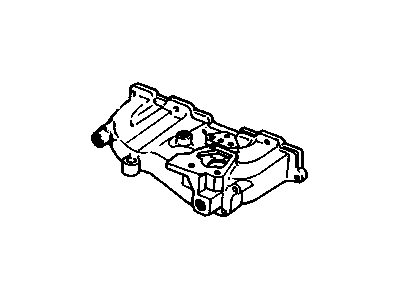
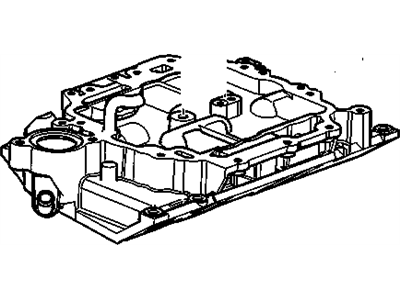
Chevrolet Astro Manifold Assembly, Upper Intake
Part Number: 17092021$31.94 MSRP: $1362.73You Save: $1330.79 (98%)Ships in 1-2 Business Days
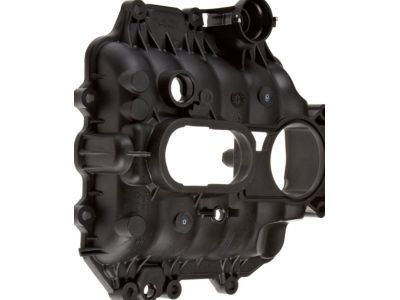
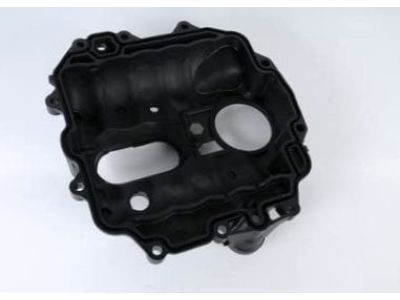
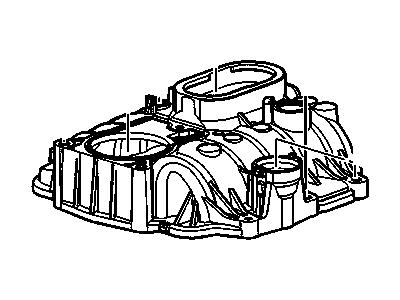
Chevrolet Astro Intake Manifold
The Intake Manifold in Chevrolet Astro is a component which evenly feeds air or possibly the air/fuel mixture to the cylinder head intake ports, consequently influencing the power and performance of the engine. Usually of plastic construction for lower weight and better thermal characteristics, the manifold may be in upper and lower halves connected by gaskets. Other elements found in various manifolds are coolant passages as well as the thermo stat location, and temperature and air charge sensors. Doing this improves the horsepower and torque since the flow of air and the mixture of fuel and power are well enhanced especially for engines that have been altered in some way. On average, Intake Manifold in Chevrolet Astro is crucial for its efficient and powerful functioning of the car's engine.
Each OEM Chevrolet Astro Intake Manifold we offer is competitively priced and comes with the assurance of the manufacturer's warranty for the part. Furthermore, we guarantee the speedy delivery of your orders right to your doorstep. Our hassle-free return policy is also in place for your peace of mind.
Chevrolet Astro Intake Manifold Parts Questions & Experts Answers
- Q: How to remove and install the intake manifold in V6 engine on Chevrolet Astro?A:As for the 1996 and the later models, there is no need to take off the upper intake manifold to work at the lower one, and also for the 1986 and the later models, there is the fuel pressure relief procedure, if, of course, it is necessary. Start with removing the negative terminal of the battery while deractivation of the anti theft system on the cars with such gadget. Remove the air cleaner assembly and adapter or air intake duct and drain the radiator. It is possible to remove the upper fan shroud although this may not be required with later versions and then the engine cover. Remove the upper radiator and heater hoses from the intake manifold as well as, if the car is equipped, release the cruise control servo/bracket. Disconnect the PCV valve hose as well as, for 1999 and some models, the EVAP canister purge solenoid valve electrical connector. At this time the engine should be set at TDC for the number 1 piston it is then time to label and remove the spark plug wires and distributor. Pull off the accelerator cable, the cruise control cable and the throttle valve cable, the TV cable, the intake manifold as well as the fuel lines and label them all. For models from 1985 to 1993, first, and only for these model years, the power brake vacuum line of the booster must be disconnected, and the ignition coil and its bracket must be removed, noting that this does not apply to a coil-in-cap HEI system. On TBI engines, undo the ESC module/bracket and place aside, remove the engine oil filler tube and transmission dipstick from the alternator bracket and remove the alternator bracket from the intake manifold. For the so equipped carbureted and TBI engines, unbolt any Air Management system parts which interfere with the intake manifold and pop the coolant tube on the right side of the intake manifold. On 2002 and earlier CSFI engines, disconnect the EGR pipe which is for the connection between the left exhaust manifold and the intake manifold; you may need to apply penetrating oil in this case. For CMFI engines: take off the upper intake manifold-for CMFI engines only; whereas for CSFI engines do not take off the manifold at all. Take off, if present, the coolant bypass hose joining the water pump and the intake manifold and, if required, take off the A/C compressor from its support but with the refrigeration tubes still connected. For later models, in order to remove the front manifold bolt one must remove the drive belt, the air conditioning compressor side brace, and the power steering pump mounting bracket nuts and bolts. As a preparation for the professional removal of the old manifold, any vacuum and electrical connections which are linked to the intake manifold, carburetor, throttle body or the upper intake plenum has to be labeled and disconnected, then identify the location of each manifold bolt or stud for repositioning later. The manifold mounting bolts should be loosened by turning them counterclockwise and in quarter turns until they can be removed easily by hand.If the manifold gasket has seized apply force to the bolts to break the gasket seal. During the installation it is proper to clean the surfaces that the cylinder heads, block and manifold are placed on using gasket removal solvents if necessary. Found gasket material and detar with scraper, clean with lacquer thinner or acetone and cover the lifter valley to prevent the entry of debris into. drive the thread in the bolt holes with tap and blowing compressed air to clear out any debris. Spread the RTV sealant on the block in the form of a 3/16-inch wide strip on the front and the rear manifold mating surfaces of the block and on a thin coat around the coolant passage holes on the cylinder head side of the new intake manifold gaskets. Place the gaskets at the cylinder heads and align them properly and as the sealant is still wet, place the manifold carefully as well. Screw the bolts/studs in the correct position and tighten them to the right tightness with right sequence. The remaining installation steps are the reverse of the removal and after the engine has been started look for oil and coolant leaks at the intake manifold joints.
Related Chevrolet Astro Parts
Browse by Year
2005 Intake Manifold 2004 Intake Manifold 2003 Intake Manifold 2002 Intake Manifold 2001 Intake Manifold 2000 Intake Manifold 1999 Intake Manifold 1998 Intake Manifold 1997 Intake Manifold 1996 Intake Manifold 1995 Intake Manifold 1994 Intake Manifold 1993 Intake Manifold 1992 Intake Manifold 1991 Intake Manifold 1990 Intake Manifold 1989 Intake Manifold 1988 Intake Manifold 1987 Intake Manifold 1986 Intake Manifold 1985 Intake Manifold
