My Garage
My Account
Cart
Genuine Chevrolet Astro Oil Pan
Oil Drain Pan- Select Vehicle by Model
- Select Vehicle by VIN
Select Vehicle by Model
orMake
Model
Year
Select Vehicle by VIN
For the most accurate results, select vehicle by your VIN (Vehicle Identification Number).
5 Oil Pans found
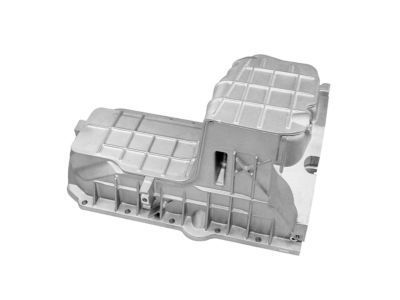
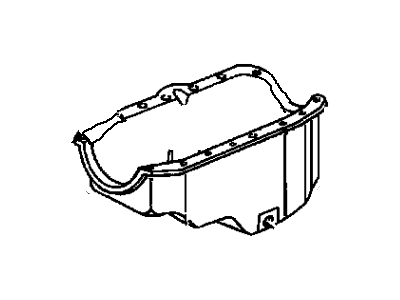
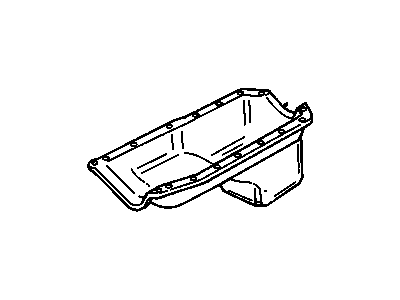
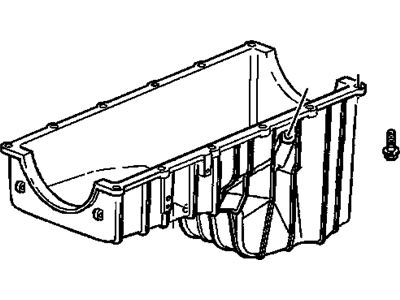
Chevrolet Astro Oil Pan
The Oil Pan in Chevrolet Astro vehicles is a receptacle that used in holding the engine oil thus facilitating the circulation of the oil so as to provide a cooling effect to its metallic parts. Being a wet sump oil reservoir, the Oil Pan gathers oil at the lower side of the engine, the oil is sucked by an Oil Pickup Tube which circulates it around the moving parts then is drained back to the Oil Pan. Originally Chevrolet Astro Oil Pans were produced using stamped steel as the material however the newer designs of Chevrolet Astro Oil Pan use cast aluminum material to improve performance. This evolution has been brought by improvement in engineering such as better management of oil and weight reduction. In all, the Chevrolet Astro Oil Pan plays an important role in the functionality of the automobile engine as it relates that to a variety of operation conditions.
Each OEM Chevrolet Astro Oil Pan we offer is competitively priced and comes with the assurance of the manufacturer's warranty for the part. Furthermore, we guarantee the speedy delivery of your orders right to your doorstep. Our hassle-free return policy is also in place for your peace of mind.
Chevrolet Astro Oil Pan Parts Questions & Experts Answers
- Q: How to remove and reinstall the oil pan in V6 engine on Chevrolet Astro?A:Lubricants and fluids used on your vehicle are hazardous waste and must be disposed of properly; when disposal is required, place the waste into a sealable container and deliver it to a service station, auto parts store, or other facility that accepts hazardous waste for recycling. Begin by disconnecting the cable from the negative terminal of the battery, ensuring to disable the anti-theft feature on models equipped with an anti-theft audio system. Raise the vehicle and support it securely on jackstands, then drain the engine oil and remove the oil filter. If necessary for clearance, detach the exhaust pipes from the exhaust manifolds using penetrating oil spray to ease nut removal. Remove strut rods if the engine is equipped with them, then take off the bellhousing lower cover from the transmission and the starter motor and shield if equipped. Rotate the crankshaft clockwise using the vibration damper bolt until the timing mark is in the 6 o'clock position, disconnect the transmission oil cooler lines or engine oil cooler lines from the oil pan and adapter, capping the lines to prevent contamination and leakage. For 1996 and later models, remove the oil filter adapter and rubber bellhousing plugs, and if applicable, remove and discard the oil level sensor and the crankshaft position sensor wiring harness from the retainer. Remove the oil pan bolts, nuts, and studs, noting their locations, and carefully separate the oil pan from the block without prying between them to avoid damaging the sealing surfaces. Clean the gasket sealing surfaces with lacquer thinner or acetone, ensuring the bolt holes are clean, and check the flanges for distortion on steel-type oil pans. For models from 1985 to 1995, apply RTV sealant to the corners of the semi-circular cutouts at both ends of the pan before installing the new gasket, while for 1996 and later models, apply a bead of RTV sealant to the block-to-timing chain cover joint and the rear main seal-to-block joint before installing the new gasket onto the oil pan. Position the oil pan against the engine block and install the fasteners finger tight, then tighten the oil pan bolts/nuts in three equal steps to the specified torque, starting at the center and working outwards in a spiral pattern for older models. For models equipped with an oil level sensor, install a new sensor and tighten securely. Ensure the oil pan is aligned correctly as it serves as structural reinforcement between the engine and transmission, tightening the bolts/nuts in three steps to the specified torque while verifying the gap between the oil pan and the transmission bell housing is 0.010 inch or less. The remaining installation steps are the reverse of removal, and remember to refill the engine with oil before starting the engine and checking for leaks around the oil pan.


