My Garage
My Account
Cart
Genuine Chevrolet Blazer Cylinder Head
Head- Select Vehicle by Model
- Select Vehicle by VIN
Select Vehicle by Model
orMake
Model
Year
Select Vehicle by VIN
For the most accurate results, select vehicle by your VIN (Vehicle Identification Number).
26 Cylinder Heads found
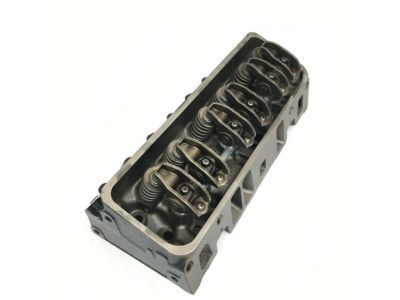
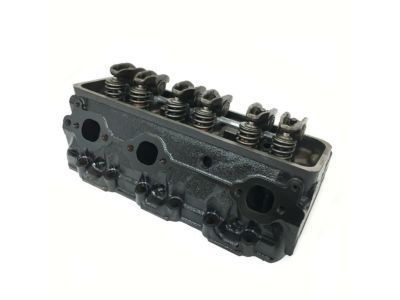
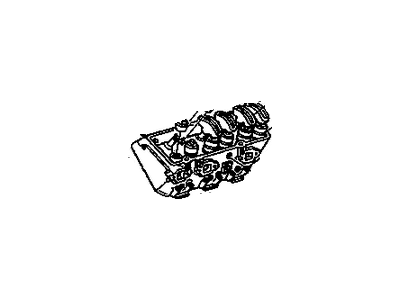
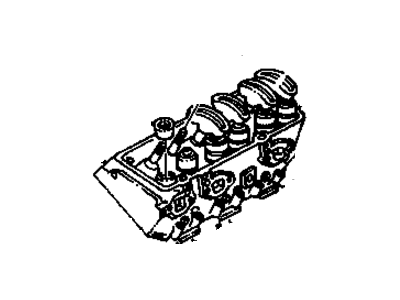
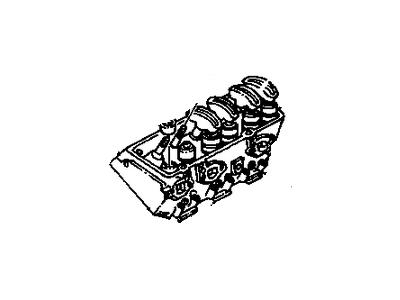
Chevrolet Blazer Cylinder Head Assembly (W/Studs)
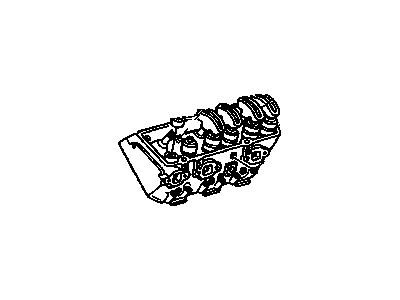
Part Number: 12533558$310.73 MSRP: $491.12You Save: $180.39 (37%)Ships in 1-3 Business DaysChevrolet Blazer Cylinder Head Assembly With Valve
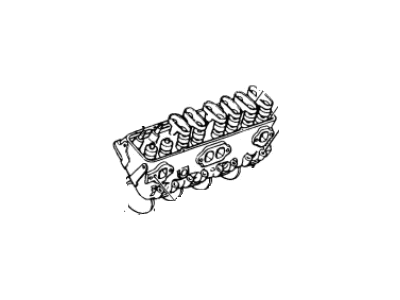
Part Number: 12684222$721.27 MSRP: $1193.49You Save: $472.22 (40%)Ships in 1-3 Business DaysChevrolet Blazer Head Assembly, Cyl (W/ Vlv)
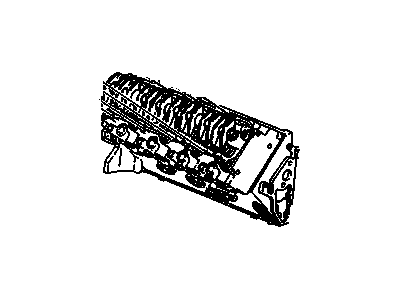
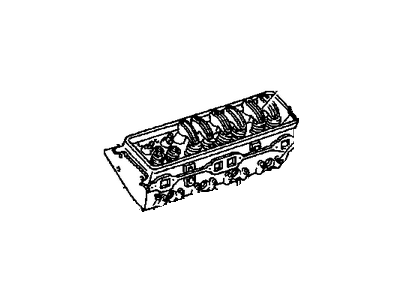
Part Number: 12686233$289.09 MSRP: $478.46You Save: $189.37 (40%)Chevrolet Blazer Cylinder Head Assembly With Valve
Part Number: 55504792$596.76 MSRP: $987.68You Save: $390.92 (40%)Ships in 1-3 Business DaysChevrolet Blazer Engine Cylinder Head
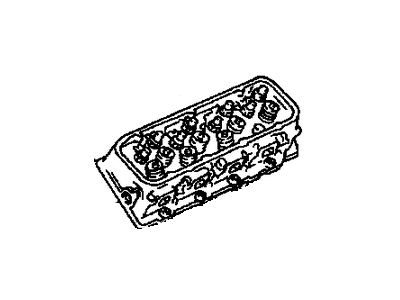
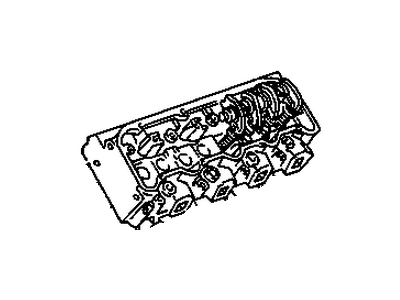
Part Number: 12555630$447.07 MSRP: $713.03You Save: $265.96 (38%)Ships in 1-3 Business DaysChevrolet Blazer Cylinder Head Assembly
Part Number: 12558112$596.22 MSRP: $803.53You Save: $207.31 (26%)Ships in 1-3 Business DaysChevrolet Blazer Cylinder Head (W/Studs)
Part Number: 10065219$136.21 MSRP: $1039.79You Save: $903.58 (87%)Ships in 1-2 Business DaysChevrolet Blazer Cylinder Head
Part Number: 10065202$395.07 MSRP: $734.23You Save: $339.16 (47%)Ships in 1-2 Business DaysChevrolet Blazer Cylinder Head Assembly
Part Number: 12523500$849.60 MSRP: $1130.09You Save: $280.49 (25%)Ships in 1-2 Business DaysChevrolet Blazer Head Assembly, Cyl (W/ Vlv)
Part Number: 12690422$796.64 MSRP: $1027.88You Save: $231.24 (23%)
| Page 1 of 2 |Next >
1-20 of 26 Results
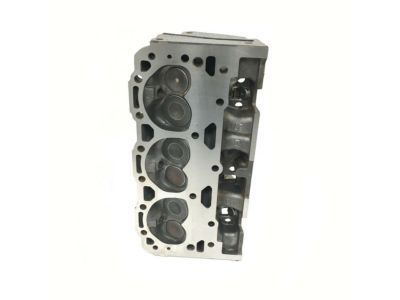
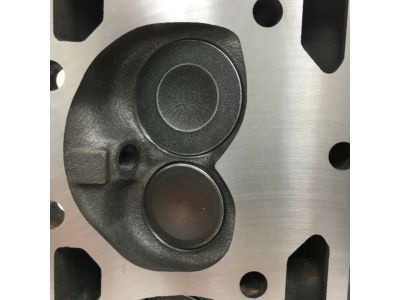
Chevrolet Blazer Cylinder Head
Each OEM Chevrolet Blazer Cylinder Head we offer is competitively priced and comes with the assurance of the manufacturer's warranty for the part. Furthermore, we guarantee the speedy delivery of your orders right to your doorstep. Our hassle-free return policy is also in place for your peace of mind.
Chevrolet Blazer Cylinder Head Parts Questions & Experts Answers
- Q: How should a Cylinder Head be prepared for reassembly after valve servicing on Chevrolet Blazer?A:Regardless of whether a head was sent to an automotive repair shop for valve servicing, ensure it is clean before beginning reassembly. If a head was sent out for valve servicing, the valves and related components will already be in place, so start the reassembly procedure with the first valve. Lubricate and install the first valve by applying engine assembly lube or clean engine oil to the valve stem. For a four-cylinder engine, install the spring seats over each of the valve guides and new seals on the valve guides for the intake valve only on the V6 engine. Gently tap each seal into place using a hammer and a deep socket or seal installation tool, ensuring they are not twisted or cocked during installation. Set the valve springs, oil shield for the V6 engine intake valve only, and retainer or rotator for the V6 engine exhaust valve in place. Compress the springs with a valve spring compressor and carefully install the O-ring oil seal in the lower groove of the valve stem for the V6 engine, ensuring it lies flat and is not twisted. Position the keepers in the upper groove, then slowly release the compressor to ensure they seat properly, applying a small dab of grease to hold them in place if necessary. Repeat the procedure for the remaining valves, ensuring all components are returned to their original locations without mixing them up. Check the installed valve spring height with a ruler graduated in 1/32-inch increments or a dial caliper, measuring from the top of each spring seat or shim(s) to the top of the oil shield or the bottom of the retainer. If the height exceeds specifications, shims can be added under the springs to correct it. Finally, apply engine assembly lube to the rocker arm faces and pivot balls, then install the rocker arms and pivots on the cylinder head studs, threading the nuts on three or four turns only, as they will be tightened following a specific procedure when the heads are installed on the engine.
Related Chevrolet Blazer Parts
Browse by Year
2024 Cylinder Head 2023 Cylinder Head 2022 Cylinder Head 2021 Cylinder Head 2020 Cylinder Head 2019 Cylinder Head 2005 Cylinder Head 2004 Cylinder Head 2003 Cylinder Head 2002 Cylinder Head 2001 Cylinder Head 2000 Cylinder Head 1999 Cylinder Head 1998 Cylinder Head 1997 Cylinder Head 1996 Cylinder Head 1995 Cylinder Head 1994 Cylinder Head 1993 Cylinder Head 1992 Cylinder Head 1991 Cylinder Head 1990 Cylinder Head 1989 Cylinder Head 1988 Cylinder Head 1987 Cylinder Head 1986 Cylinder Head 1985 Cylinder Head
