My Garage
My Account
Cart
Genuine Chevrolet Blazer Radiator
Cooling Radiator- Select Vehicle by Model
- Select Vehicle by VIN
Select Vehicle by Model
orMake
Model
Year
Select Vehicle by VIN
For the most accurate results, select vehicle by your VIN (Vehicle Identification Number).
17 Radiators found
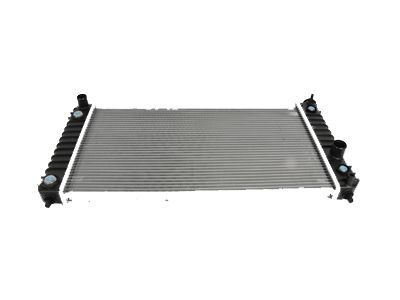
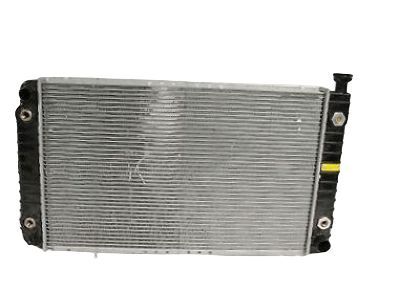
Chevrolet Blazer Radiator Assembly
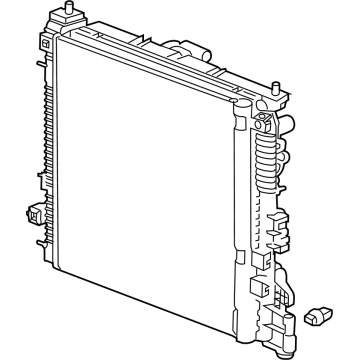
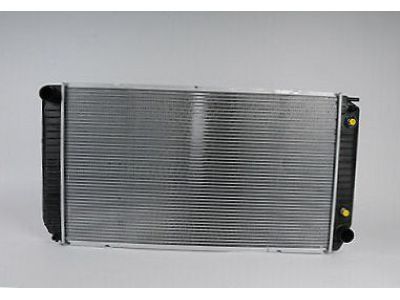
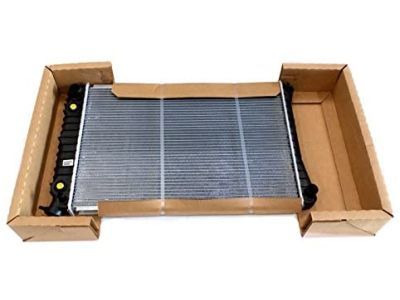
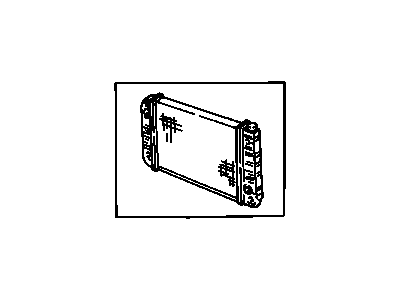
Part Number: 89019344$444.41 MSRP: $670.29You Save: $225.88 (34%)Ships in 1-2 Business DaysChevrolet Blazer Radiator Assembly
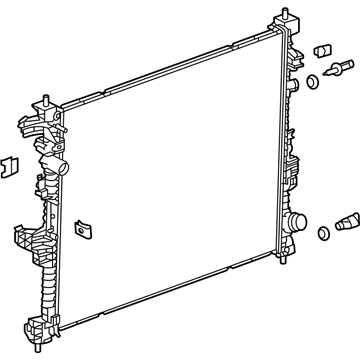
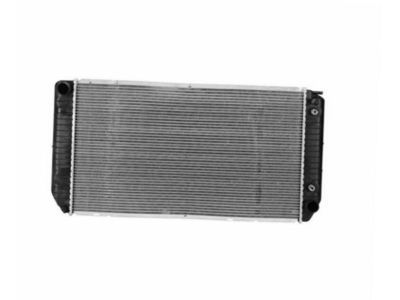
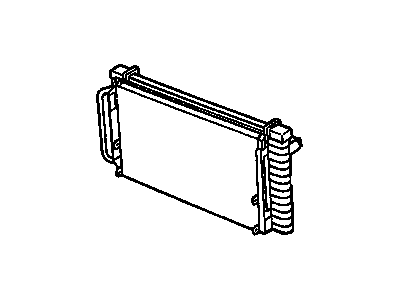
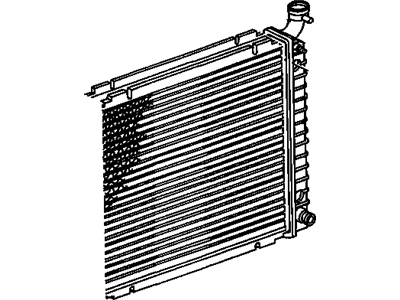
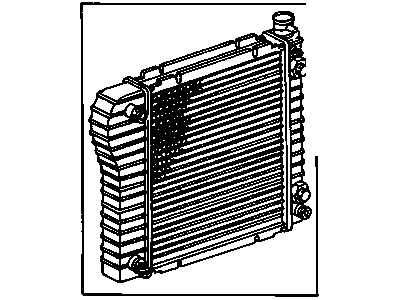
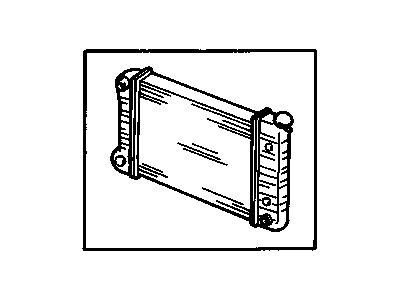
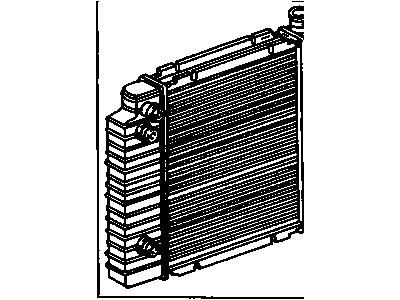
Part Number: 89018624$297.47 MSRP: $446.65You Save: $149.18 (34%)
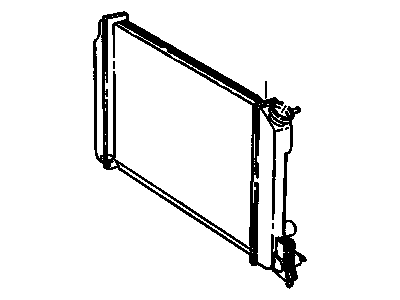
Chevrolet Blazer Radiator
Chevrolet Blazer Radiator is part of the car's cooling system with the primary function of rejecting heat from the engine to the atmosphere. It serves the purpose of heat exchanger where it takes heat from the coolant of the engine to the flow of air passing through it. The majority of radiators in Blazer vehicles are made of aluminum core with plastic/aluminum tank, or solely aluminum; nevertheless, some copper/brass radiators are employed. The radiator is placed in the front region of the car where it is accessible to fresh air from the car grille to enable heat exchange. Some of the problems with the car radiator are leakage of the fluid or clogging of the system, which if not corrected could cause overheating of the automobile. It is highly advisable that the radiator be checked frequently mostly for servicing to avoid situations where the car engine fails.
Each OEM Chevrolet Blazer Radiator we offer is competitively priced and comes with the assurance of the manufacturer's warranty for the part. Furthermore, we guarantee the speedy delivery of your orders right to your doorstep. Our hassle-free return policy is also in place for your peace of mind.
Chevrolet Blazer Radiator Parts Questions & Experts Answers
- Q: How to remove and install a radiator and coolant reservoir tank on Chevrolet Blazer?A:Before pulling out the radiator from Chevy Blazer and GMC Jimmy, start with disconnecting the negative end of the battery cable and emptying the cooling system. Start by taking off the air intake duct and upper fan grill. When the vehicle has an automatic transmission or an engine oil cooler installed, carefully take off these cooler lines from the radiator and plug their ends to keep them from leaking. Disconnect the upper and lower radiator hoses. Twist out the lower fan shroud by manually pushing down on two small plastic clips. Finally, pull the radiator straight up and out. First, replace any broken hose clamps and radiator hoses before you reverse-install the radiator, step-by-step. With newer models, put fresh spring clamps on oil cooler connections and make sure they push down tight. After installing the system, put the correct antifreeze mix inside and check the transmission fluid level when it's automatic. First, remove the PCM at the top of the coolant reservoir, then disconnect the overflow hose and mounting nuts so you can take out the reservoir. Be sure to clean the reservoir from old parts, so no dirt affects the system when you put it back.
Related Chevrolet Blazer Parts
Browse by Year
2024 Radiator 2023 Radiator 2022 Radiator 2021 Radiator 2020 Radiator 2019 Radiator 2005 Radiator 2004 Radiator 2003 Radiator 2002 Radiator 2001 Radiator 2000 Radiator 1999 Radiator 1998 Radiator 1997 Radiator 1996 Radiator 1995 Radiator 1994 Radiator 1993 Radiator 1992 Radiator 1991 Radiator 1990 Radiator 1989 Radiator 1988 Radiator 1987 Radiator 1986 Radiator 1985 Radiator
