My Garage
My Account
Cart
Genuine Chevrolet Camaro Trailing Arm
Trailing Control Arm- Select Vehicle by Model
- Select Vehicle by VIN
Select Vehicle by Model
orMake
Model
Year
Select Vehicle by VIN
For the most accurate results, select vehicle by your VIN (Vehicle Identification Number).
19 Trailing Arms found
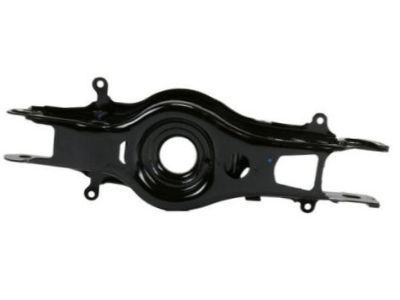
Chevrolet Camaro Rear Suspension Lower Control Arm
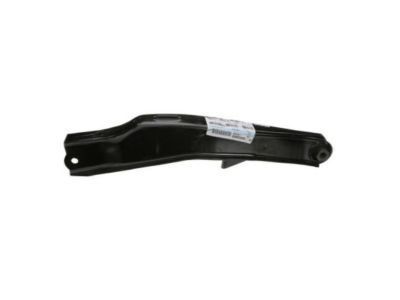
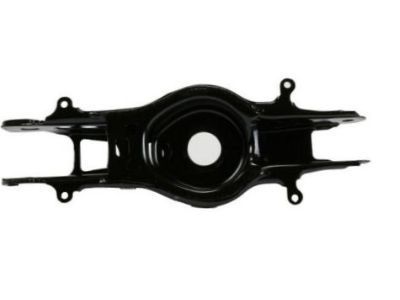
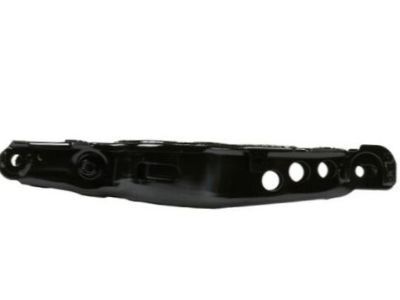
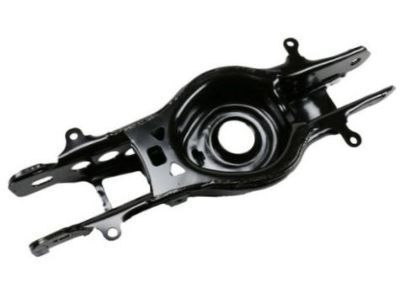
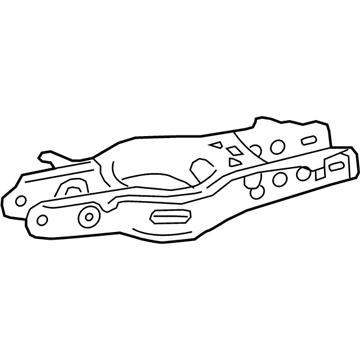
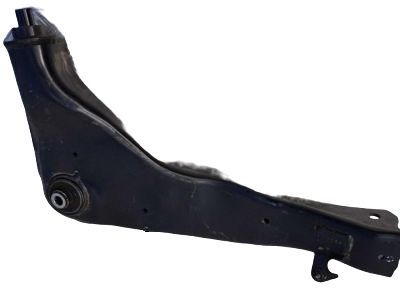
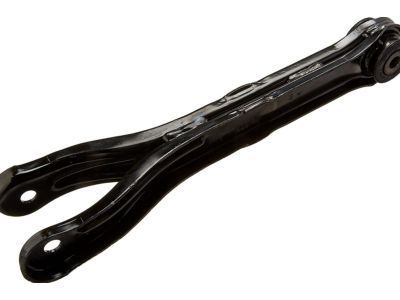
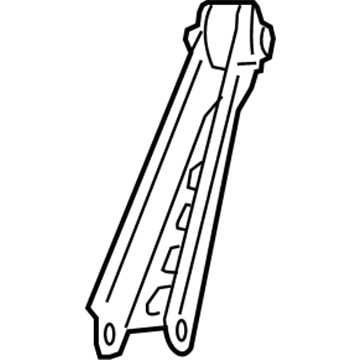
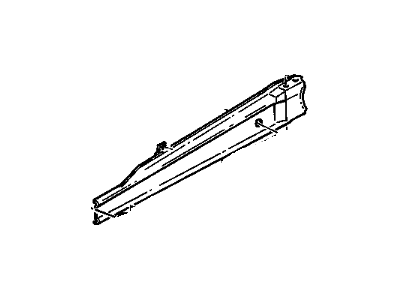
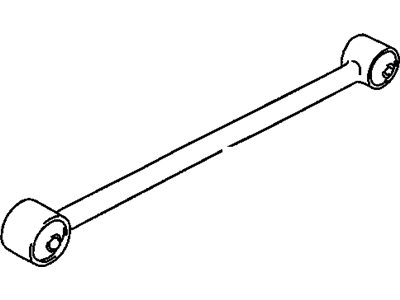
Part Number: 20942237$54.22 MSRP: $92.72You Save: $38.50 (42%)Ships in 1-2 Business DaysChevrolet Camaro Rear Lower Suspension Control Arm Assembly
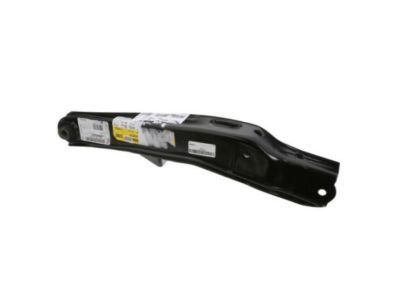
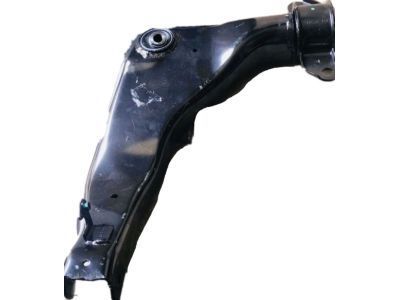
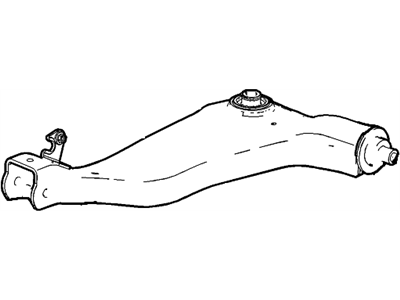
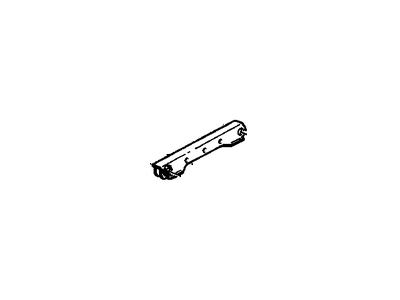
Part Number: 84382227$54.95 MSRP: $94.79You Save: $39.84 (43%)Ships in 1-2 Business DaysChevrolet Camaro Rear Upper Suspension Control Arm Assembly
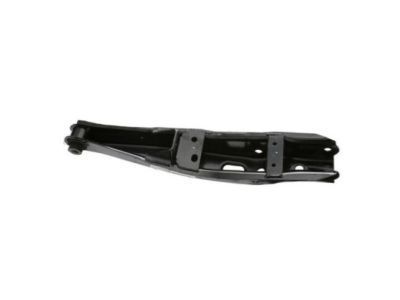
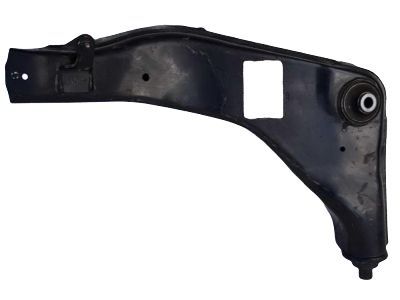
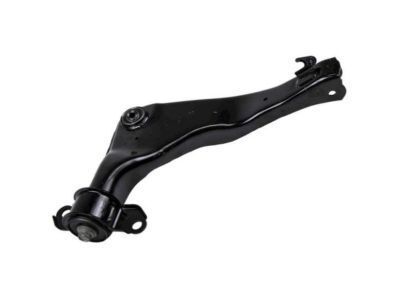
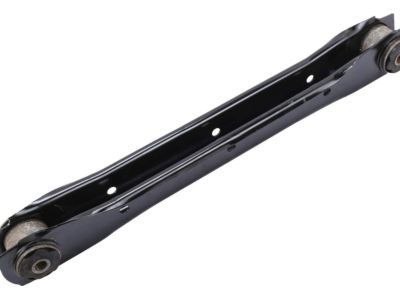
Part Number: 23110245$101.87 MSRP: $174.21You Save: $72.34 (42%)Ships in 1-2 Business DaysChevrolet Camaro Rear Upper Suspension Control Arm Assembly
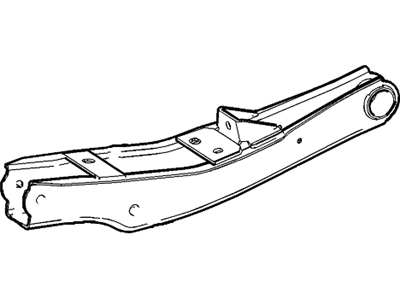
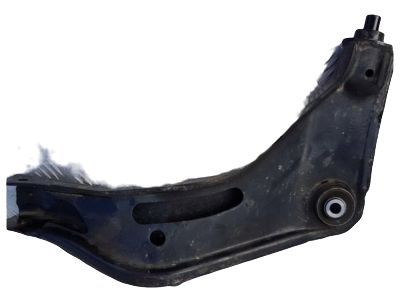
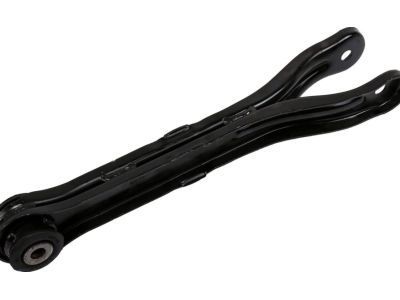
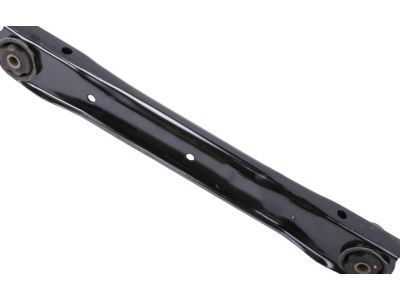
Part Number: 23110246$97.35 MSRP: $167.93You Save: $70.58 (43%)Ships in 1-2 Business DaysChevrolet Camaro Rear Suspension Trailing Arm Assembly
Part Number: 92246140$21.65 MSRP: $35.82You Save: $14.17 (40%)Ships in 1-2 Business DaysChevrolet Camaro Rear Lower Suspension Control Arm Assembly
Part Number: 84382226$54.95 MSRP: $94.79You Save: $39.84 (43%)Ships in 1-2 Business DaysChevrolet Camaro LINK ASM-RR SUSP LWR TRAILING
Part Number: 86804916$29.36 MSRP: $48.61You Save: $19.25 (40%)Ships in 1-3 Business DaysChevrolet Camaro Rear Lower Control Arm Assembly
Part Number: 10251391$118.67 MSRP: $189.27You Save: $70.60 (38%)Ships in 1-2 Business DaysChevrolet Camaro Rear Upper Suspension Control Arm Assembly
Part Number: 23104902$116.29 MSRP: $153.99You Save: $37.70 (25%)Ships in 1-2 Business DaysChevrolet Camaro Rear Upper Suspension Control Arm Assembly
Part Number: 23104903$89.88 MSRP: $148.77You Save: $58.89 (40%)Ships in 1-2 Business Days
Chevrolet Camaro Trailing Arm
Trailing Arm is a component of the well-known trailing-link suspension that is used in the Chevrolet Camaro automobile, it is responsible for linking the axle to the chassis. The purpose of anti-dive is mainly to reduce the amount of involuntary movement of the axles in order to improve the vehicle's stability. The Chevrolet Camaro uses several types of Trailing Arm suspensions, the Trailing Arm Suspension and comes with several links incorporated with the Panhard rod to offer the vehicle more lateral stability, the second type is the Semi-Trailing Arm Suspension, which has a triangular arm as a distinguishing feature that offers increased flexibility and allows for independent movement of the wheels. These Trailing Arm configurations make the most for rear axle, hence, better performance and increased boot space in Chevrolet Camaro. This has meant that throughout the years the Camaro has been able to sustain a good reputation in the area of handing and stability through these designs of the Trailing Arm.
Each OEM Chevrolet Camaro Trailing Arm we offer is competitively priced and comes with the assurance of the manufacturer's warranty for the part. Furthermore, we guarantee the speedy delivery of your orders right to your doorstep. Our hassle-free return policy is also in place for your peace of mind.
Chevrolet Camaro Trailing Arm Parts Questions & Experts Answers
- Q: How to remove and reinstall the rear control arm and Trailing Arm on Chevrolet Camaro?A:Loosen the wheel lug nuts, raise the vehicle, and support it securely on jack stands while blocking the front wheels to prevent rolling, then remove the wheel. Support the lower control arm with a floor jack and remove the rear brake hose bracket bolt from the upper control arm along with the upper control arm-to-knuckle mounting bolt/nut. Next, remove the upper control arm bushing bolt and the upper control arm-to-subframe nut and bolt. Installation is the reverse of removal, ensuring to tighten the fasteners to the specified torque while raising the lower control arm to simulate normal ride height. Disconnect the electronic ride control rear suspension position sensor link from the control arm if equipped, mark the inner pivot bolt cam washer-to-subframe relationship for reinstallation, and remove the Shock Absorber-to-lower control arm nut/bolt. Detach the stabilizer bar link from the control arm, remove the control arm-to-subframe nut/bolt, and detach the arm from the vehicle. For the trailing arm, support the lower control arm with a floor jack, remove the trailing arm-to-knuckle nut/bolt, and the trailing arm-to-subframe bolt before removing the arm. Installation follows the reverse order with fasteners tightened to the specified torque, again raising the lower control arm to simulate normal ride height. For the toe-link, unclip the wheel speed sensor harness from the arm, mark the toe link inner bolt adjuster cam to the subframe, and remove the inner toe link nut/bolt along with the outer toe-link bolt before removing the link arm. Reinstallation is the reverse of removal, ensuring to tighten the fasteners to the specified torque while aligning the match marks on the inner pivot bolt adjuster cam and subframe, and raising the lower control arm to simulate normal ride height. Finally, have the wheel alignment checked and adjusted if necessary.
Related Chevrolet Camaro Parts
Browse by Year
2024 Trailing Arm 2023 Trailing Arm 2022 Trailing Arm 2021 Trailing Arm 2020 Trailing Arm 2019 Trailing Arm 2018 Trailing Arm 2017 Trailing Arm 2016 Trailing Arm 2015 Trailing Arm 2014 Trailing Arm 2013 Trailing Arm 2012 Trailing Arm 2011 Trailing Arm 2010 Trailing Arm 2002 Trailing Arm 2001 Trailing Arm 2000 Trailing Arm 1999 Trailing Arm 1998 Trailing Arm 1997 Trailing Arm 1996 Trailing Arm 1995 Trailing Arm 1994 Trailing Arm 1993 Trailing Arm 1992 Trailing Arm 1991 Trailing Arm 1990 Trailing Arm 1989 Trailing Arm 1988 Trailing Arm 1987 Trailing Arm 1986 Trailing Arm 1985 Trailing Arm 1984 Trailing Arm 1983 Trailing Arm 1982 Trailing Arm
