My Garage
My Account
Cart
Genuine Chevrolet Caprice Brake Master Cylinder
- Select Vehicle by Model
- Select Vehicle by VIN
Select Vehicle by Model
orMake
Model
Year
Select Vehicle by VIN
For the most accurate results, select vehicle by your VIN (Vehicle Identification Number).
9 Brake Master Cylinders found
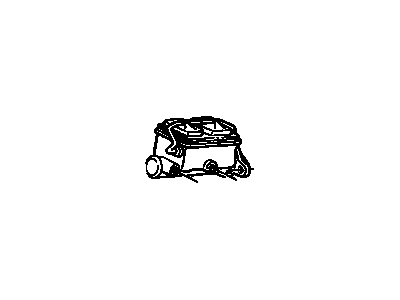
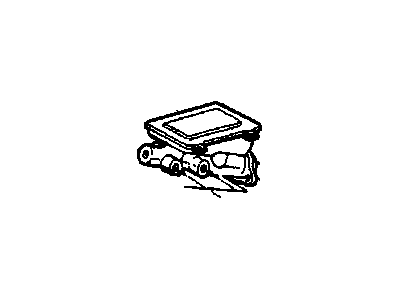
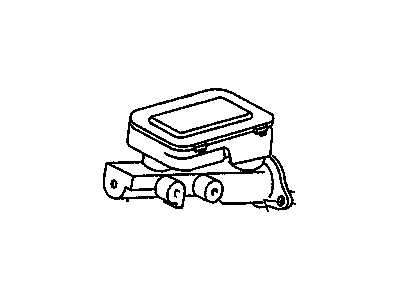
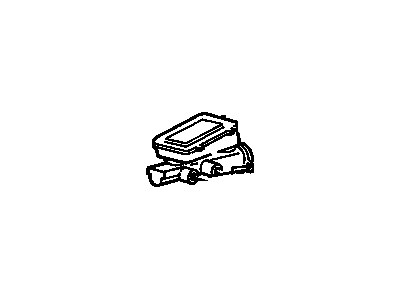
Chevrolet Caprice Brake Master Cylinder Assembly
Part Number: 19176498$91.00 MSRP: $163.22You Save: $72.22 (45%)Ships in 1-3 Business DaysChevrolet Caprice Brake Master Cylinder Assembly
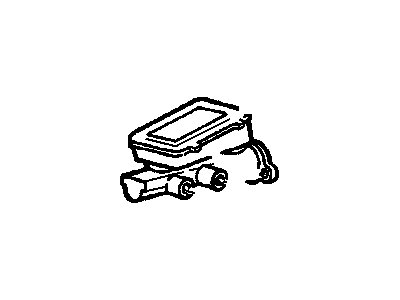
Part Number: 19176108$192.57 MSRP: $346.99You Save: $154.42 (45%)
Chevrolet Caprice Brake Master Cylinder
The Brake Master Cylinder is important part of Chevrolet Caprice vehicles braking system and translates the force exerted by the driver's foot to hydraulic pressure to operate the brakes. It works through hydraulic fluid in the circulation of the system to activate the calipers or the drum type brake which then creates the friction which is required for the vehicle to stop. Chevrolet Caprice over the years had some cars with cast iron master cylinder while others had an aluminum master cylinder, the reservoir system on most of the Chevrolet Caprice cars has either the integral reservoir system or the external reservoir system. Integral reservoirs, of course, have only one cap while there can be one or two threaded caps for external types. Regardless of the kind, Brake Master Cylinder plays an important role in providing the safety of the vehicle and any kind of leakage or an internal breakdown in the system may harm the braking capacity of the vehicle greatly.
Each OEM Chevrolet Caprice Brake Master Cylinder we offer is competitively priced and comes with the assurance of the manufacturer's warranty for the part. Furthermore, we guarantee the speedy delivery of your orders right to your doorstep. Our hassle-free return policy is also in place for your peace of mind.
Chevrolet Caprice Brake Master Cylinder Parts Questions & Experts Answers
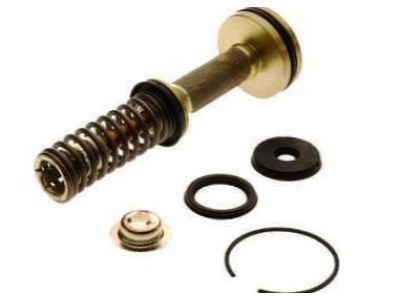
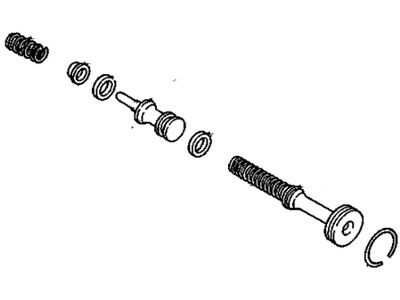
- Q: How should you replace and rebuild the brake master cylinder on Chevrolet Caprice?A:Since there are many types and sizes of Brake Master Cylinders which were used on this vehicle, it was considered reasonable to measure all this part with the auto parts store. Initially, the hydraulic lines at the Brake Master Cylinder will have to be disconnected and while doing so to ensure that any spilled fluid is wiped with absorbent materials and to cover the ends of the hydraulic lines to minimize the loss of fluid and dust. For manual brakes, free the push rod at the Brake Pedal inside the car. If the Brake Master Cylinder is mounted on the firewall or power booster, unbolt and dismantle the Brake Master Cylinder very carefully lest you spill brake fluids on the painted surface, for this will spoil the paint. Expel all fluid from the Brake Master Cylinder and set the unit in a vise with wooden outlets in the jaw's area. In manual brakes, the above steps are needed to be followed: Remove the push rod retaining ring. Secondly, do away with the secondary stop bolt that is at the bottom of the front fluid reservoir or at the base of the Brake Master Cylinder body. Lift out the retaining ring from the groove and then the primary piston assembly, next is the secondary piston, spring and its retainer which can be pulled out with a piece of bent stiff wire. Check the inside surface of the Brake Master Cylinder and the secondary piston; if you can see a scoring appearance, or bright wear areas replace the whole Brake Master Cylinder. If the components are okay, they should be washed in fresh hydraulic oil; all rubber parts, and the major piston should be discarded and replaced with an overhaul kit which contains all the required parts for the overhaul. Check the line seats in the Brake Master Cylinder body where the lines join it; if they are crumbled turn them into new ones from the overhaul kit using a screw which is forced in, waited for a few seconds and pulled outwards. The new ones can be pressed in using a spare Brake Line nut and all such parts should be part of the rebuild service. Insert the new secondary seals into the grooves of the secondary piston, fit the primary seals and the seal protector on the end of the secondary piston and then with clean brake fluid lubricate the cylinder bore as well as the secondary piston. Thread the spring retainer into the spring so that when putting it in place on the end of the secondary piston the retainer will fit inside the primary seal lips. With the Brake Master Cylinder vertical, compress the secondary piston until its spring is located in the bore. Apply brake fluid on the seals of the primary piston and then insert it in the cylinder bore and put pressure to it while the retaining ring is secured in the cylinder groove. Maintain pressure on the piston as the stop screw is to be inserted. Insert the reservoir diaphragm into the reservoir cover plate such that at the time of its installation it lies flat on the recessed lid. Last, place back the Brake Master Cylinder in the same procedure of its removal, tighten the nuts of installation then the torque wrench, fill up the Brake Master Cylinder with new brake fluid, and bleed the system of the hydraulic Brake Master Cylinder.
Related Chevrolet Caprice Parts
Browse by Year
1996 Brake Master Cylinder 1995 Brake Master Cylinder 1994 Brake Master Cylinder 1993 Brake Master Cylinder 1992 Brake Master Cylinder 1991 Brake Master Cylinder 1990 Brake Master Cylinder 1989 Brake Master Cylinder 1988 Brake Master Cylinder 1987 Brake Master Cylinder 1986 Brake Master Cylinder 1985 Brake Master Cylinder 1984 Brake Master Cylinder 1983 Brake Master Cylinder 1982 Brake Master Cylinder
