My Garage
My Account
Cart
Genuine Chevrolet Caprice Instrument Cluster
Speedometer Instrument Cluster- Select Vehicle by Model
- Select Vehicle by VIN
Select Vehicle by Model
orMake
Model
Year
Select Vehicle by VIN
For the most accurate results, select vehicle by your VIN (Vehicle Identification Number).
10 Instrument Clusters found
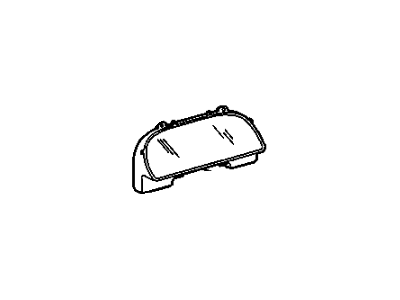
Chevrolet Caprice INST CLUST
Part Number: 25045312$24.35 MSRP: $36.24You Save: $11.89 (33%)Ships in 1-2 Business Days
Chevrolet Caprice Instrument Cluster
The Instrument Cluster is an essential element of Chevrolet Caprice cars located behind the steering wheel which serves to deliver information about the driving conditions. It includes main instruments like speedometer, tachometer and fuel gauge, as well as various icons that let the driver know some parameters of the car, its engine and its condition, including such things as battery charge. Year after year Chevrolet Caprice has gone through changes in the styles used in their instrument clusters as the market advances in technology. The basic purpose will of course stay the same- to inform the driver- but special variations could include digital readouts as well as improved performance meters. It is therefore crucial to have the Instrument Cluster in premier form and there is always a way of replacing a faulty cluster with a remanufactured one in case the current one is not functioning well to help in monitoring the speed and the fuel gauge of the car.
Each OEM Chevrolet Caprice Instrument Cluster we offer is competitively priced and comes with the assurance of the manufacturer's warranty for the part. Furthermore, we guarantee the speedy delivery of your orders right to your doorstep. Our hassle-free return policy is also in place for your peace of mind.
Chevrolet Caprice Instrument Cluster Parts Questions & Experts Answers
- Q: How to remove the instrument cluster on Chevrolet Caprice?A:To begin, disconnect the battery ground cable and remove the glove box for access to the instrument panel pad fasteners on the right side. Next, take out the center air outlet from the dash and extract the four screws located above the instruments. Gently pull and pry the instrument panel loose from the clips on the dash, then disconnect the stereo/tape player if it is fitted. Remove the lap cooler from under the steering column, followed by the three screws from the underside of the dash. For vehicles with automatic transmission, disconnect the shift indicator cable and the electrical wiring from the radio. Lower the steering column, extract the screws from the top of the instrument panel, and gently lift and tilt the panel forward. Disconnect the speedometer cable from the rear of the speedometer head and all electrical wiring and plugs. Remove the indicator lamp bezel by taking out the four screw covers and then extracting the screws, followed by removing the eight screws that hold the instrument cluster to the carrier and the individual instruments as required. For 1970 models, note that studs are used at the glove box opening and screws at the instrument carrier, and the instrument panel trim plate must be removed with a hooked tool to release the studs. Disconnect the instrument carrier from the panel lower reinforcement and the parking brake pedal bracket, and remove the ashtray and its bracket. From 1971 to 1976, access to the instruments is obtained after removing the instrument cluster control shroud. For models from 1977 onward, unscrew and remove the nuts from the two studs in the lower corner of the cluster, reach behind to disconnect the speedometer cable, and then withdraw the cluster complete, removing individual instruments as necessary.


