My Garage
My Account
Cart
Genuine Chevrolet Colorado Torsion Bar
Suspension Torsion Bar- Select Vehicle by Model
- Select Vehicle by VIN
Select Vehicle by Model
orMake
Model
Year
Select Vehicle by VIN
For the most accurate results, select vehicle by your VIN (Vehicle Identification Number).
8 Torsion Bars found
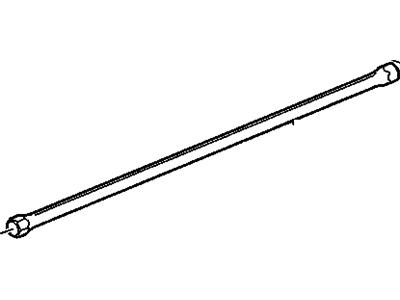
Chevrolet Colorado Bar,Front Torsion
Part Number: 19332967$67.10 MSRP: $105.58You Save: $38.48 (37%)
Chevrolet Colorado Torsion Bar
Each OEM Chevrolet Colorado Torsion Bar we offer is competitively priced and comes with the assurance of the manufacturer's warranty for the part. Furthermore, we guarantee the speedy delivery of your orders right to your doorstep. Our hassle-free return policy is also in place for your peace of mind.
Chevrolet Colorado Torsion Bar Parts Questions & Experts Answers
- Q: Why must torsion bars be replaced as a pair and what precautions should be taken during the replacement process on Chevrolet Colorado?A:Torsion bars must be replaced as a pair and are specific to the left or right side. When working around them, take care not to chip the exterior coating to prevent rust damage. Begin by raising the front of the vehicle and securely supporting it on jackstands, while blocking the rear wheels to allow the front wheels to hang down fully. Work on one side at a time, marking the relationship of the adjuster arm to the rear end of the bar and counting the number of exposed threads on the adjuster bolt. Remove the adjuster bolt, spacer, and nut, then move the torsion bar rearward with the adjustment arm still in position until the front end clears the lower control arm anchor, allowing for removal of the torsion bar and arm. For installation, slide the adjustment arm onto the torsion bar, aligning the splines using the previously made marks. Slip the front end of the bar into the splined anchor in the lower control arm and reinstall the adjuster bolt, spacer, and nut. Tighten the adjuster nut the same number of turns recorded before disassembly. After driving the vehicle to allow the suspension to settle, compare the left and right side ride heights and adjust the torsion bars as necessary by turning the adjuster nuts gradually in the desired direction, rolling the vehicle back and forth a few feet between adjustments, and ensuring that the final adjustment is made as the adjuster nut is lightened, not loosened.


