My Garage
My Account
Cart
Genuine Chevrolet Equinox Crankshaft Seal
- Select Vehicle by Model
- Select Vehicle by VIN
Select Vehicle by Model
orMake
Model
Year
Select Vehicle by VIN
For the most accurate results, select vehicle by your VIN (Vehicle Identification Number).
12 Crankshaft Seals found
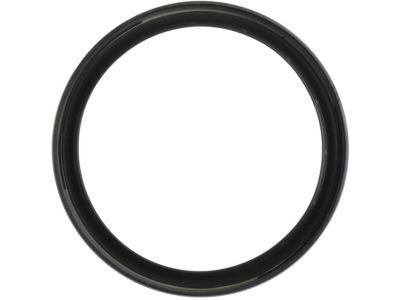
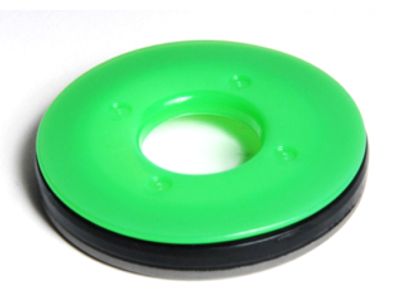
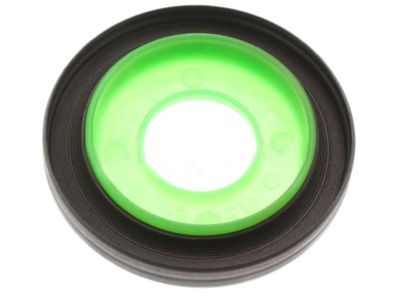
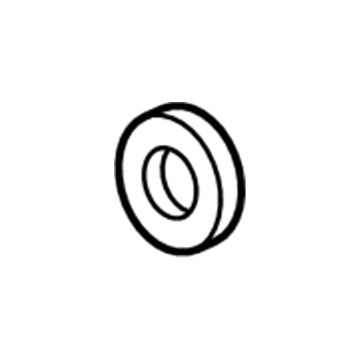
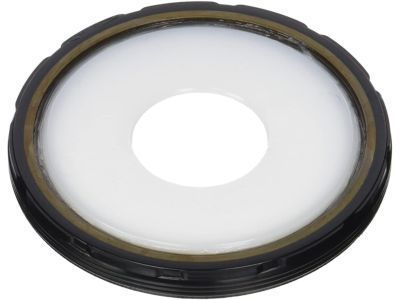
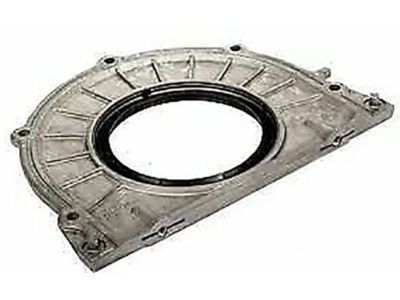
Chevrolet Equinox Seal Assembly, Crankshaft Rear Oil
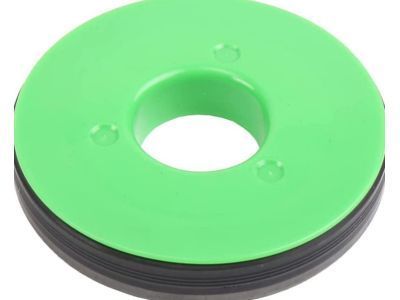
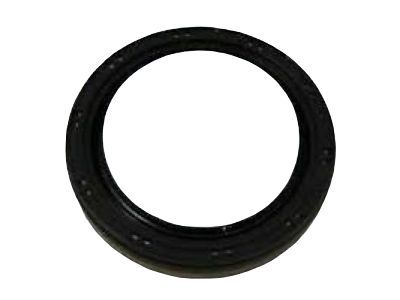
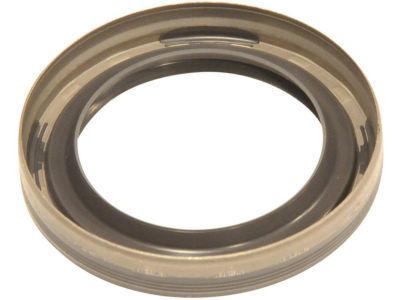
Part Number: 12591866$21.33 MSRP: $36.17You Save: $14.84 (42%)Chevrolet Equinox Seal, Crankshaft Front Oil
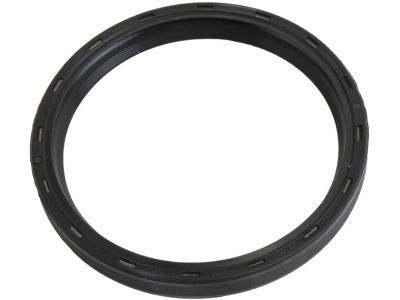
Part Number: 12584041$9.08 MSRP: $15.04You Save: $5.96 (40%)Ships in 1-3 Business DaysChevrolet Equinox Seal Assembly, Crankshaft Front Oil
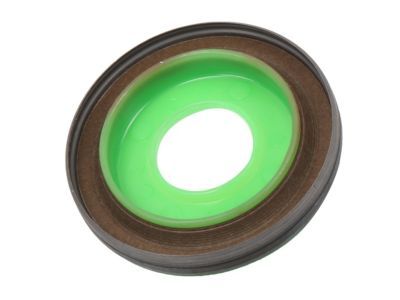
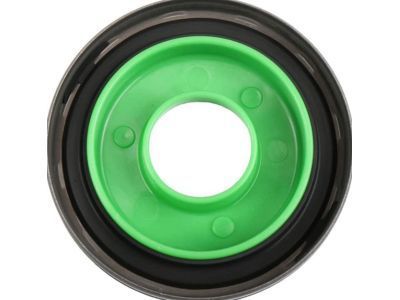
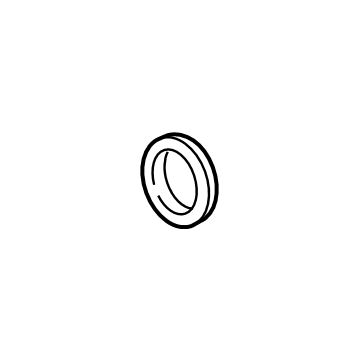
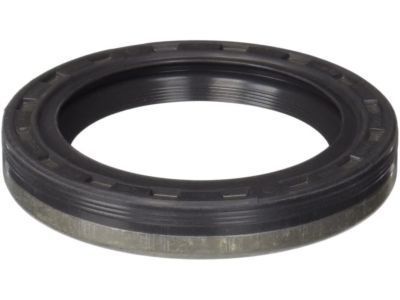
Part Number: 12626923$19.78 MSRP: $32.73You Save: $12.95 (40%)Ships in 1-2 Business DaysChevrolet Equinox Seal,Crankshaft Front Oil
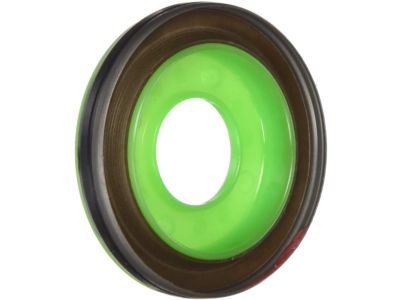
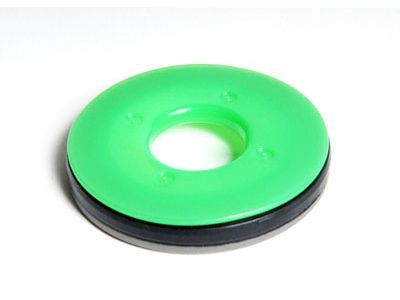
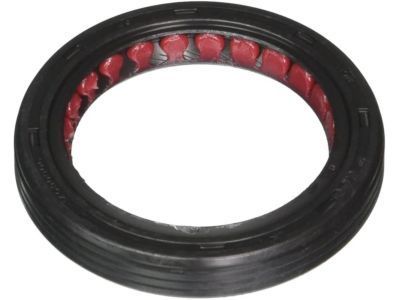
Part Number: 12661527$12.99 MSRP: $20.72You Save: $7.73 (38%)Ships in 1-2 Business DaysChevrolet Equinox Seal,Crankshaft Front Oil
Part Number: 14090906$18.33 MSRP: $30.33You Save: $12.00 (40%)Ships in 1-2 Business DaysChevrolet Equinox Seal Assembly, Crankshaft Rear Oil
Part Number: 12592195$44.81 MSRP: $76.64You Save: $31.83 (42%)Ships in 1-2 Business DaysChevrolet Equinox Seal,Crankshaft Front Oil
Part Number: 12608750$9.18 MSRP: $15.19You Save: $6.01 (40%)Ships in 1-3 Business DaysChevrolet Equinox Seal Assembly, Crankshaft Rear Oil
Part Number: 12637710$42.75 MSRP: $73.74You Save: $30.99 (43%)Ships in 1-2 Business DaysChevrolet Equinox Seal, Crankshaft Rear Oil
Part Number: 12653685$12.44 MSRP: $21.44You Save: $9.00 (42%)Chevrolet Equinox Seal, Cr/Shf Frt (O Ring)
Part Number: 12693989$4.24 MSRP: $7.02You Save: $2.78 (40%)Ships in 1-2 Business DaysChevrolet Equinox Seal Assembly, Crankshaft Rear Oil
Part Number: 55571582$11.20 MSRP: $17.85You Save: $6.65 (38%)Ships in 1-2 Business DaysChevrolet Equinox Seal Assembly, Crankshaft Front Oil
Part Number: 55596779$5.77 MSRP: $9.50You Save: $3.73 (40%)Ships in 1-2 Business Days
Chevrolet Equinox Crankshaft Seal
The Crankshaft Seal in Chevrolet Equinox vehicles is an element situated at the front and top of the engine which is meant for keeping oil from leaking out of the crankcase. It is usually made of metal and rubber and is round in shape, this seal is very vital in the preservation of oil in engines which helps to minimize friction in between the engine's parts. In the long run, one might notice the failure of the Crankshaft Seal especially if the Chevrolet Equinox has a relatively high mileage or with oil leakage issues. Crankshaft Seal needs to be monitored often and replaced periodically to prolong the life span and boost the power of Chevrolet Equinox engine.
Each OEM Chevrolet Equinox Crankshaft Seal we offer is competitively priced and comes with the assurance of the manufacturer's warranty for the part. Furthermore, we guarantee the speedy delivery of your orders right to your doorstep. Our hassle-free return policy is also in place for your peace of mind.
Chevrolet Equinox Crankshaft Seal Parts Questions & Experts Answers
- Q: How to replace the rear crankshaft seal assembly in 3.0L and 3.6L V6 engine on Chevrolet Equinox?A:At the time of publication, the rear Crankshaft Seal is supplied as an assembly consisting of the oil seal and housing. The manufacturer recommends using special studs EN 46109, seal alignment tool EN 47839, and handle J 42183 to ensure correct alignment of the seal, which are available through SPX Tools. Begin by disconnecting the cable from the negative battery terminal. Next, remove the driveplate and the oil pan. After that, remove the retaining bolts and discard the seal housing from the engine, using a knife if necessary to cut the sealant away from the joint between the rear Crankshaft Seal housing and the engine block, taking care not to scratch the machined faces of the cylinder block, rear Crankshaft Seal housing, or oil pan when scraping old gasket material. Thoroughly clean the mounting surfaces of the oil pan, rear Crankshaft Seal housing, and engine block of old gasket material and sealer, wiping the gasket surfaces with a rag soaked in brake system cleaner. Install the two dowels into the oil seal housing bolt holes, then apply a 1/8-inch wide bead of RTV sealant around the sealing area of the oil seal housing, passing on the inside of the bolt holes. Install the special alignment tool (EN 47839) on the rear of the crankshaft, attaching it with the two supplied screws. Next, install the new Crankshaft Seal housing over the alignment tool and studs onto the rear of the engine block, removing the guide studs but leaving the alignment tool in place. Install the housing bolts and tighten them to the specified torque, then remove the alignment tool. The remainder of the installation follows the reverse order of removal. Finally, add oil as necessary and run the engine to check for leaks.
Related Chevrolet Equinox Parts
Browse by Year
2024 Crankshaft Seal 2023 Crankshaft Seal 2022 Crankshaft Seal 2021 Crankshaft Seal 2020 Crankshaft Seal 2019 Crankshaft Seal 2018 Crankshaft Seal 2017 Crankshaft Seal 2016 Crankshaft Seal 2015 Crankshaft Seal 2014 Crankshaft Seal 2013 Crankshaft Seal 2012 Crankshaft Seal 2011 Crankshaft Seal 2010 Crankshaft Seal 2009 Crankshaft Seal 2008 Crankshaft Seal 2007 Crankshaft Seal 2006 Crankshaft Seal 2005 Crankshaft Seal
