My Garage
My Account
Cart
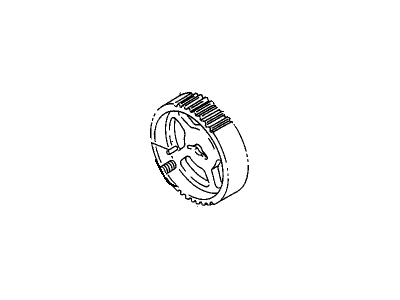
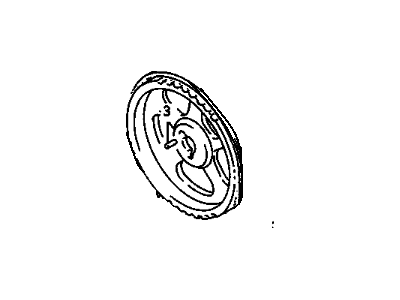
Genuine Chevrolet Metro Variable Timing Sprocket
Timing Gear Sprocket- Select Vehicle by Model
- Select Vehicle by VIN
Select Vehicle by Model
orMake
Model
Year
Select Vehicle by VIN
For the most accurate results, select vehicle by your VIN (Vehicle Identification Number).
3 Variable Timing Sprockets found
Chevrolet Metro Variable Timing Sprocket
Each OEM Chevrolet Metro Variable Timing Sprocket we offer is competitively priced and comes with the assurance of the manufacturer's warranty for the part. Furthermore, we guarantee the speedy delivery of your orders right to your doorstep. Our hassle-free return policy is also in place for your peace of mind.
Chevrolet Metro Variable Timing Sprocket Parts Questions & Experts Answers
- Q: How to remove and replace Timing Belt and Variable Timing Sprocket on Chevrolet Metro?A:Detach the negative cable from the battery. Place the front engine crank to its highest position. Take out the engine cover. Engage the parking brake, block your rear wheels, lift the car, and place jackstands under the front to hold the vehicle safely. Take off the four nuts holding the water pump pulley in place, and remove both drivebelts. Rotate the wheel on the right side, remove the bolt holding it in, and unplug the water pump and crankshaft rubber drivebelt holders. It's fine to leave the center bolt of the crankshaft alone when swapping out the timing belt. But if your job requires taking down the crankshaft gear for getting to the oil seal or pump, you need to free the bolt first. Rephrase: Start by taking off the splash pan, roll a rag or tape around the pulley, lay a chain wrench onto it to break the hold. Use a breaker bar and socket to loosen the bolt. Free up the bolts holding the timing belt cover in place, then take it off. When you plan to reuse the timing belt, add a painted arrow showing which way it needs to turn. Turn loose the adjusting nut and pulley bolt, push the tensioner pulley towards the water pump, and stop it using a temporary fastener. Put the timing belt off the sprockets and move it aside for now. When you need to replace either the Oil Pump or front oil seal on the crankshaft, unclip the crankshaft sprocket and the belt guide right behind it, and keep a mental record of how they fit together. When you're putting in new Camshaft parts, loosen the bolt that holds the camshaft sprocket in place and carefully move it off by using a large screwdriver. This will make sure the sprocket doesn't turn. Unbolt the cover to access the camshaft seal. Turn the tension pulley by hand to see if it turns smoothly, then manually check for any jerking or back-and-forth movement, and inspect sprockets for problems that need addressing through replacement. Examine the timing belt for breaks, layers pulling apart, scraping, gutters falling out, and engine oil damaging it, then renew the whole part if it's compromised. Reput the camshaft seal cover and timing belt sprockets. Also take care the camshaft sprocket lines up with the dowel perfectly. Place the crankshaft guide belt on first and set it to run smooth next to the belt, with the guide side opposite the timing belt. Fit the timing belt over the crankshaft sprocket and camshaft sprocket at the same time, keeping the belt tight as you go. Twist the adjuster nut once to give the belt pressure, move the crankshaft forward two stretches completely, and then tighten the nut again. First, add the crankshaft pulley. Line up the notch with the raised part on the sprocket, then tighten the center bolt to its proper measure of tightness. Check and adjust valve timing marks for a second full clockwise rotation of the crankshaft by hand. Reassemble the parts in reverse order, start the engine, check the timing, drive the car, and adjust the timing while moving.
Related Chevrolet Metro Parts
Browse by Year
2001 Variable Timing Sprocket 2000 Variable Timing Sprocket 1999 Variable Timing Sprocket 1998 Variable Timing Sprocket 1997 Variable Timing Sprocket 1996 Variable Timing Sprocket 1995 Variable Timing Sprocket 1994 Variable Timing Sprocket 1993 Variable Timing Sprocket 1992 Variable Timing Sprocket 1991 Variable Timing Sprocket 1990 Variable Timing Sprocket 1989 Variable Timing Sprocket


