My Garage
My Account
Cart
Genuine Chevrolet Monte Carlo Oil Pan
Oil Drain Pan- Select Vehicle by Model
- Select Vehicle by VIN
Select Vehicle by Model
orMake
Model
Year
Select Vehicle by VIN
For the most accurate results, select vehicle by your VIN (Vehicle Identification Number).
14 Oil Pans found
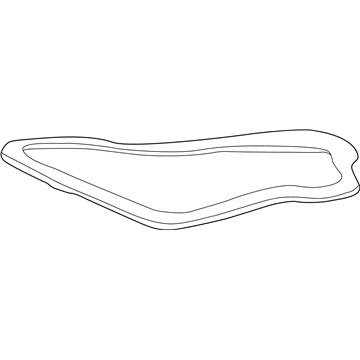
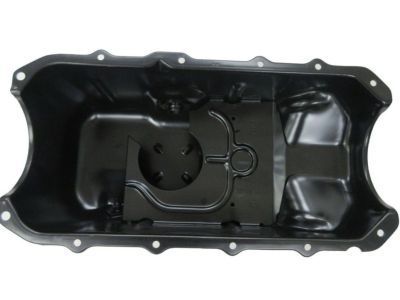
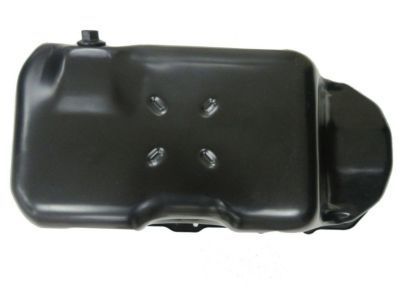
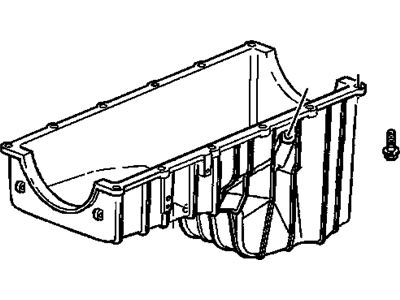
Chevrolet Monte Carlo Pan Kit,Automatic Transmission Oil (M6) *Includes Pan,Ma
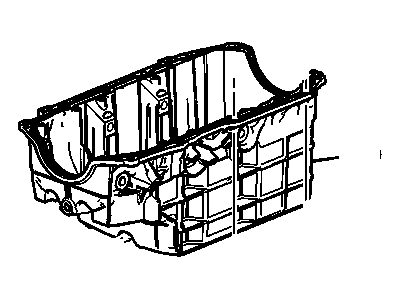
Part Number: 24211988$57.66 MSRP: $154.10You Save: $96.44 (63%)Chevrolet Monte Carlo Pan Asm,Oil
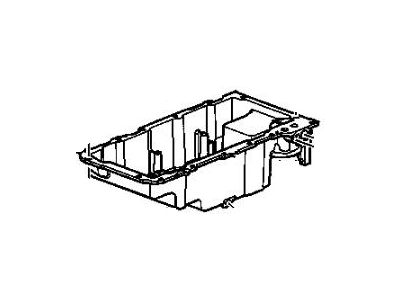
Part Number: 12512670$185.45 MSRP: $276.52You Save: $91.07 (33%)Ships in 1-2 Business DaysChevrolet Monte Carlo Oil Pan Assembly
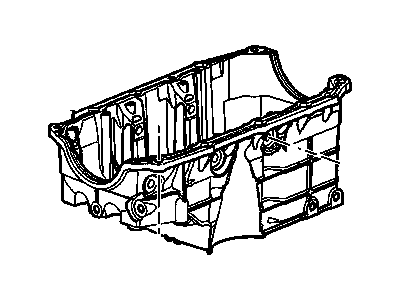
Part Number: 12603201$188.13 MSRP: $299.93You Save: $111.80 (38%)Ships in 1-3 Business DaysChevrolet Monte Carlo Oil Pan Assembly
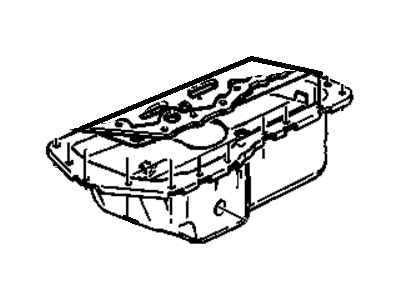
Part Number: 12577512$23.34 MSRP: $36.72You Save: $13.38 (37%)
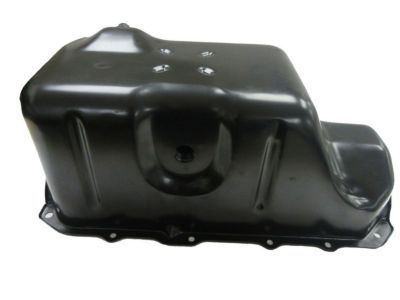
Chevrolet Monte Carlo Oil Pan
The Oil Pan of Chevrolet Monte Carlo vehicles provides for the storage of engine oil so that efficient lubrication, and cooling of various parts of the engine is achieved. Most Monte Carlo models employ the wet sump technique and the oil pan is located beneath the engine where the oil pickup tube via the oil pump suck oil from and circulates it through the engine and then it falls back into the oil pan. In the earlier models of Chevrolet Monte Carlo the oil pans were usually of stamped steel but many of the latest modes use cast aluminum steel to match the car's performance. The wet sump design is normal but the idea of the dry sump system which uses several pumps as well as the external tank is also familiar in applications of the highest class, though it is not widely used in the models of Monte Carlo. In general, the oil pan plays a crucial role in proper performance of the Chevrolet Monte Carlo automobiles' engines.
Each OEM Chevrolet Monte Carlo Oil Pan we offer is competitively priced and comes with the assurance of the manufacturer's warranty for the part. Furthermore, we guarantee the speedy delivery of your orders right to your doorstep. Our hassle-free return policy is also in place for your peace of mind.
Chevrolet Monte Carlo Oil Pan Parts Questions & Experts Answers
- Q: How to remove and install Oil Pan in V6 engine on Chevrolet Monte Carlo?A:Before starting removal of the engine, it is necessary to disarm the electrical connections accompanied by the negative terminal of the battery and then to install an engine support. The next steps are engine mount struts and the exhaust pipe with the catalytic converter, engine oil should also be drained. Need to turn the back of the right front wheel several times with wrench and then take an assistance to lift the car and put it on jackstands, finally, have to take off the right front wheel. You then have to remove the inner fender splash shield and the drivebelt, as well as the oil filter adapter and the starter. Do not detach the ac refrigerant lines while unbolting the ac compressor, remove wiring and connections from oil level sensor, and the wiring harness from the oil pan, and the brace connecting the engine to the transmission. Take off two nuts at the crankshaft pulley/balancer which refers to the engine mount, and then turn loose the nuts at the lower connection of the transmission mount and take off the transmission-to-oil pan brace. It is necessary to lift the engine using engine support fixture and remove the engine mount bracket from the front. On the 3.5L engines, remove the steering shaft pinch bolt at the steering gear, disconnect the tie-rod from the steering knuckle and the right control arm from the subframe and right stabilizer link. Position floor jacks beneath the right and left subframe, unscrew the bolts on the left subframe, unscrew the bolts on the right subframe before lowering the right subframe and lifting the engine. On all engines, loosen and then safely undo the side bolts that holds the cast oil pan down to the main cap supports, finally, un-screw the oil pan-to-block bolts and lose connection of the oil pan from the block, without prying. For installation, clean the pan and remove all old sealant and gasket material and apply the RTV sealant to the gasket area and put the new one piece oil pan gasket in place. Upon the positioning of the oil pan on the block, put the nuts/bolts in corresponding holes and tighten them across to the prescribed torque. Once the pan to block bolts are tightened properly fitted the oil pan side bolts and tighten as required. I resumed and inverted most of the removal steps, as well as tightened subframe bolts, refueled the engine, and took customary tests for leaks after achieving normal working temperature.
