My Garage
My Account
Cart
Genuine Chevrolet Tracker CV Boot
Axle Boot- Select Vehicle by Model
- Select Vehicle by VIN
Select Vehicle by Model
orMake
Model
Year
Select Vehicle by VIN
For the most accurate results, select vehicle by your VIN (Vehicle Identification Number).
5 CV Boots found
Chevrolet Tracker CV Boot
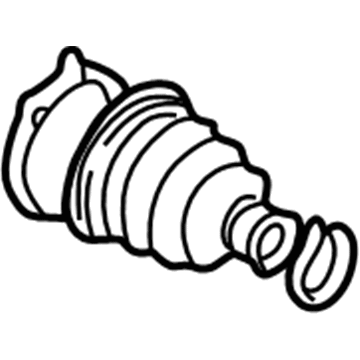
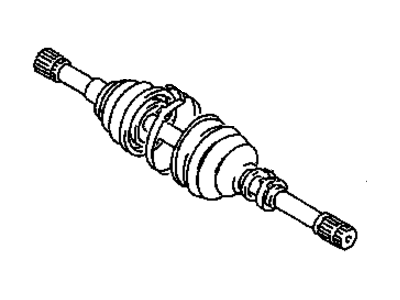
In the Chevrolet Tracker vehicles there is a CV Boot that shields the Constant Velocity joint, an important part of the vehicle that transmit force from the transaxle to the wheels. Different types of CV Joints are installed in Tracker vehicles, for instance, fixed CV Joints at the outboard end and Cv Joints that plunge on the inboard face. The CV Boot is a protective cover that is meant to give shelter to the CV Joint and to particularly keep out any deposits or grime that may want to invade the joint while also making sure that the joint is well lubricated. CV Joint failure is another point to make and it is recommended that the CV Boot be checked up often because most of the time the boot is the reason for pops and clicking sounds during turn or clunking and vibrations during acceleration.
Each OEM Chevrolet Tracker CV Boot we offer is competitively priced and comes with the assurance of the manufacturer's warranty for the part. Furthermore, we guarantee the speedy delivery of your orders right to your doorstep. Our hassle-free return policy is also in place for your peace of mind.
Chevrolet Tracker CV Boot Parts Questions & Experts Answers
- Q: How can you replace CV joint boots without removing the CV Boot on Chevrolet Tracker?A:Some auto parts stores carry "split" type replacement boots, which can be installed without removing the CV Boot from the vehicle. This is a convenient alternative; however, it's recommended that the CV Boot be removed and the CV joints cleaned to ensure that the joint is free from contaminants such as moisture and dirt, which will accelerate CV joint wear. To disassemble the inner CV joint and boot, first remove the CV Boot from the vehicle and mount it in a vise lined with wood or rags to prevent damage. Pry the boot clamp retaining tabs up with a small screwdriver and slide the clamps off the boot, then slide the boot back on the axleshaft and pry the wire ring ball retainer from the outer race. Pull the outer race off the inner bearing assembly and remove the snap-ring from the groove in the axleshaft with snap-ring pliers. Mark the inner bearing assembly to ensure correct reassembly and slide it off the axleshaft. Clean the components with solvent, inspecting the cage, balls, and races for wear and damage. For reassembly, wrap the axleshaft splines with tape to avoid damaging the boot, then slide the small boot clamp and boot onto the axleshaft before removing the tape. Install the inner bearing assembly with the larger diameter side facing the axleshaft end, then install the snap-ring and fill the outer race and boot with the specified type and quantity of CV joint grease, packing the inner bearing assembly with grease until fully filled. Slide the outer race onto the inner race and install the wire ring retainer, wiping excess grease from the axle boot groove and seating the boot properly. Equalize the pressure in the boot with a dull screwdriver, install the boot clamps, and if working on the right side CV Boot, install a new circlip on the inner CV joint stub axle before reinstalling the CV Boot. For the outer CV joint and boot, remove the inner CV joint from the axleshaft, then remove the outer CV joint boot clamps and slide the boot off. Wash the inner and outer CV joints in clean solvent and blow them dry with compressed air, ensuring thorough cleaning. Bend the outer CV joint housing to expose the bearings, inner race, and cage, inspecting for wear and damage; if any components are damaged, replace the CV Boot and outer joint assembly. Slide the new outer boot onto the CV Boot, wrapping vinyl tape around the spline to prevent damage, then add the specified amount of grease to the outer joint and boot before sliding the boot into position and installing the new clamps. Finally, clean and install the inner CV joint and boot, then reinstall the CV Boot.


