My Garage
My Account
Cart
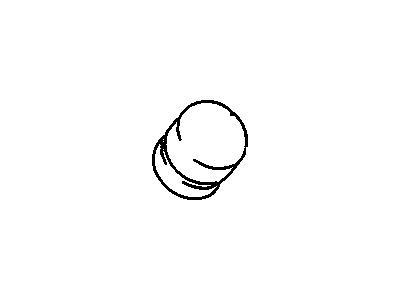
Genuine Chevrolet Tracker Lash Adjuster
Lash Adjuster Lifter- Select Vehicle by Model
- Select Vehicle by VIN
Select Vehicle by Model
orMake
Model
Year
Select Vehicle by VIN
For the most accurate results, select vehicle by your VIN (Vehicle Identification Number).
1 Lash Adjuster found
Chevrolet Tracker Lash Adjuster
The Lash Adjuster, in the Chevrolet tracker cars, has the primary role of lifting the valve closer to the camshaft and as a result ensures that the engine operates smoothly the wears off the engine are reduced hence extending its life. This part is usually referred to as a tappet and operates to translate rotational movement of the camshaft into straight movement of the valves. Chevrolet Trackers have used; solid lifter, hydraulic lifter and roller lifter valve systems. Some lifters are more favored than others depending on the attributes and features they possess, hydraulic lifters being top-notch since they can self adjust clearence through the pressure of the oil. For the same reason, roller tappets are gaining popularity and are considered as superior as compared to their flat counterpart. Modern day car manufacturing includes various types and arrangement of the Lash Adjuster depending with the design of the engine in the car.
Each OEM Chevrolet Tracker Lash Adjuster we offer is competitively priced and comes with the assurance of the manufacturer's warranty for the part. Furthermore, we guarantee the speedy delivery of your orders right to your doorstep. Our hassle-free return policy is also in place for your peace of mind.
Chevrolet Tracker Lash Adjuster Parts Questions & Experts Answers
- Q: How to remove and install the Camshaft and Lash Adjuster in DOHC engine on Chevrolet Tracker?A:Disconnect the negative side of the battery. Drain off the engine oil and coolant. Take out of place the oil pan and the strainer for the oil pump. Get off the camshaft cover. Remove timing chain cover.Remove small timing chain, chain tensioner and camshaft sprockets. Take off Camshaft Position (CMP) sensor.Rotate crankshaft in direction 90 degrees anti-clockwise.Loose bolts of camshaft bearing cap in turning given sequence.Keep in your mind where are studs located on a bearing cap.Take out bearing caps for cams.Collect pins from a big bearing cap for cams into plastic bagging.Delete camshafts from their beds.The end of an exhaust cam is made with an offset slot.Wipe, mark each rocker arm.Backlash adjusting screw must be taken off and dipped into clean engine oil.Put lubricant inside cylinder head through lifters openings for these before you install your lifter to its place.Pressurized should come out on lifter's friction surfaces when you squeeze it.Installation will be performed in such a way that adjusting screws go to their places.Make sure that pins on cams match with marks on cylinder head.Apply sealer to contact surface between this dowel pin and big camshaft bearing cap.Fit those parts to correct bores at caps.Screw down those studs into proper holes using only oily hands.Then tighten all four torque evenly going clockwise starting from #1 bolt up to #4 bolt which stands at right bottom corner.Put CMP sensor back.Camshaft sprocket can be putted together with small timing chain and hydraulic tensioner.Everything will be sealed by putting back on top part of front cover.The lid covering cylinders' tops should be mounted as well.Posting mounting details about oil strainer fixedness along with sump filling.Refuel radiator via filling neck with coolants and pour some oils within block.Start engine, check for leaks.Recheck ignition timing as required.


