My Garage
My Account
Cart
Genuine Chevrolet Trailblazer Bumper
Bumper Fascia- Select Vehicle by Model
- Select Vehicle by VIN
Select Vehicle by Model
orMake
Model
Year
Select Vehicle by VIN
For the most accurate results, select vehicle by your VIN (Vehicle Identification Number).
33 Bumpers found
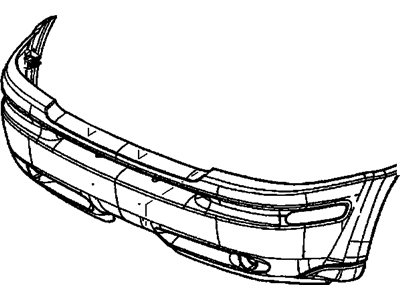
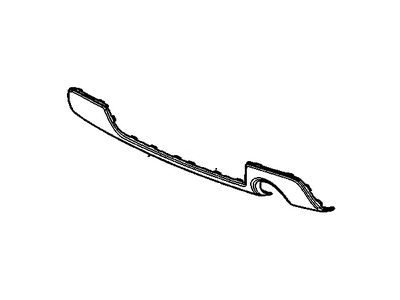
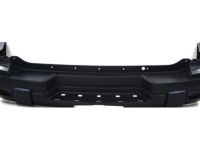
Chevrolet Trailblazer Rear Bumper Cover
Part Number: 19120212$340.31 MSRP: $511.09You Save: $170.78 (34%)Ships in 1-3 Business DaysChevrolet Trailblazer FASCIA ASM,FRT BPR UPR
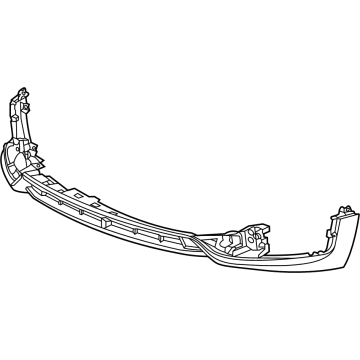
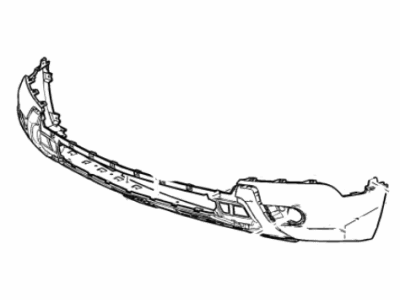
Part Number: 42879200$557.38 MSRP: $876.56You Save: $319.18 (37%)Chevrolet Trailblazer Fascia Assembly, Front Bpr Lwr
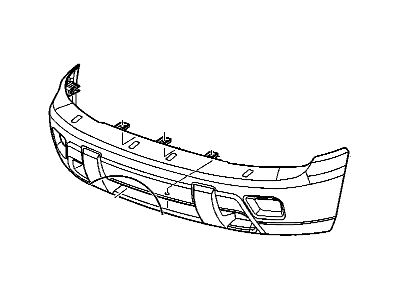
Part Number: 42764091$397.00 MSRP: $621.86You Save: $224.86 (37%)Chevrolet Trailblazer Front Bumper, Cover
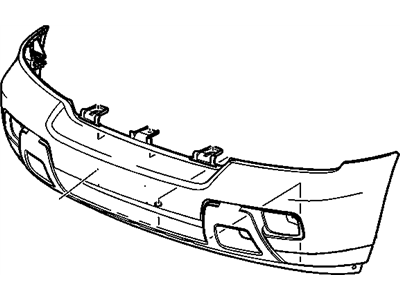
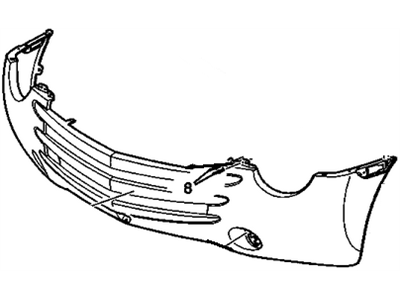
Part Number: 88937047$279.17 MSRP: $419.25You Save: $140.08 (34%)Ships in 1-3 Business DaysChevrolet Trailblazer Fascia Assembly, Front Bpr Lwr
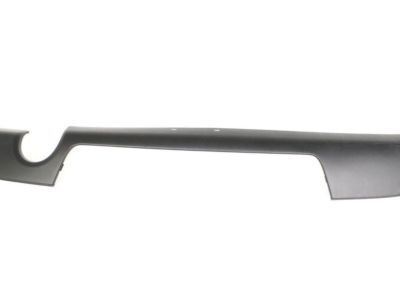
Part Number: 42755886$397.00 MSRP: $621.86You Save: $224.86 (37%)Ships in 1-3 Business DaysChevrolet Trailblazer FASCIA-RR BPR LWR
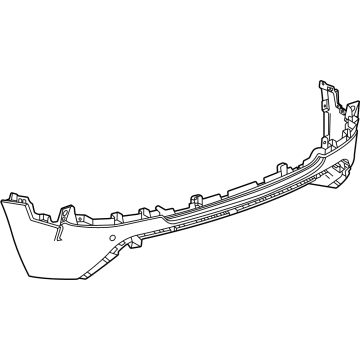
Part Number: 42820585$456.78 MSRP: $686.72You Save: $229.94 (34%)Ships in 1-2 Business DaysChevrolet Trailblazer Fascia Assembly, Front Bpr Lwr
Part Number: 42766408$407.51 MSRP: $609.64You Save: $202.13 (34%)Ships in 1-3 Business DaysChevrolet Trailblazer FASCIA ASM-RR BPR LWR
Part Number: 42820546$475.09 MSRP: $744.67You Save: $269.58 (37%)Ships in 1-2 Business DaysChevrolet Trailblazer Front Bumper, Cover
Part Number: 88937008$198.28 MSRP: $300.48You Save: $102.20 (35%)Ships in 1-3 Business DaysChevrolet Trailblazer FASCIA ASM-FRT BPR LWR
Part Number: 42853076$86.28 MSRP: $128.99You Save: $42.71 (34%)Chevrolet Trailblazer Fascia Assembly, Rear Bpr Upr *Serv Primer
Part Number: 42692996$486.49 MSRP: $731.55You Save: $245.06 (34%)Ships in 1-3 Business DaysChevrolet Trailblazer Fascia Assembly, Front Bpr Lwr
Part Number: 42755887$355.65 MSRP: $556.83You Save: $201.18 (37%)Ships in 1-3 Business DaysChevrolet Trailblazer FASCIA ASM-RR BPR LWR
Part Number: 42820544$382.14 MSRP: $598.49You Save: $216.35 (37%)Ships in 1-2 Business DaysChevrolet Trailblazer Fascia Assembly, Rear Bpr Upr *Serv Primer
Part Number: 42692998$512.37 MSRP: $770.59You Save: $258.22 (34%)Ships in 1-3 Business DaysChevrolet Trailblazer FASCIA ASM-FRT BPR LWR
Part Number: 42853075$67.85 MSRP: $101.44You Save: $33.59 (34%)Ships in 1-2 Business DaysChevrolet Trailblazer Fascia Assembly, Rear Bpr Upr *Serv Primer
Part Number: 42692999$512.37 MSRP: $770.59You Save: $258.22 (34%)Ships in 1-3 Business DaysChevrolet Trailblazer Front Bumper Cover
Part Number: 19120215$549.13 MSRP: $828.42You Save: $279.29 (34%)Chevrolet Trailblazer FASCIA ASM-RR BPR LWR
Part Number: 42820545$572.02 MSRP: $897.11You Save: $325.09 (37%)Ships in 1-2 Business DaysChevrolet Trailblazer FASCIA ASM-FRT BPR LWR
Part Number: 42770719$125.67 MSRP: $188.74You Save: $63.07 (34%)Chevrolet Trailblazer Rear Bumper Cover Lower
Part Number: 19120218$261.63 MSRP: $392.91You Save: $131.28 (34%)
| Page 1 of 2 |Next >
1-20 of 33 Results
Chevrolet Trailblazer Bumper
Each OEM Chevrolet Trailblazer Bumper we offer is competitively priced and comes with the assurance of the manufacturer's warranty for the part. Furthermore, we guarantee the speedy delivery of your orders right to your doorstep. Our hassle-free return policy is also in place for your peace of mind.
Chevrolet Trailblazer Bumper Parts Questions & Experts Answers
- Q: How to remove and install the front and rear bumpers on Chevrolet Trailblazer?A:GMC and Chevrolet trucks outfit their bumpers with a plastic front and back cover that protects a metal impact support underneath. First, disconnect the electrical cables at the front fog and cornering lights when applicable, then remove the grille in front. Detach the fascia panel's plastic pushpins and bolts where you can reach them from above and below, connecting some pushpins from the top and others from below. Take out the pushpins that hold the fascia panel to its support rods below the vehicle. Take the drawn-out clip at either end of the fascia, pry it from the fixed peg on the body, and carefully slide the fascia off the body towards you. With help, disconnect the impact bar's bolts from its frame location, then disassemble the bar. Unplug any useful components or wires that block getting the bumper off, and pull out the bumper, putting the bolts back in the opposite order before making sure they're tight at their required level. Start by disconnecting the reverse lights before removing ring or pin fasteners on the underside of the rear fascia panel. Unscrew both the bolts that attach the top edge of the fascia panel to the wheel well, and take out the screws that hold the fascia down at each wheel well end. Then lift the panel off. To take away the impact bar, first take out the spare tire holder. Then release and move the wiring harness away from where it plugs in. Rotate the plug backward, and slip it off the vehicle. First, work with a helper to remove two connecting bolts from the front of the impact bar. Once that's done, you'll need help again to remove a bolt each side. The impact bar will then come off. You tighten everything when reinstalling, following the same steps backwards, and make sure bolts reach their correct force.
