My Garage
My Account
Cart
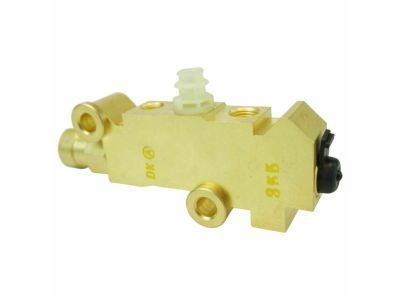
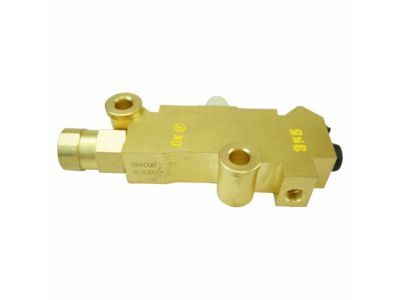
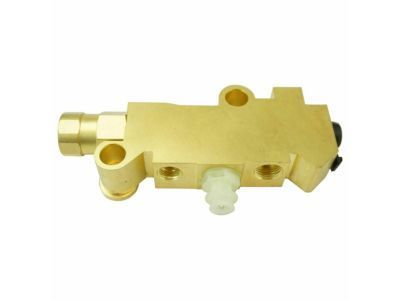
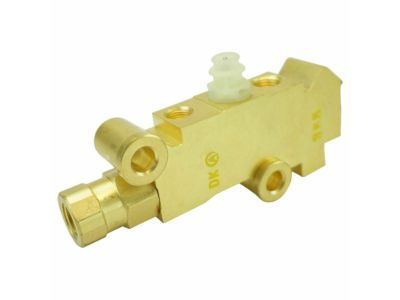
Genuine GMC Sonoma Brake Proportioning Valve
Proportioning Valve- Select Vehicle by Model
- Select Vehicle by VIN
Select Vehicle by Model
orMake
Model
Year
Select Vehicle by VIN
For the most accurate results, select vehicle by your VIN (Vehicle Identification Number).
6 Brake Proportioning Valves found
GMC Sonoma Brake Proportioning Valve
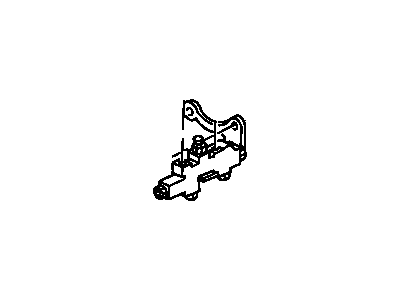
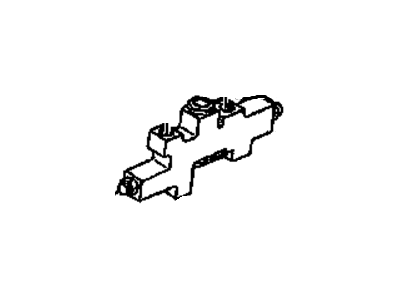
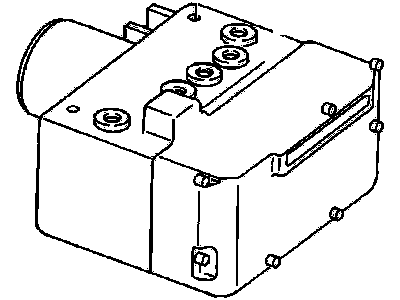
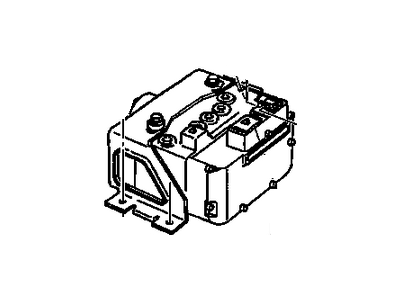
The Brake Proportioning Valve installed in GMC Sonoma vehicles serves as an important safety element to stop rear wheel lock-up when braking suddenly which produces better vehicle stability. The valve controls liquid pressure to boost brake force on front wheels when panic stops create weight distribution differences between front and rear brakes. This valve serves as an essential component which usually mounts to the master cylinder or combination valve specifically designed for vehicles having front disc and rear drum brake systems. Three alternative versions of GMC Brake Proportioning Valve have been applied in GMC Sonoma vehicles from different production periods. These include fixed, adjustable, and lever styles. These Brake Proportioning Valve are strong, or completely non-tunable systems that work within original equipment specifications and those adaptive Sonoma Brake Proportioning Valve permit users to modify the brake pressure through performance improvements. Users can regulate wheel pressure through lever valves. The different types work together to maximize braking performance as well as safety measures which accommodate vehicles that undergo specific modifications.
Each OEM GMC Sonoma Brake Proportioning Valve we offer is competitively priced and comes with the assurance of the manufacturer's warranty for the part. Furthermore, we guarantee the speedy delivery of your orders right to your doorstep. Our hassle-free return policy is also in place for your peace of mind.
GMC Sonoma Brake Proportioning Valve Parts Questions & Experts Answers
- Q: How to remove the brake proportioning valve on GMC Sonoma?A:To remove the brake proportioning valve, start by placing rags under the brake line fittings and preparing caps or plastic bags to cover the ends of the lines once they're disconnected. If the vehicle has a RWAL system, remove the RWAL module. Then, use a flare-nut wrench to loosen the tube nuts at the ends of the brake lines where they enter the brake proportioning valve, making sure to prevent rounding off of the flats on these nuts. Plug the ends of the brake lines to prevent contamination. Unplug the electrical connectors for the low-pressure warning switch and, if applicable, for the anti-lock pressure valve. Remove the brake proportioning valve mounting nuts (which are also the mounting nuts for the master cylinder) and remove the brake proportioning valve and bracket as a single assembly. Finally, separate the brake proportioning valve from its bracket. To install the brake proportioning valve, simply reverse the removal steps, ensuring that the brake proportioning valve retaining nuts and brake line fittings are tightened to the proper torque specifications. After installation, bleed the brake hydraulic system.
Related GMC Sonoma Parts
Browse by Year
2003 Brake Proportioning Valve 2002 Brake Proportioning Valve 2001 Brake Proportioning Valve 2000 Brake Proportioning Valve 1996 Brake Proportioning Valve 1995 Brake Proportioning Valve 1994 Brake Proportioning Valve 1993 Brake Proportioning Valve 1992 Brake Proportioning Valve 1991 Brake Proportioning Valve
