My Garage
My Account
Cart
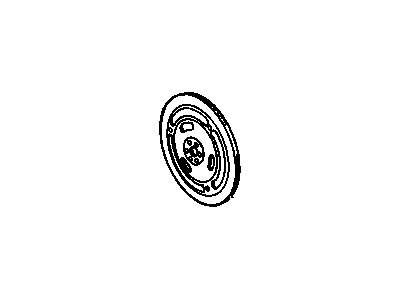
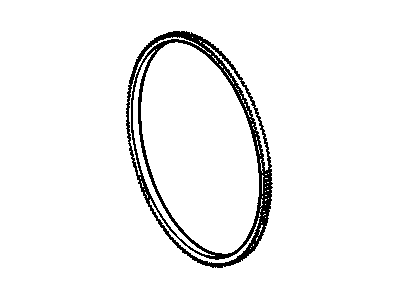
Genuine Oldsmobile Omega Flywheel
Clutch Flywheel- Select Vehicle by Model
- Select Vehicle by VIN
Select Vehicle by Model
orMake
Model
Year
Select Vehicle by VIN
For the most accurate results, select vehicle by your VIN (Vehicle Identification Number).
2 Flywheels found
Oldsmobile Omega Flywheel
Each OEM Oldsmobile Omega Flywheel we offer is competitively priced and comes with the assurance of the manufacturer's warranty for the part. Furthermore, we guarantee the speedy delivery of your orders right to your doorstep. Our hassle-free return policy is also in place for your peace of mind.
Oldsmobile Omega Flywheel Parts Questions & Experts Answers
- Q: How to gain access to the flywheel and what are the steps involved in its removal and installation on Oldsmobile Omega?A:To gain access to the flywheel, either the engine or the transaxle must be removed from the car, with the engine being removed if additional work is needed; otherwise, removing the transaxle is easier. If equipped with a manual transaxle, the clutch should be removed from the flywheel. The flywheel can be unbolted from the rear flange of the Crankshaft, and to prevent it from turning, a long screwdriver or similar tool can be used against the engine block while removing the mounting bolts. Once the bolts are removed, the flywheel can be lifted off, and the flywheel spacer should be removed if equipped. For L4 engines, if the rear main bearing seal needs replacement, it should be pried out of its bore. The flywheel teeth should be examined for any broken or chipped teeth, as this condition requires replacement with a new flywheel. On manual transaxle flywheels, the clutch friction face should be inspected for scoring; light scoring can be corrected with emery cloth, but deep scoring necessitates machining or replacement to avoid clutch damage. For automatic transaxle flywheels, the converter securing bolt holes should be checked for elongation, which also requires flywheel replacement. Before installing the flywheel, the mating surfaces of the flywheel and crankshaft should be cleaned. If the oil seal was removed on L4 engines, a light coat of engine oil should be applied to the inside lip of the new seal before installation. To install, the flywheel should be positioned against the crankshaft using a new spacer if equipped, and the mounting bolts should be inserted and secured only fingertight, ideally using a thread sealing agent on the bolt threads. While preventing the flywheel from turning, the bolts should be tightened gradually until all are torqued to specifications, and the remainder of the installation procedure should be completed by reversing the removal steps.


