My Garage
My Account
Cart
Genuine Pontiac Firebird Coil Springs
Strut Spring- Select Vehicle by Model
- Select Vehicle by VIN
Select Vehicle by Model
orMake
Model
Year
Select Vehicle by VIN
For the most accurate results, select vehicle by your VIN (Vehicle Identification Number).
10 Coil Springs found
Pontiac Firebird Coil Springs
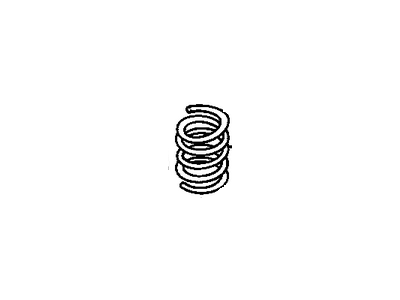
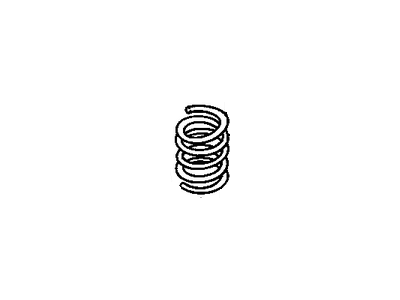
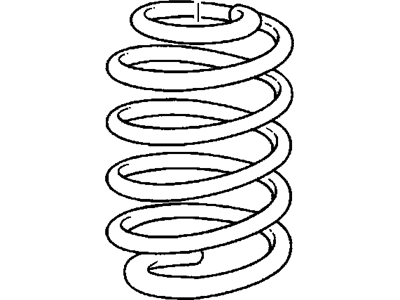
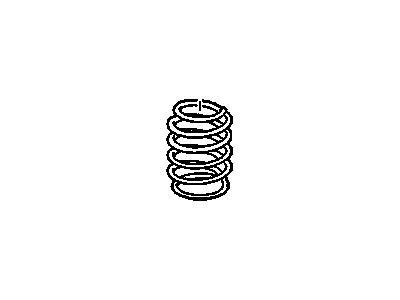
Hearings and shocks are important in the suspension of vehicles thus, vehicles such as Pontiac Firebird rely on coil springs as components of their suspension system that hold the weight of vehicles and absorb shock from the roads. These coil springs help in maintaining the initial ride height and quality on a car eliminating problems like saggings, irregular tire wear or misalignment. For many years, linear rate, progressive and dual rates coil springs have been used in Pontiac Firebird models and each has different performances in terms of stiffness. Linear rate springs offer high levels of control with equal resistance while Progressive springs have wire coils that stay compressed at different rates to increase comfort in high performance rides. Also, to owners of Pontiac Firebird, they can go for the adjustable/tilt coil springs where they get to decide the desired height of the car.
Each OEM Pontiac Firebird Coil Springs we offer is competitively priced and comes with the assurance of the manufacturer's warranty for the part. Furthermore, we guarantee the speedy delivery of your orders right to your doorstep. Our hassle-free return policy is also in place for your peace of mind.
Pontiac Firebird Coil Springs Parts Questions & Experts Answers
- Q: How to Replace a Coil Springs on Pontiac Firebird?A:Replacement of a coil might take some time hence one is advised to read through the procedure and acquire the requite tools before proceeding. First, you have to lift the vehicle and secure it on jack stands slipped under the outer frame members. After that, take off the wheel and tire and, in addition to that, disconnect the stabilizer bar at the lower Control Arm and make sure you keep all the bolts, nut, grommet spacer and retainers so that you can easily fit them in when you are threading them. Mount the universal coil spring compressor and compress the spring in the right manner as per the maker of the tool. Loosen but do not yet take out the nuts of the lower control arm to the front crossmember pivot bolts. Using a floor jack position it just below the lower control arm at the inner end, in between the two pivot points at the control arm where it links to the cross member, and raise the jack just enough so that both the pivot bolts can be removed. Slowly and safety release the jack and ease the lower Control Arm Bushings off the crossmember. Free the coil spring compressor and take out the spring and insulator noting some of the features as they are being withdrawn from the vehicle. Reassembly entails initiating on the bottom coil of the spring with a view of getting the end to lay at least on part of one inspection/drain hole while the other is only partly or wholly exposed.
Related Pontiac Firebird Parts
Browse by Year
2002 Coil Springs 2001 Coil Springs 2000 Coil Springs 1999 Coil Springs 1998 Coil Springs 1997 Coil Springs 1996 Coil Springs 1995 Coil Springs 1994 Coil Springs 1993 Coil Springs 1992 Coil Springs 1991 Coil Springs 1990 Coil Springs 1989 Coil Springs 1988 Coil Springs 1987 Coil Springs 1986 Coil Springs 1985 Coil Springs 1984 Coil Springs 1983 Coil Springs 1982 Coil Springs


