My Garage
My Account
Cart
Genuine Pontiac G6 Brake Pad
Disc Brake Pad Set- Select Vehicle by Model
- Select Vehicle by VIN
Select Vehicle by Model
orMake
Model
Year
Select Vehicle by VIN
For the most accurate results, select vehicle by your VIN (Vehicle Identification Number).
3 Brake Pads found
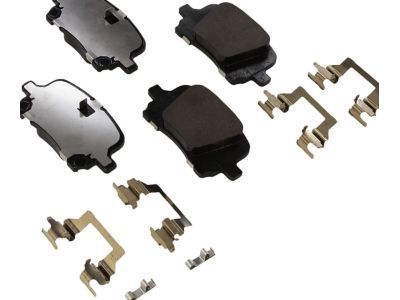
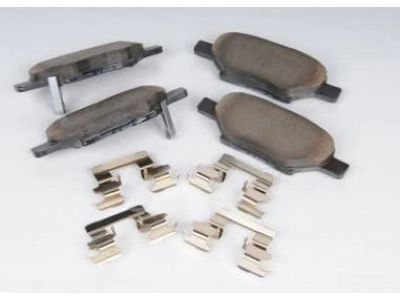
Pontiac G6 Pad Kit, Front Disc Brake
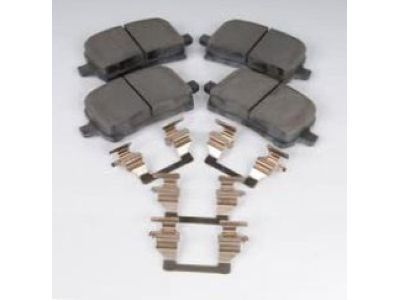
Part Number: 22820406$75.20 MSRP: $147.87You Save: $72.67 (50%)Ships in 1-2 Business DaysPontiac G6 Front Disc Brake Pad Kit
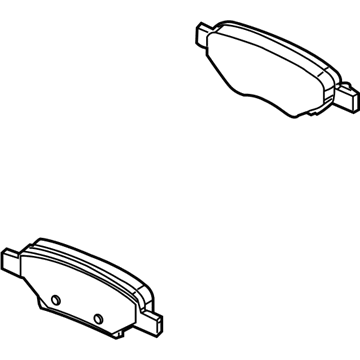
Part Number: 22731037$76.89 MSRP: $139.79You Save: $62.90 (45%)Ships in 1-2 Business Days
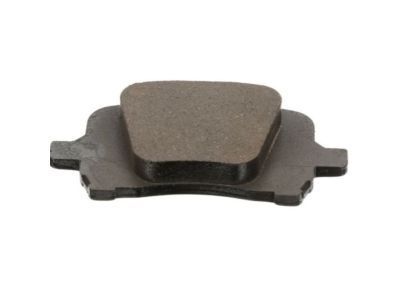
Pontiac G6 Brake Pad
Pontiac G6 vehicles have brake pads incorporated in the braking system where the function of the brake pad is to transfer kinetic energy to thermal energy by rubbing against the brake rotor. These brake pads which are in most occasions metallic and infused with synthetic elements are quintessential for halting the vehicle and need sometime to be replaced owing to wear and tear. Pontiac G6 brake pads could have finally wear sensors or indicators in order to help the driver know when the brake pads are due for a change in order to perform well. In the past, many brake pad types have been used in different generation of Pontiac G6 cars like, non-metallic, semi-metallic, fully-metallic and ceramic brake pad. They each provide unique characteristics in relation to the amount of friction, wear and tear as well as noise. Failure to maintain the brake pads and the vehicle in general may lead to a reduction in the effectiveness of the same, and this may also be attributed to the fact that other associated hardware such as clips and springs required to help facilitate the efficacy of the brake pads also require pro-active replacement.
Each OEM Pontiac G6 Brake Pad we offer is competitively priced and comes with the assurance of the manufacturer's warranty for the part. Furthermore, we guarantee the speedy delivery of your orders right to your doorstep. Our hassle-free return policy is also in place for your peace of mind.
Pontiac G6 Brake Pad Parts Questions & Experts Answers
- Q: How to replace rear disc brake pads on Pontiac G6?A:Disc brake pad replacement for rear disc brakes is similar to the process for the front pads. Begin by removing the cap from the brake fluid reservoir and extracting about two-thirds of the fluid, taking care to protect painted surfaces from brake fluid damage. Loosen the wheel lug nuts, raise the vehicle securely on jackstands, and block the wheels at the opposite end. Remove the wheels and work on one brake assembly at a time, using the assembled brake for reference if needed. Inspect the Brake Disc carefully, and if machining is necessary, remove the disc to access the pads. Push the piston back into its bore using a large C-clamp, ensuring the master cylinder fluid does not overflow. On rear disc brakes, be cautious with the integral parking brake mechanism while depressing the piston. Wash the brakes with brake cleaner before disassembly, remove the lower caliper mounting bolt (and both if needed for the parking brake cable), pivot the caliper up while securing it, and remove the outer and inner brake pads along with the pad support plates. Clean and inspect the support plates for wear, replacing them if necessary, and lubricate the guide pins with high-temperature grease before reinstalling them. Ensure the new pads match the old ones and are equipped with new shims if applicable. Lubricate the ends of the new pads where they contact the anti-rattle clips, install the inner and outer pads, and for rear calipers, rotate the piston until it is fully depressed and align the notches with the caliper openings. Reinstall the caliper over the new pads, align the notch in the piston with the pin on the inner brake pad, and tighten the caliper mounting bolts to the specified torque. After completing the installation, firmly depress the brake pedal several times to ensure proper contact with the disc, check the brake fluid level, and add if necessary. Finally, if working on rear brakes, apply and release the parking brake four times.
