My Garage
My Account
Cart
Genuine Pontiac Vibe Ball Joint
Control Arm Joint- Select Vehicle by Model
- Select Vehicle by VIN
Select Vehicle by Model
orMake
Model
Year
Select Vehicle by VIN
For the most accurate results, select vehicle by your VIN (Vehicle Identification Number).
2 Ball Joints found
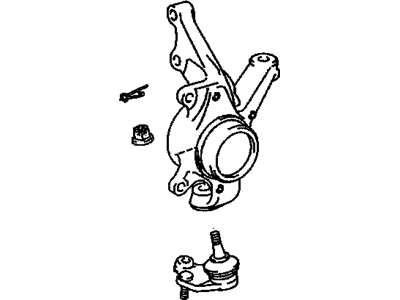
Pontiac Vibe Stud Kit,Front Lower Control Arm Ball
Part Number: 19184280$18.36 MSRP: $23.86You Save: $5.50 (24%)Ships in 1-2 Business DaysPontiac Vibe Stud Kit,Front Lower Control Arm Ball
Part Number: 19184279$21.56 MSRP: $33.93You Save: $12.37 (37%)
Pontiac Vibe Ball Joint
In Pontiac Vibe, Ball Joint is used in mounting the control arms to the steering knuckles in a manner that enables it to support the suspension movement as well as the steering response. This component which is capable of both the vertical and horizontal adjustments is very important as they help infeel vibrations and other changes on the roads and also act in response to the drivers input. The Ball Joint is normally made of steel and generally consists of a bearing stud and socket, which is covered by one or more rubber boots to keep dirt off and to retain the lubricant. Types of Ball Joints that may be installed in Pontiac Vibe vehicles may vary with those that are loaded and those that are unloaded. The Loaded Ball Joints act as load supporting ball joints while unloaded ball joints are used only as alignment ball joints. Sometimes, Ball Joints will wear out in the same way as any other automobile parts depending on use and lack of greasing, a situation that leads to such features as noise and misalignment. Upgradings like Ball Joints are further options in controlling the car and support it if major changes are anticipated on the suspension so as to gain improved and more durable ones that would be useful to the Pontiac Vibe.
Each OEM Pontiac Vibe Ball Joint we offer is competitively priced and comes with the assurance of the manufacturer's warranty for the part. Furthermore, we guarantee the speedy delivery of your orders right to your doorstep. Our hassle-free return policy is also in place for your peace of mind.
Pontiac Vibe Ball Joint Parts Questions & Experts Answers
- Q: How to replace a ball joint on Pontiac Vibe?A:Loosen the wheel lug nuts, raise the vehicle, and support it securely on jackstands before removing the wheel. Next, take out the cotter pin from the balljoint stud and loosen the nut without removing it completely. Use a picklefork-type balljoint separator to separate the balljoint from the Steering Knuckle, then remove the balljoint stud nut, which may require alternating between backing off the nut and pulling down the stud due to tight clearance. After that, remove the bolt and nuts securing the balljoint to the Control Arm, and use a prybar to separate the balljoint from the control arm. For installation, insert the balljoint stud through the hole in the steering knuckle and install the nut without tightening it yet; thread the nut onto the stud as soon as it protrudes through the hole, then turn the nut to draw the stud up. Attach the balljoint to the control arm, install the bolt and nuts, and tighten them. Finally, tighten the balljoint stud nut and install a new cotter pin, ensuring the cotter pin hole aligns with the slots on the nut by tightening further if necessary. Complete the process by installing the wheel and lug nuts, lowering the vehicle, and tightening the lug nuts.


