My Garage
My Account
Cart
Genuine Pontiac Vibe Engine Mount
Engine Motor Mount- Select Vehicle by Model
- Select Vehicle by VIN
Select Vehicle by Model
orMake
Model
Year
Select Vehicle by VIN
For the most accurate results, select vehicle by your VIN (Vehicle Identification Number).
11 Engine Mounts found
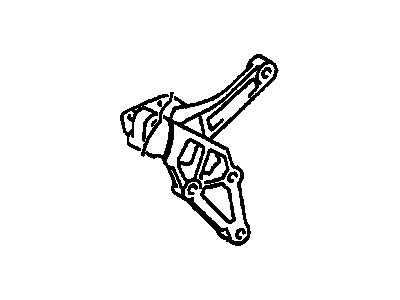
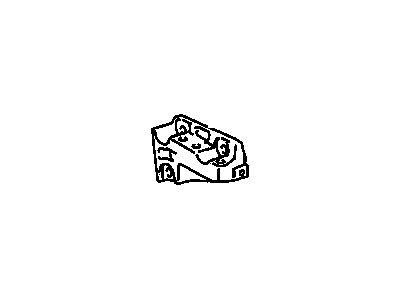
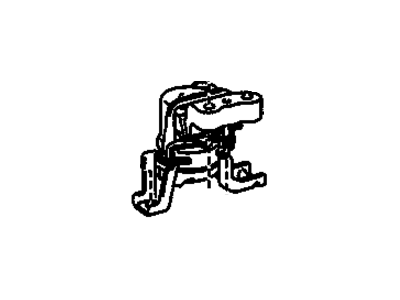
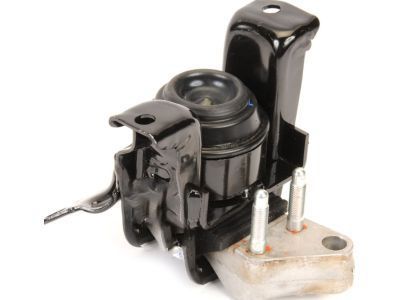
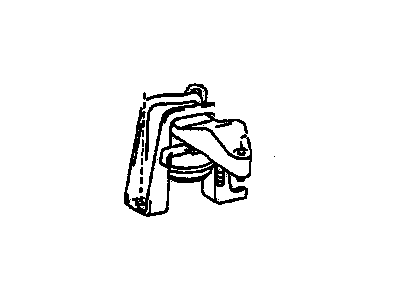
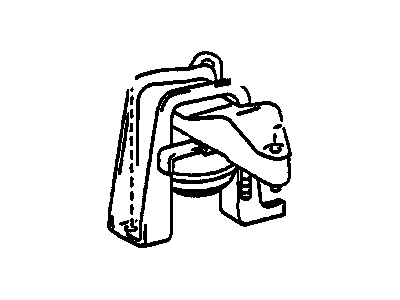
Pontiac Vibe Bracket,Engine Mount
Part Number: 88970161$43.47 MSRP: $72.83You Save: $29.36 (41%)Ships in 1-2 Business DaysPontiac Vibe Bracket,Engine Mount
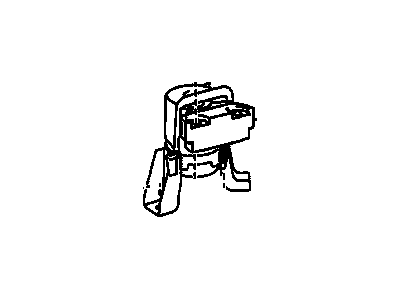
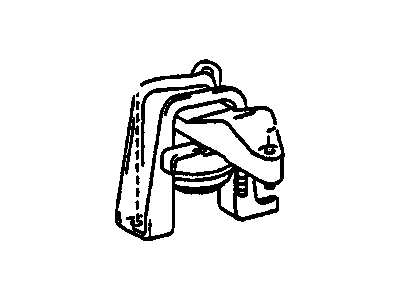
Part Number: 19185161$60.48 MSRP: $95.16You Save: $34.68 (37%)Ships in 1-2 Business Days
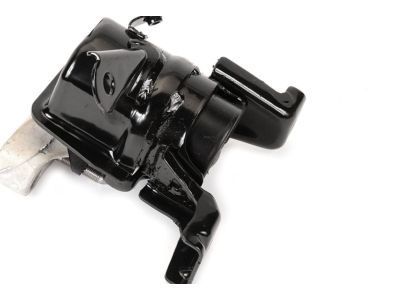
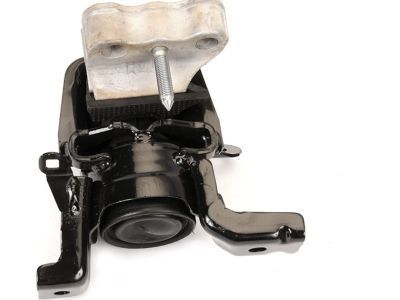
Pontiac Vibe Engine Mount
Each OEM Pontiac Vibe Engine Mount we offer is competitively priced and comes with the assurance of the manufacturer's warranty for the part. Furthermore, we guarantee the speedy delivery of your orders right to your doorstep. Our hassle-free return policy is also in place for your peace of mind.
Pontiac Vibe Engine Mount Parts Questions & Experts Answers
- Q: What should be done if engine mounts are broken or deteriorated on Pontiac Vibe?A:This component is very rarely affected, however, in case of definitive damage or wear of the engine mount it is necessary to change it. While checking the condition of the mount, the engine should be lifted somewhat to shift the weight off the mount. First, safely lift the car and support it using jack stands, then place a jack under the engine Oil Pan, with a big wooden piece in between; slowly lift the engine just enough so that it comes off the mount without putting pressure on the location of the drained plug. Influence the mount to look for any cracks, hardened rubber, or a separation between the rubber and the metal casing; it is a sign of replacement. Make sure there is no relative horizontal motion between the inner and outer portions of the mount using a large screwdriver or prybar; if this is possible, the mount must be replaced. Tighten the mount fasteners to acceptable level and apply rubber preservatives to minimize the amount of deterioration. In order to remove the mount which are the last items left are disconnected the cable from the negative terminal of the battery, this, and if not done already, lift the car on jack stands. Place on top of the engine an engine support fixture. To reach the proper engine mount, first, there are three bolts that hold the mount in the body, and the second three bolts and two nuts that secure the bracket of the mount with the bracket of the engine; however, if the vehicle has an air conditioner, the user will also have to disconnect the bracket for the refrigerant line. In the case of the left engine mount, first, there are four bolts that hold it in position but the body and the through-bolt to the transaxle bracket will also have to be removed and it is needed to note that depending on if the car has a manual transaxle additional steps will have to be taken. For front and rear engine mounts, unstake and slide out the bolts used for the lower frame cross member and the through-bolt to the engine bracket. There is no more than resembling the removal, where the thread locking compound is applied on the mounting bolts and nuts and tightened to the required tightness.
